Pattern: Aztec Top for baby and toddler
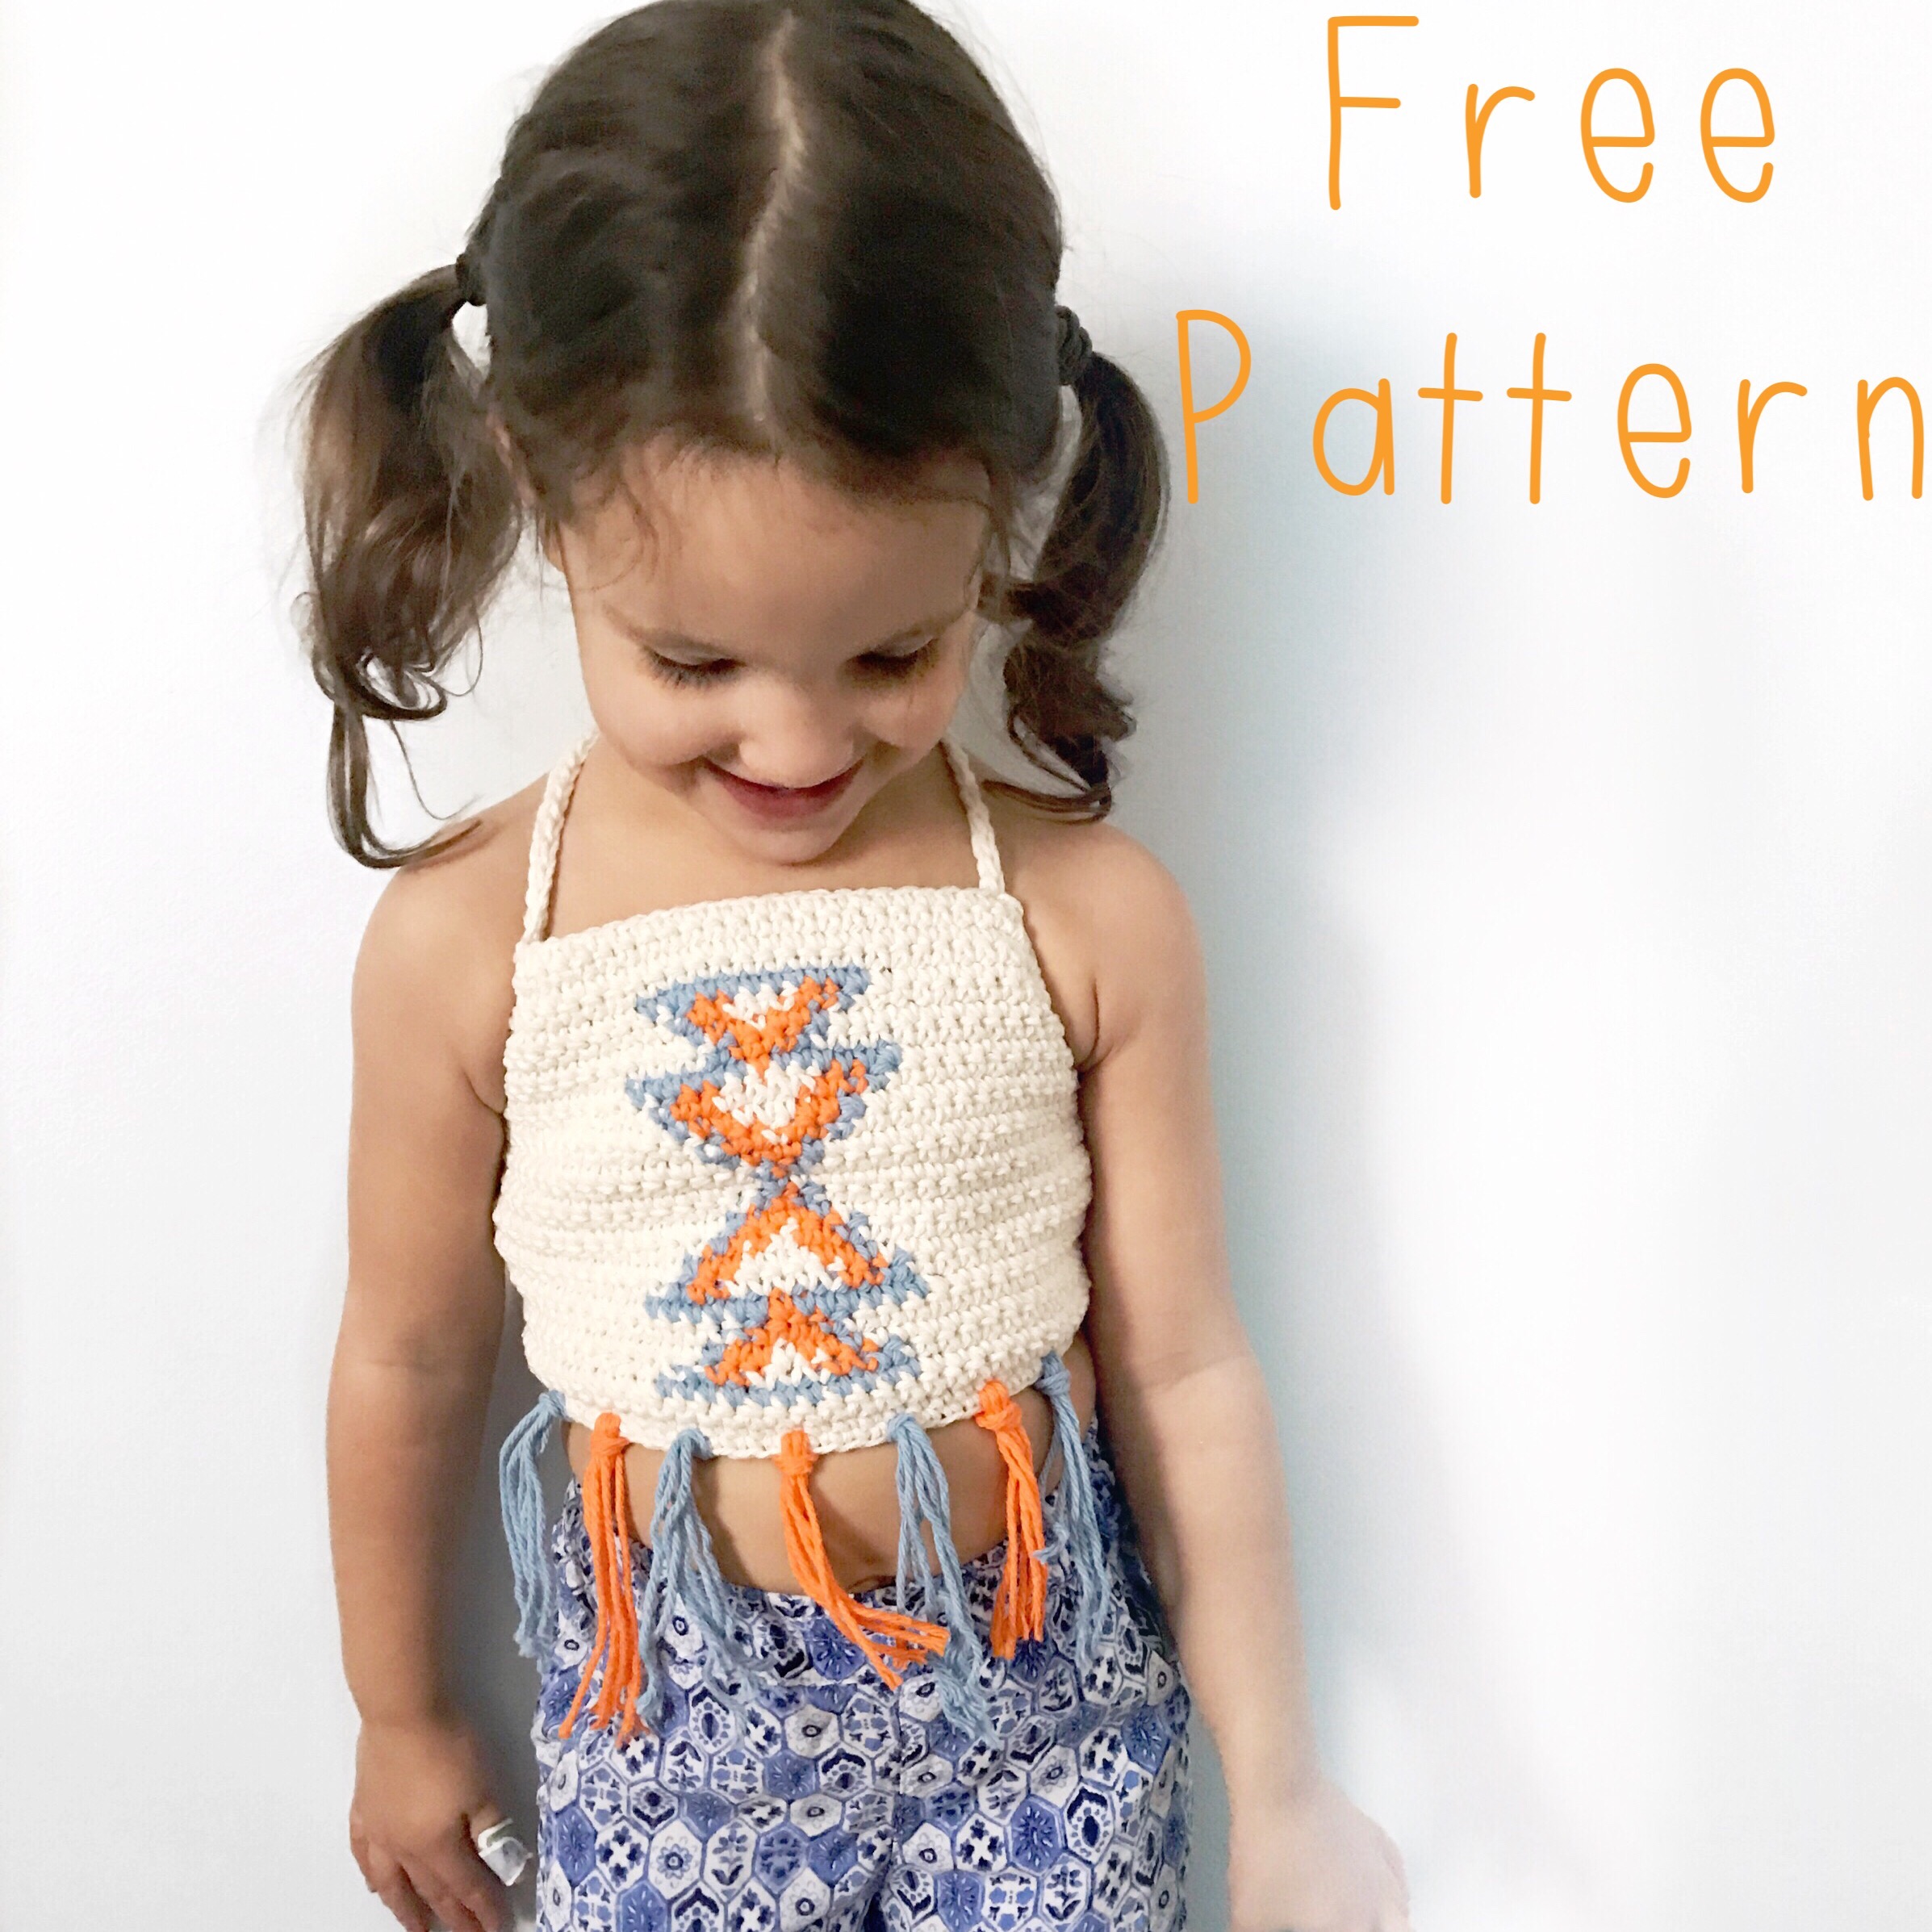
So originally this was going to be a top for my 8 month old daughter, but when my 3 year old saw it she just HAD to try it on. It turned out to be a super cute toddler crop top AND adorable baby top all in one! My straps are a bit on the shorter side for my 3 year old so if your top is going to be a toddler I suggest making them a bit longer.
If you make a top be sure to TAG ME on Instagram so I can see! 🙂
Materials:
- 4.25mm Crochet hook. I love using these for cotton yarn, they slide through the stitches really well.
- Worsted weight cotton yarn. I Used Lily Sugar’n Cream. Off White, Hot Orange and Light Blue.
- Yarn Needle
If you are not familiar with how to read crochet graphs click here!
Graph:

Pattern:
Ch 44
Row 1: Sc across (43 sc) Ch 1, turn.
Row 2: Repeat Row 1
Row 3: Single crochet with white for the first 16 stitches. This is the row you will begin with your color changes (use the chart above, working from the bottom up) Continue with single crochets across, and changing colors where the chart indicates. You want the graph to be centered on the shirt, So you will make the first blue stitch on your 17th Sc of this row.
Rows 4-23: Keep going with single crochets following the chart with color changes where indicated. Starting on the 5th row you will NO LONGER BE MAKING chains at the end of the rows. You will just be turning, and single crocheting in the second stitch from the hook. This helps to angle the sides of the crop top.
Rows 24-26: You are now done with the chart and will just be adding 3 more sc rows in white.
Straps: You should now be at the top right corner of your shirt and will begin making the straps. Chain the length of strap you want, I chained 85. This was long enough for a baby size but a bit too short for toddler size. You can see in the back picture that I was just barely able to tie it. I suggest at least 100 Chains for a toddler top. Sl St back down the chain.
You will continue along the top of the shirt by single crocheting in each stitch across until you get to the very top left corner of the shirt make another strap by chaining the same length as your first strap, Sl St back down the chain.
Making the border and loops: Continue down the left side of the shirt, SC 10, Ch 3, skip a small space, SC 9. You should now be one stitch away from the bottom left corner of the top. Ch 3, Sc in bottom left corner and in each stitch across the bottom of the shirt until you reach the bottom right corner, Ch 3, skip a small space and continue up the right side of the shirt with 9 Sc, Ch 3, skip a small space and SC up the rest of the way. Tie off. Weave in all ends.
Your straps will Criss-cross through the loops and tie at the bottom (view picture)
 Optional: I thought fringe would look super cute added to the bottom! I just alternated between blue and orange, using 3 pieces of yarn per section.

Strike a pose!

Hope you all enjoyed this pattern! Be sure to comment with questions and show me your creations on Instagram!

