Pattern: Side Saddle Slouchy Beanie
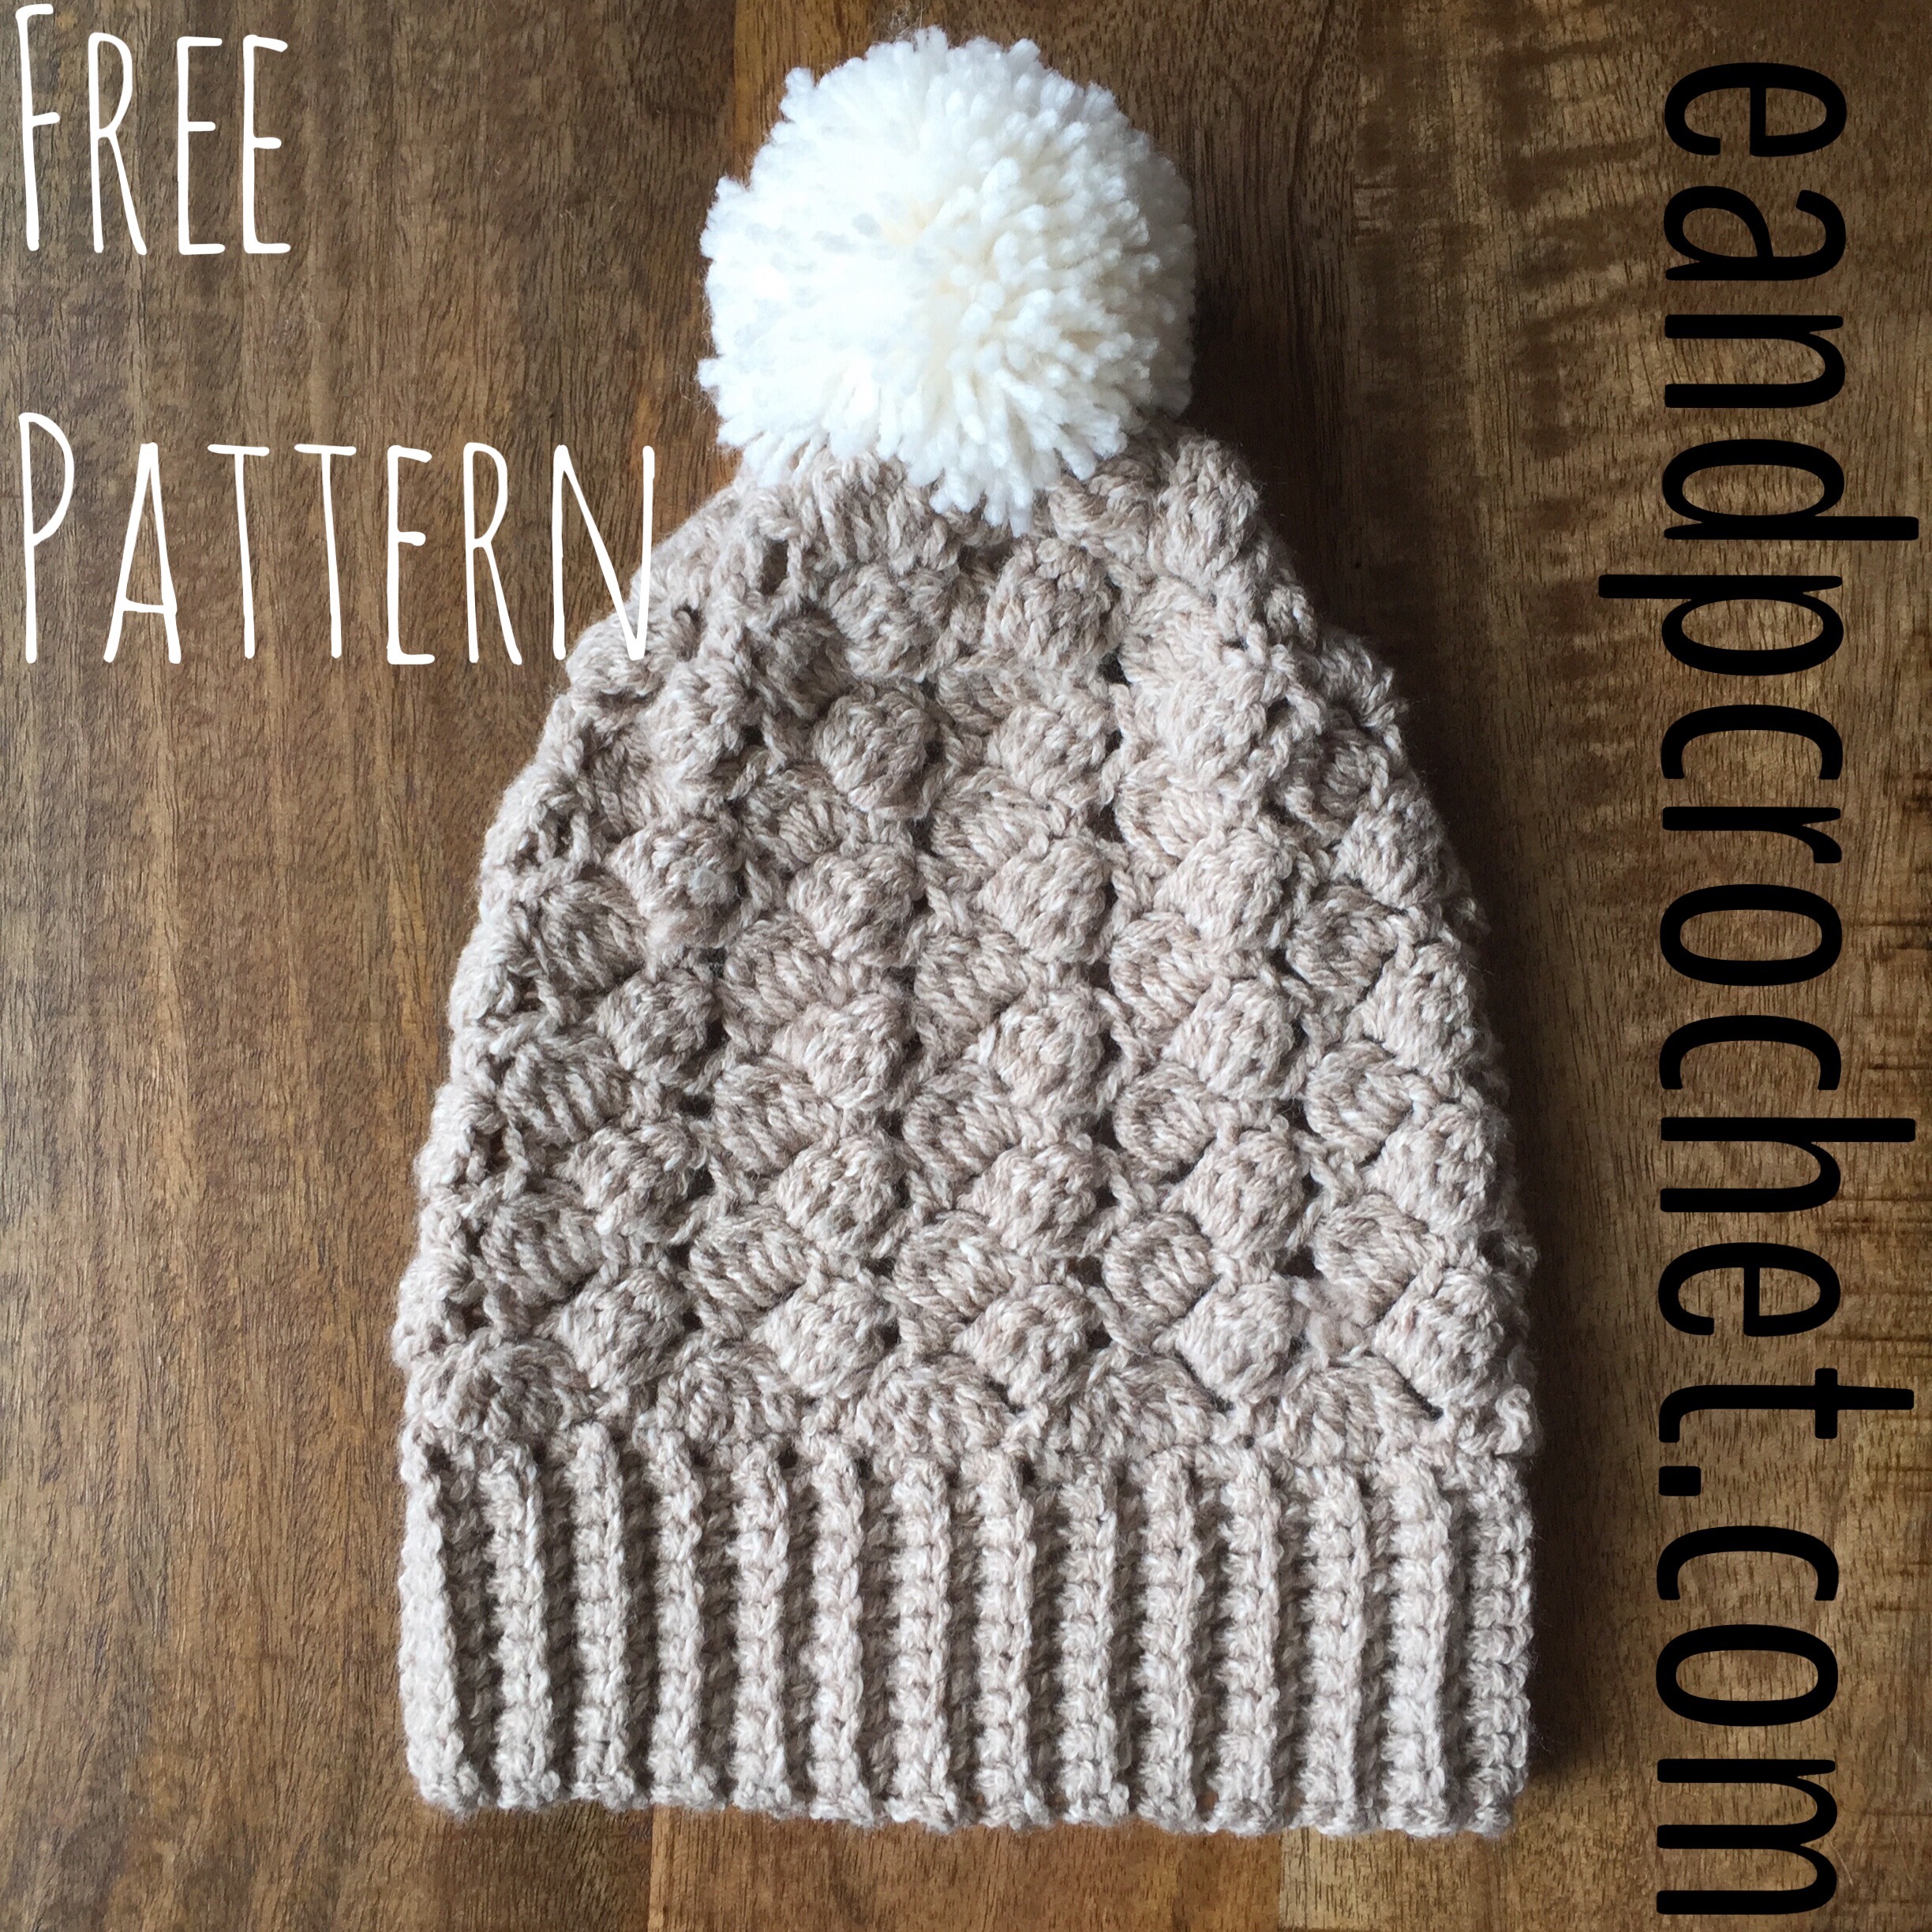
I recently saw a picture of the side saddle stitch and wanted to try it! It’s a really gorgeous stitch and once you have it memorized its pretty straightforward. I decided to make a beanie out of it and will be adding it to my craft market stash! Here is a good video tutorial if you need a visual. The only difference is we are turning our work and working in the round instead of going back and fourth in rows.
Materials:
Worsted Weight Yarn, I used Loops & threads urban yarn in oatmeal.
5mm Crochet Hook
Yarn Needle
Pattern:
dc4tog=Cluster
Ch 11
Sc in second ch from hook and in remaining chains. (10sc)
*Ch 1, turn. Sc in each stitch, Back loop ONLY. Repeat from * until length measures approximately 22 inches long.
Slip Stitch your first and last row together. Turn your work right side out.
Sl St once onto the top of your brim. ( you will now be working in the round)
Round 1: Ch 1. Sc around the brim 55 times.
Round 2: Sc in second stitch from hook, * ch 3, dc4tog over next 4 stitches, ch 1, sc 1 into next stitch. Repeat from * to end; slip stitch to beginning sc. Turn your work.
Round 3: Sl st over into top of first cluster. * 1 Sc into top of cluster. Ch 3, dc4tog into ch 3 space from previous round, ch 1. Repeat from * around. Slip stitch to first sc of previous round. Turn.
Repeat round 3 for another 12 rounds or until you reach desired length of hat.
Sew top of hat shut.
Sew on pompom and weave in all ends.

So cute! You can easily customize this for a toddler or baby head by having less rows in the brim and less rows of side saddle stitch.
Follow and tag me on Instagram to show me your beanie!


