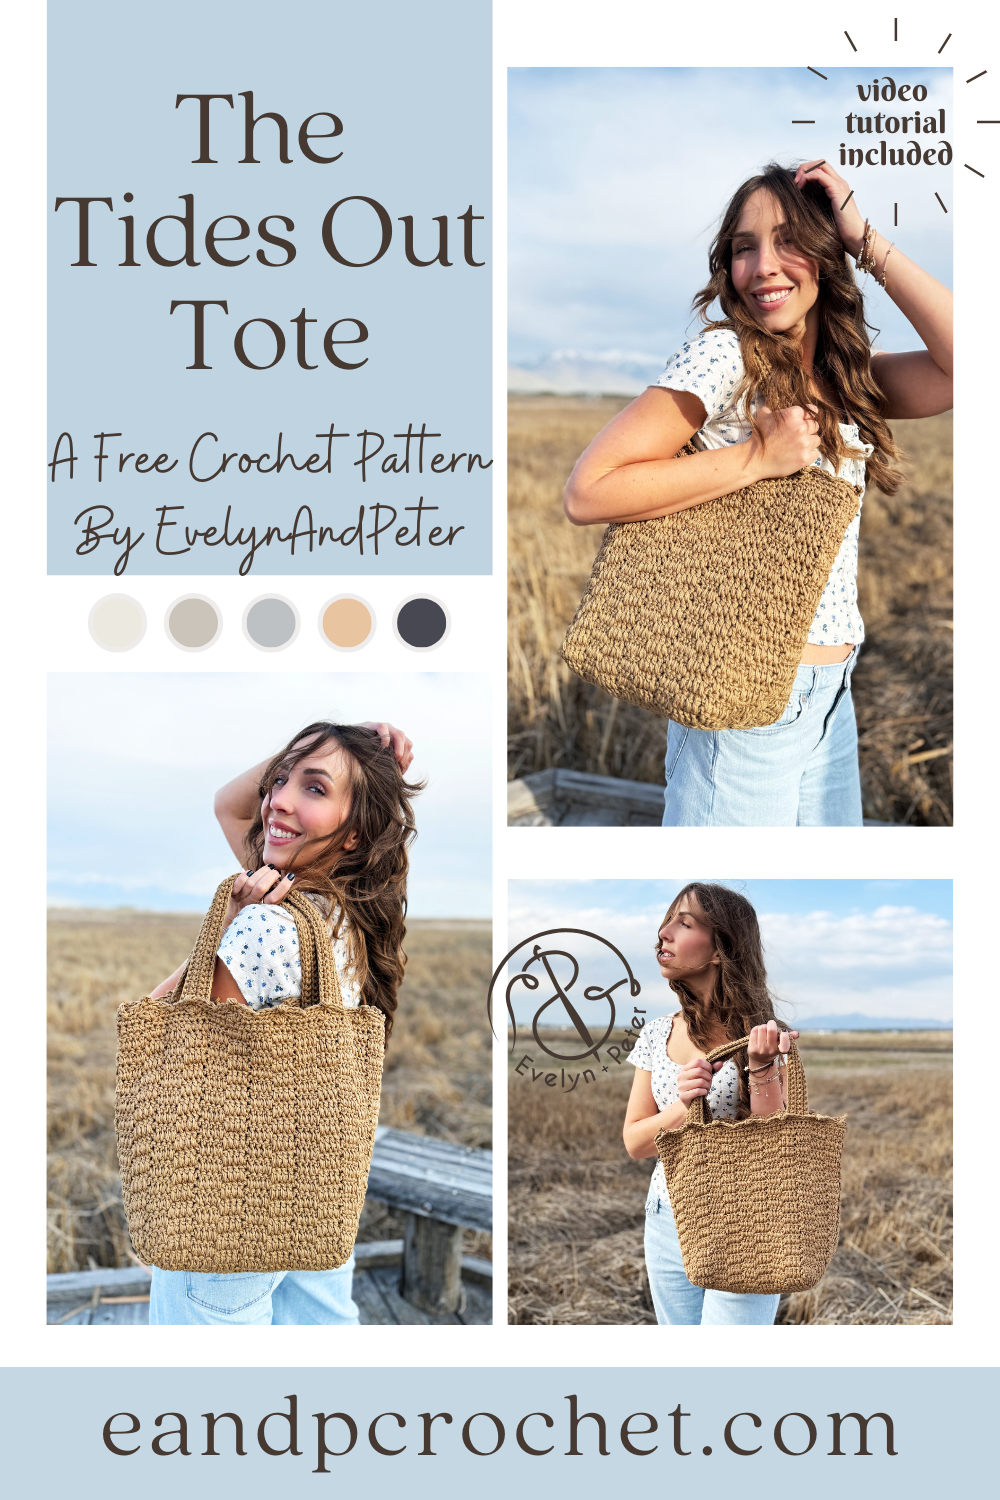
I love a good summer bag. I love 24/7 Cotton yarn. Put them together and you get The Tides Out Tote crochet pattern!
I absolutely have to make a summer bag every year and this year I ended up with The Tides Out Tote! You will be holding 24/7 cotton yarn double stranded throughout to create this beauty. It uses a bunch of double crochet stitches for an easy and fun texture.
Cardigans and pullovers are definitely my favorite thing to design but bags are not far behind! You can never have too many cute bags right? The Sunny Cinch Satchel just might be your next favorite!
I love a good cotton yarn for crochet bags and purses. Pima Cotton has always been one of my favorites so I decided to use it for my bag but wanted to hold the yarn double stranded for extra sturdiness! Let me tell ya, I am obsessed with how it turned out! The yarn is soft and so nice to work with! Plus, this bag works up even faster with the double thickness!
If you plan on buying yarn I recommend checking out my lion brand kit! It comes with a free copy of the ad-free printable pattern and you can customize your yarn color. Subscribe to my newsletter to find out about 30% off sales!
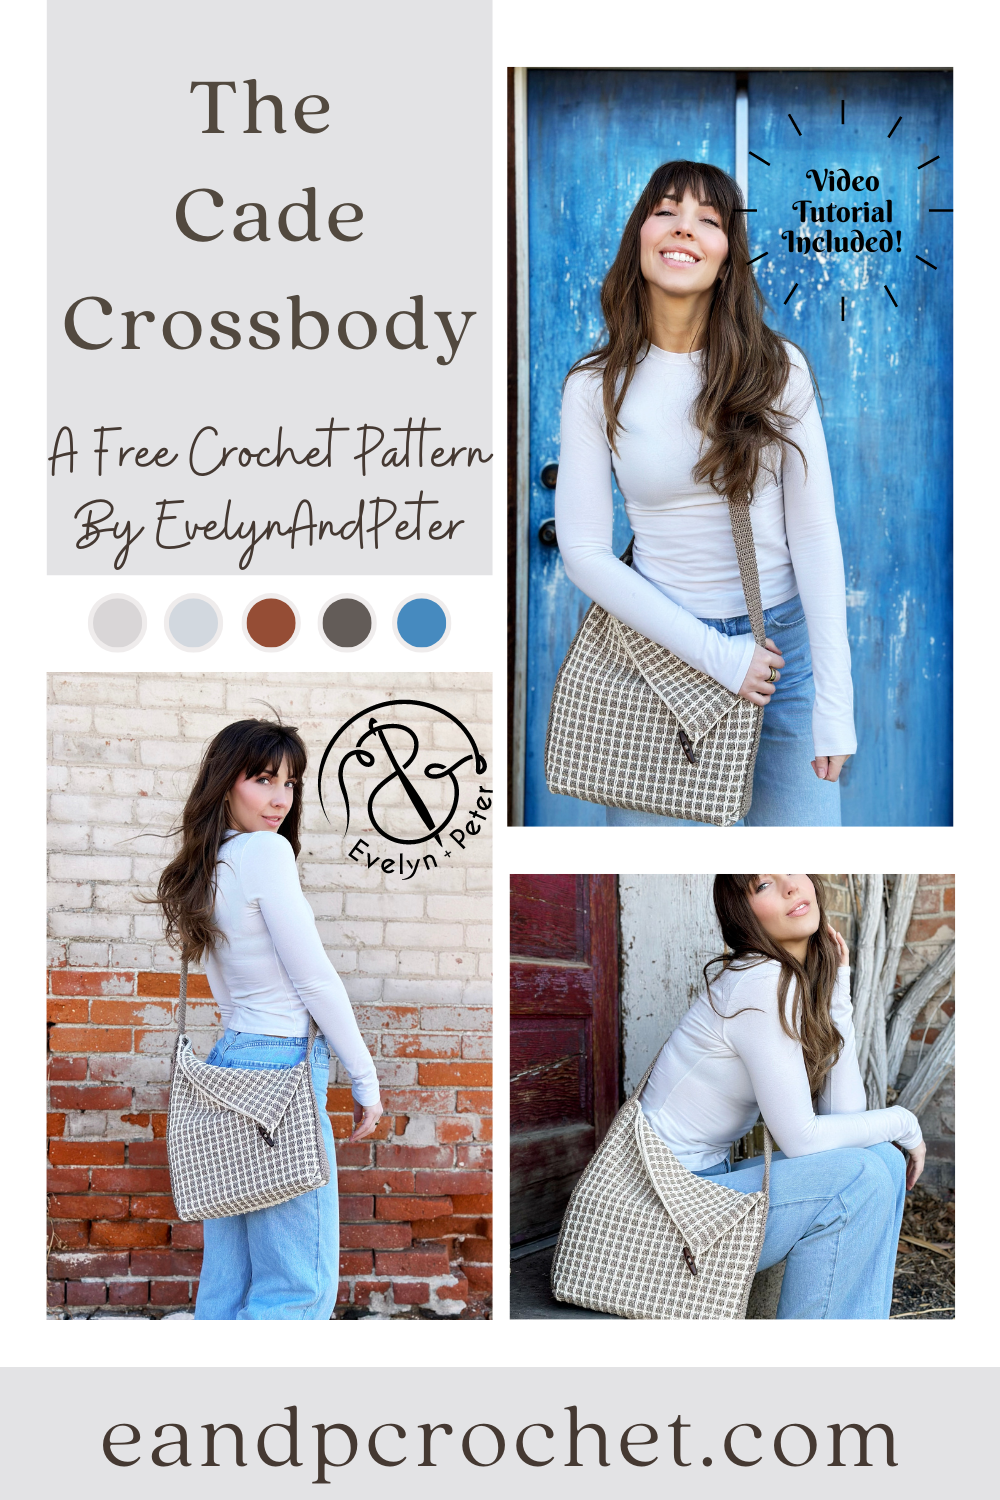
I had so much designing The Cade Crossbody. Why? Because it’s part of a collab with my yarn bestie Meghan from Meghanmakesdo! I made the crochet version and she made the knit version! It’s always nice to have options so maybe if you are seeing this but you are a knitter, than be sure to check out her blog!
The Cade Crossbody crochet pattern is actually pretty simple. It’s 2 rectangles sewn together and a long strap added last! You’ll add the strap on with a unique twist to give it the slanted fold over look. To give your bag some shape, you will be tacking/sewing the corners up into a triangle point when you add the strap. Once side is sewn further up than the other. That’s it!
When Meghan showed me the knit stitch she was going to use for her bag, I knew I would have to do some swatching and figure out how to get my crochet version looking similar! I tried a bunch of different stitch combinations. Finally I settled with a combo of Sc, Sl St and surface stitches to give the look you see here! There will be some ends on your rectangle panels. But don’t worry!! Most of them you will crochet right over, so don’t let the ends scare you! Just check out the notes section or watch the video tutorial!
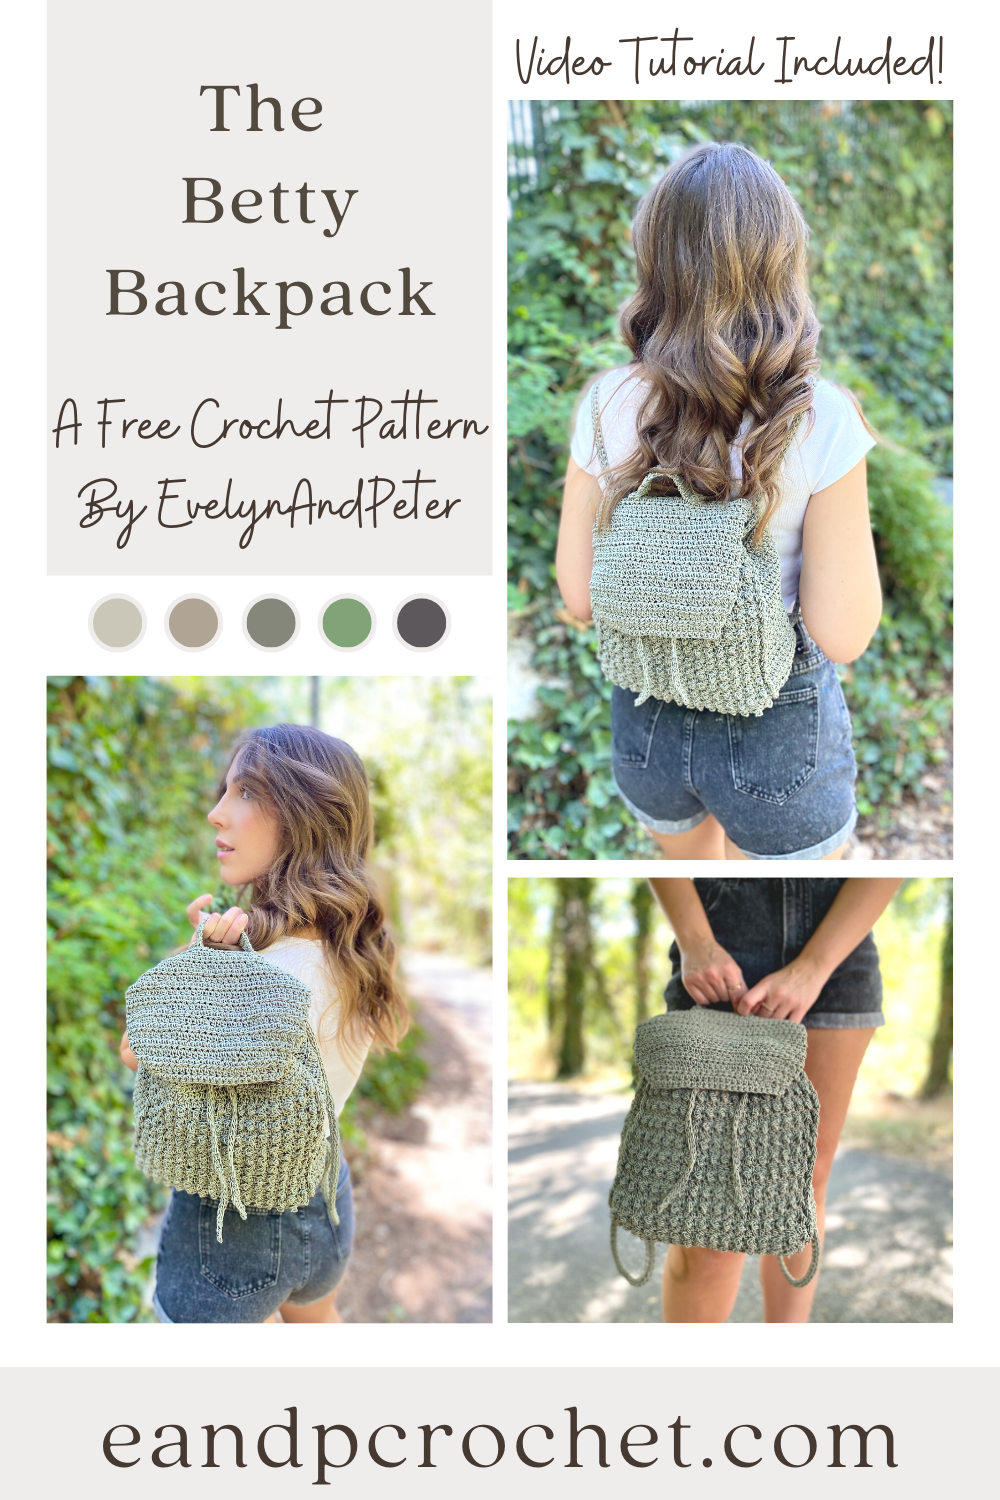
Have you tried out the new For The Home Cording by Lion Brand? I saw it and immediately knew I had to create some sort of bag with it. The Betty Backpack was the perfect outcome!
The Betty Backpack is worked flat and all in one piece! If you’ve made my Aspen Loop Bag, then you will be familiar with this construction. Once you get the main body of the backpack done, you fold it together and join on both sides. After that, you will add the upper trim in the round (don’t forget to join and turn!) and add the flap! Finally, the straps, drawstring and handle are added last.
The stitches used in this backpack are so simple but they create such a beautiful texture! You will use a combination of Hdc stitches throughout and alternating Tr/Sc stitches! Doesn’t it look like tiny puffs or bobbles? Well they aren’t! It’s just the Tr St being pushed to the front of your work! So simple and so cute.
I highly recommend using the yarn I used for this pattern or something similar. This is a cording yarn so it is very sturdy and has no stretch. It might feel a little strange and stiff to work with at first but I promise it’s worth it! If you don’t want to use a cording yarn then make sure you get a sturdy cotton or something with no stretch. The cording helps keep the shape of the backpack and is more secure for heavier weight.