Pattern: The Jessie Beanie
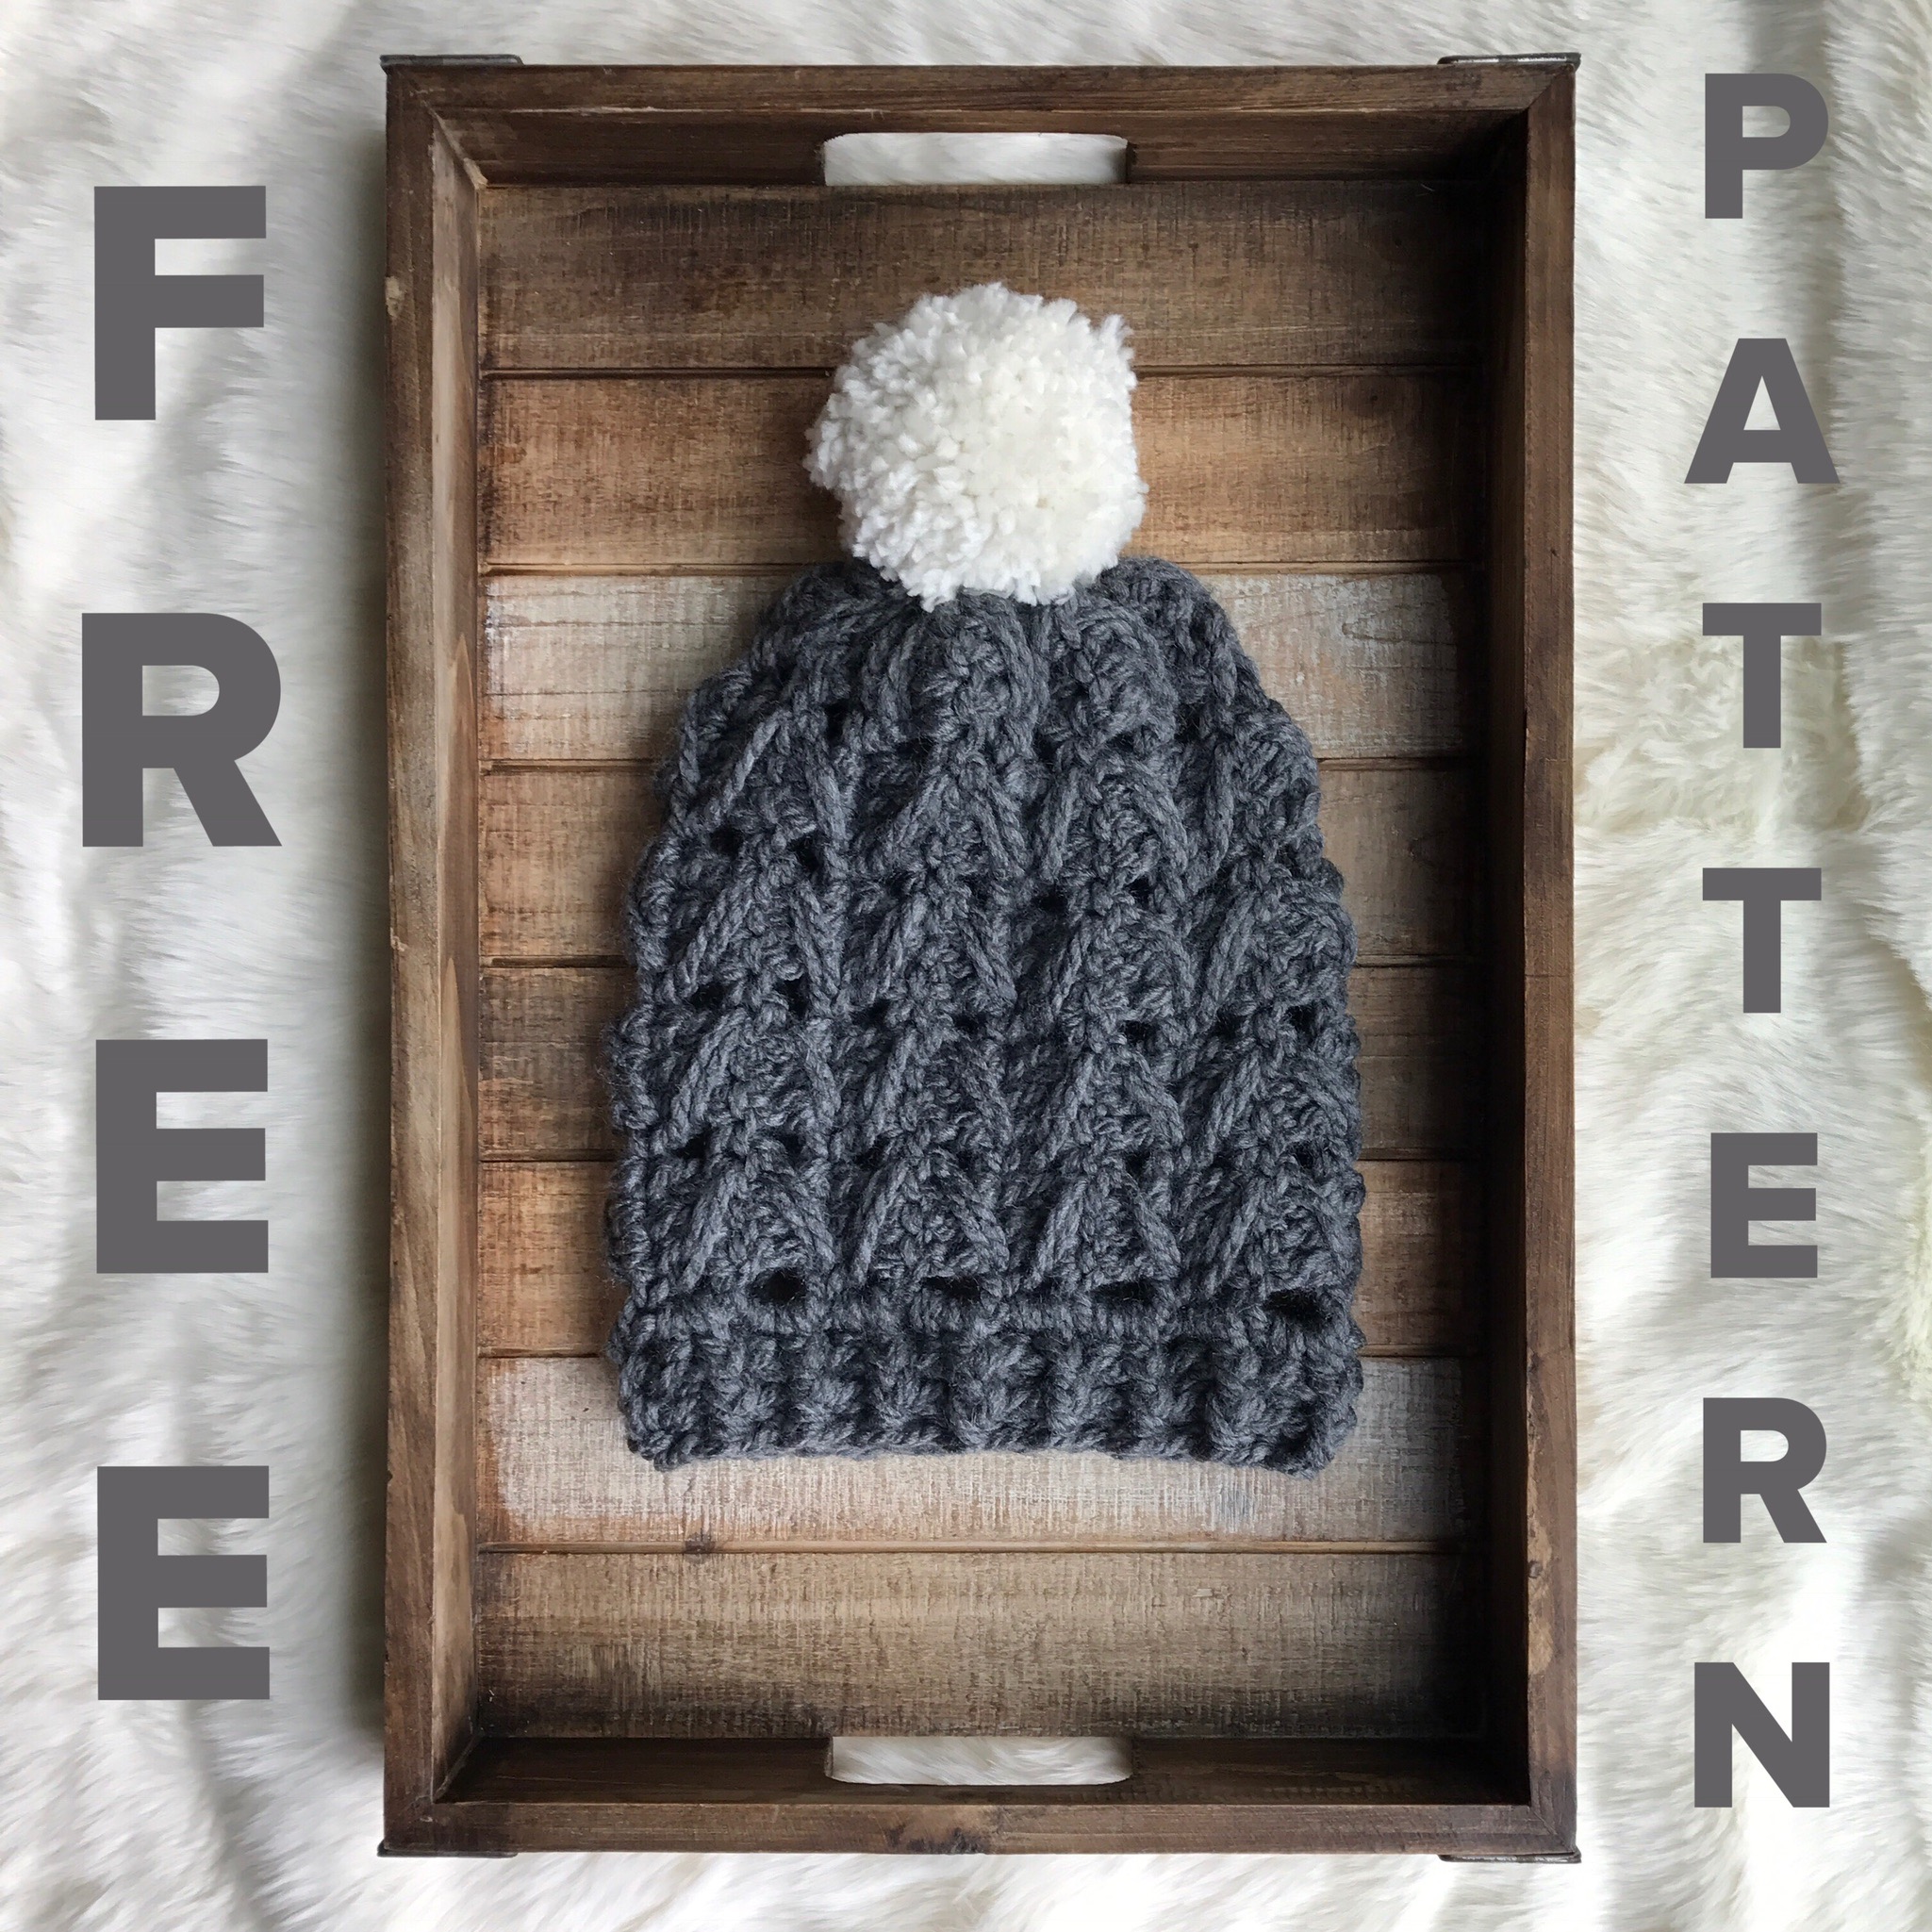
The Jessie Beanie
I’ve finally started to settle into more of a routine with my youngest, who is a terrible sleeper! I’ve been able to have a lot more free time to work on my business! As some of you know I’ve been working hard on getting patterns and finished crochet products up on my Etsy Shop. I don’t want to neglect my blog and will be posting a lot more free patterns in the new year! Be sure to keep checking back and subscribe for the latest patterns and tutorials!
This is a really fun and easy hat pattern to complete, as soon as you get the stitch down you will be able to knock out a hat in an hour or two! This pattern uses bulky yarn but can easily be customizable with worsted or super bulky yarn!
Materials:
-
8mm Crochet hook
-
Bulky yarn (5) I used less than one skein of Loops and Threads Charisma.
-
Yarn needle
-
Scrap yarn for pompom (optional)
Notes:
The main portion of the hat is first worked back and fourth in rows. You will then attach your yarn at the bottom and work in rounds to make the brim.
Pattern:
Ch 23
Row 1: Sc across.
Row 2: Ch 3 (counts as first dc), *Skip following stitch. Dc into the following 3 stitches, Dc once into the stitch that you previously skipped. (be sure to pull the stitch up all the way to the height of your other Dc’s so it doesn’t “bunch” up) Repeat from * until you reach the last stitch. Dc into the last stitch. Turn.
Rows 3-17: Repeat Row 2.
Fold your work in half and Sl St the beginning and ending rows together. Tie off and leave a long tail to sew the top of the hat shut and add a pompom.
Turn your hat right side out.
Round 1: Attach your yarn to the bottom of the hat with a Sl St ( I like to attach at the seam). Hdc equally around the bottom 34 times. Don’t worry if you end up with a few more or less stitches then 34. The more you have the looser your hat’s brim will be and the less you have the tighter it will be. Just be sure to end up with an EVEN number stitch count. Sl St to the top of the first HDC.
Round 2: Ch 1, FPHDC in the same stitch, BPHDC in the following stitch, Continue around repeating FPHDC and BPHDC until you reach the end of the round. Slip stitch to the top of the beginning hdc.
Repeat Round 2 once more or until desired length of brim is reached.
Tie off.
Go back to the top of the hat and use a yarn needle to weave the tail of the yarn in and out of the stitches, pull tight like a drawstring to shut. Be sure to weave the yarn a few times through to secure the hat. Use this length of yarn to also attach a pompom to the top of your hat if desired.
Tie off and weave in all ends.
This hat is super fast to work up, uses less then one skein of chunky yarn and is easily customized! Just add more or less rows for a bigger or smaller hat!
Here is what it looks like without the pompom…really cute both ways!

Close up of the stitches…it’s a really fun texture!


