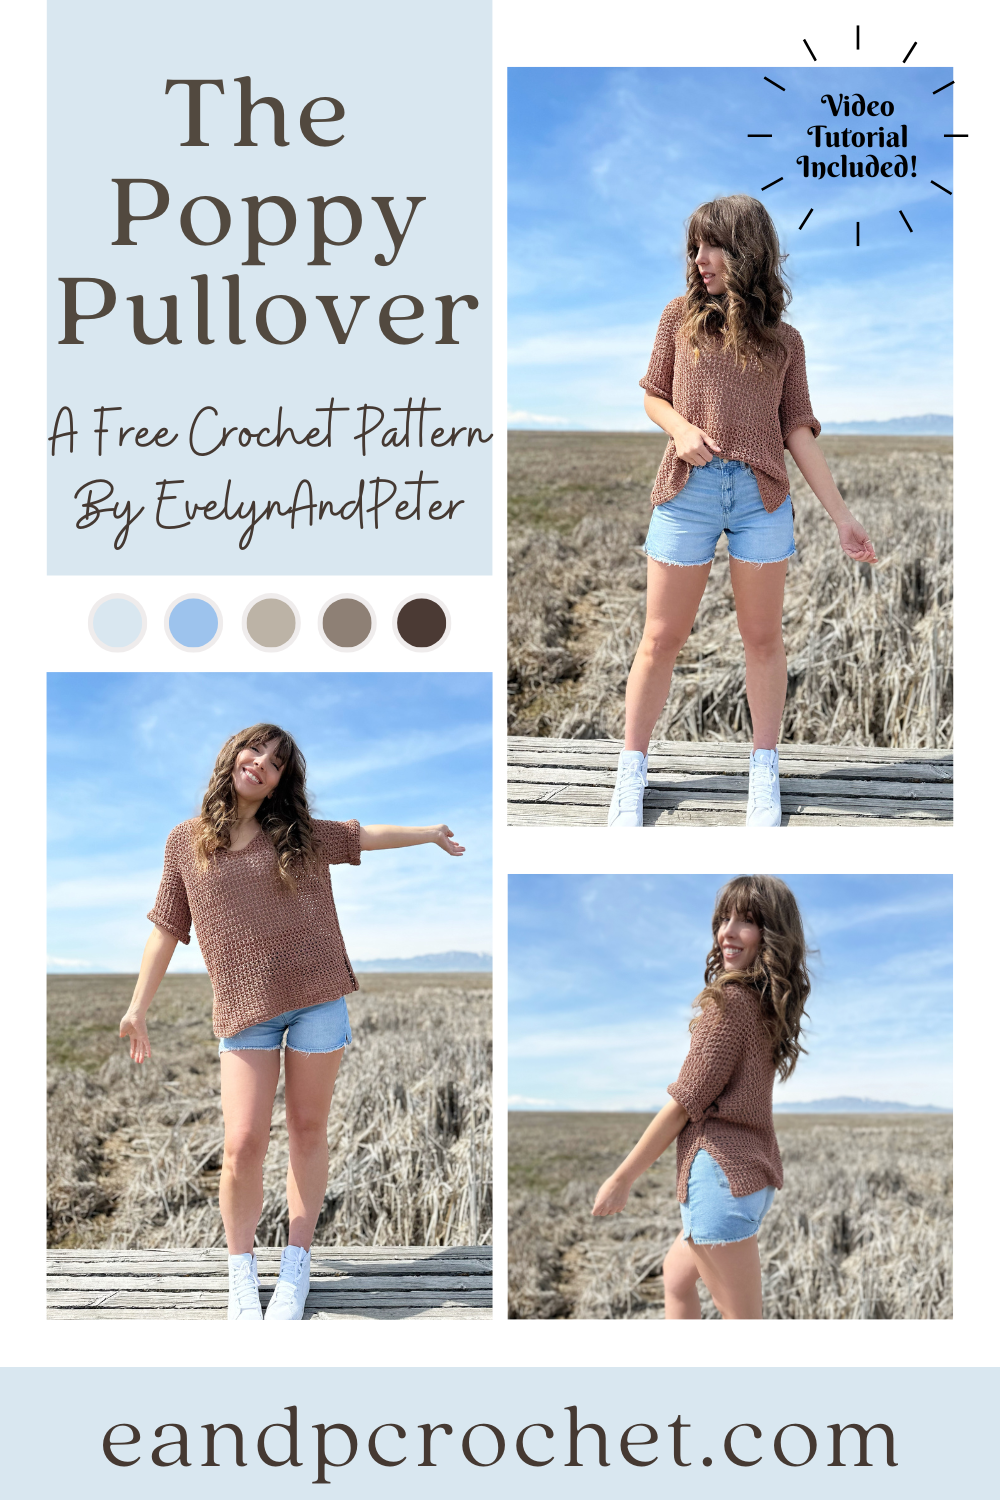
Did I just find my new favorite cotton yarn? I think I did. Be prepared for so many designs using this yarn because I am obsessed! My first make using this yarn is called The Poppy Pullover!
I used Lion Brand 24/7 cotton DK for the Poppy Pullover crochet pattern. Don’t get it confused with the worsted weight version! The DK weight is obviously thinner and much more soft. It had no splitting and no tangles as I crocheted. I’m absolutely in love with it! I used the color Cacao for mine but they have a lot of pretty choices.
The Poppy Pullover is crocheted in separate panels from the bottom up. You’ll be using a larger hook in comparison to the yarn to give it more of a mesh look. It’s important to not pull your stitches tight. You want a relaxed and even tension so you can give it the perfect drape. Feel free to go up in hook size if you normally have a tight tension and/or your gauge is off. Once you have all your panels complete you will sew them together.
The Poppy Pullover is easy to make adjustments to. You can add or takeaway as many rows as you want on the back panel to adjust the length. Just be sure to make the same adjustments on the front panel as well, right before you split the neckline.
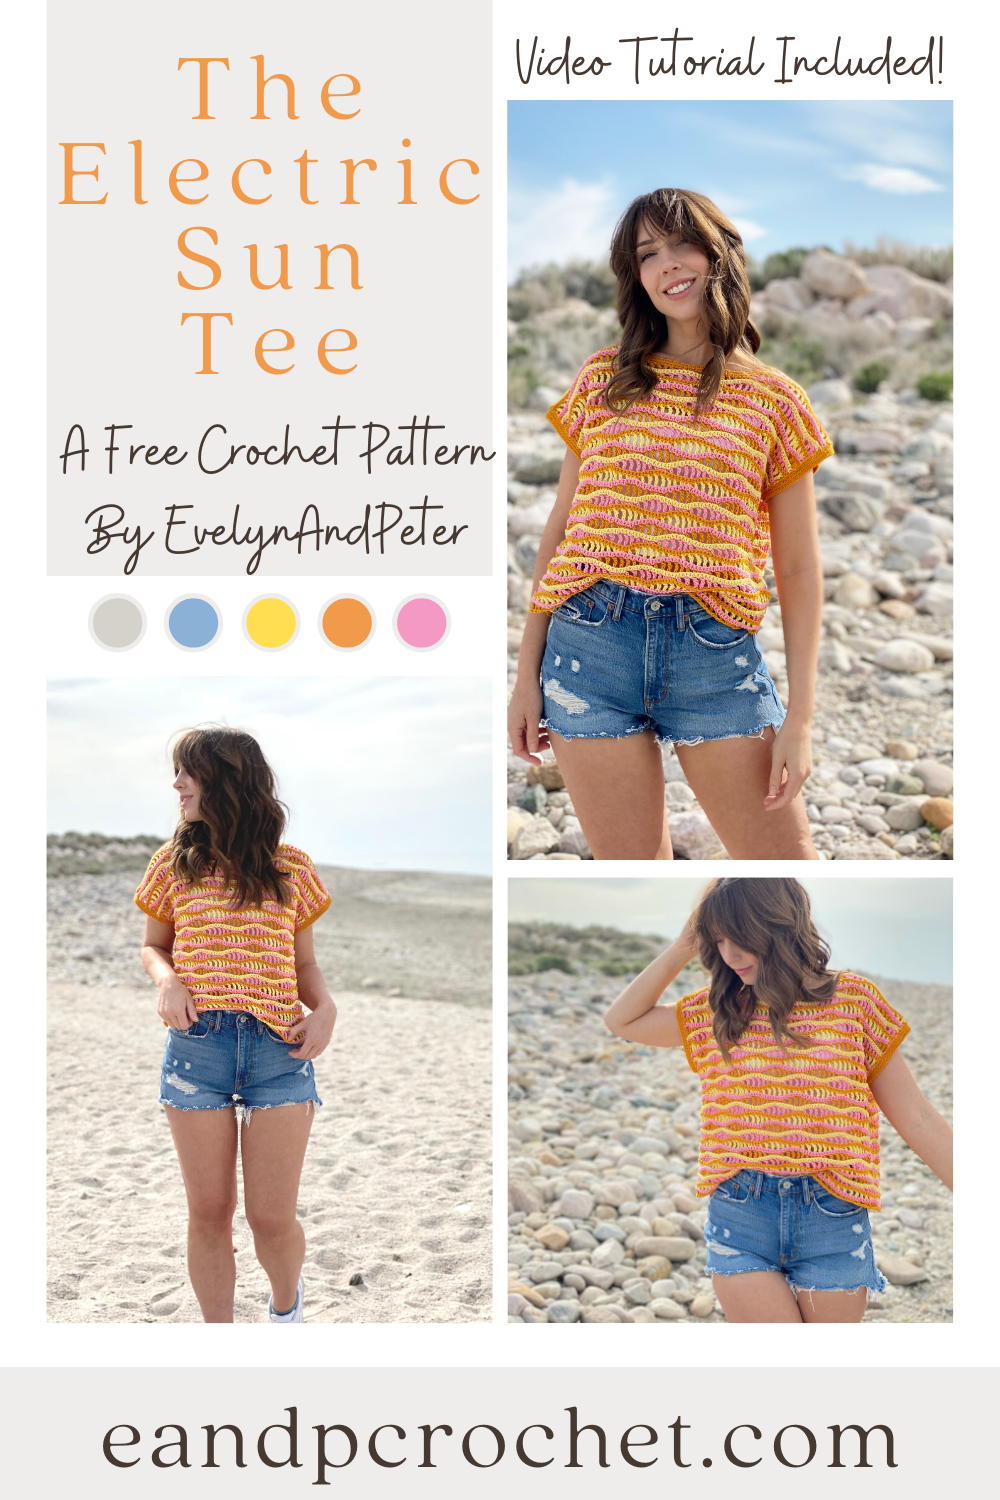
Stepping out of my color comfort zone with The Electric Sun Tee Crochet Pattern! This oversized top was so fun to make! I used 3 different colors for mine and switched them out with each row. The stitches create a really cool wave effect!
This top is written with plenty of positive ease for a very oversized look! Because of the oversized fit, each of the 3 sized can fit a wide range of body shapes and sizes! You can also make your top longer if you want by adding as many row repeats as you want before you start the shaping of the neckline. Be sure to add the same amount on both panels!
Make sure you do not cut your yarn when you change colors. If you do, you will have a ton of ends to weave in! I kept my yarn attached with each color change. Then, when I come back to that color I simply picked it back up and switched colors. This leaves small floats along the outer edge of your panel. When we sew the front and back panel together, we will sew over the floats and they will be hidden within the seam on the inside of the shirt! And TaDa! You just save yourself a ton of work!
The first few rows might be a little tricky to remember the stitch repeat. If you need some extra help, be sure to check out my video tutorial! If you have a question, it is most likely covered in the video!