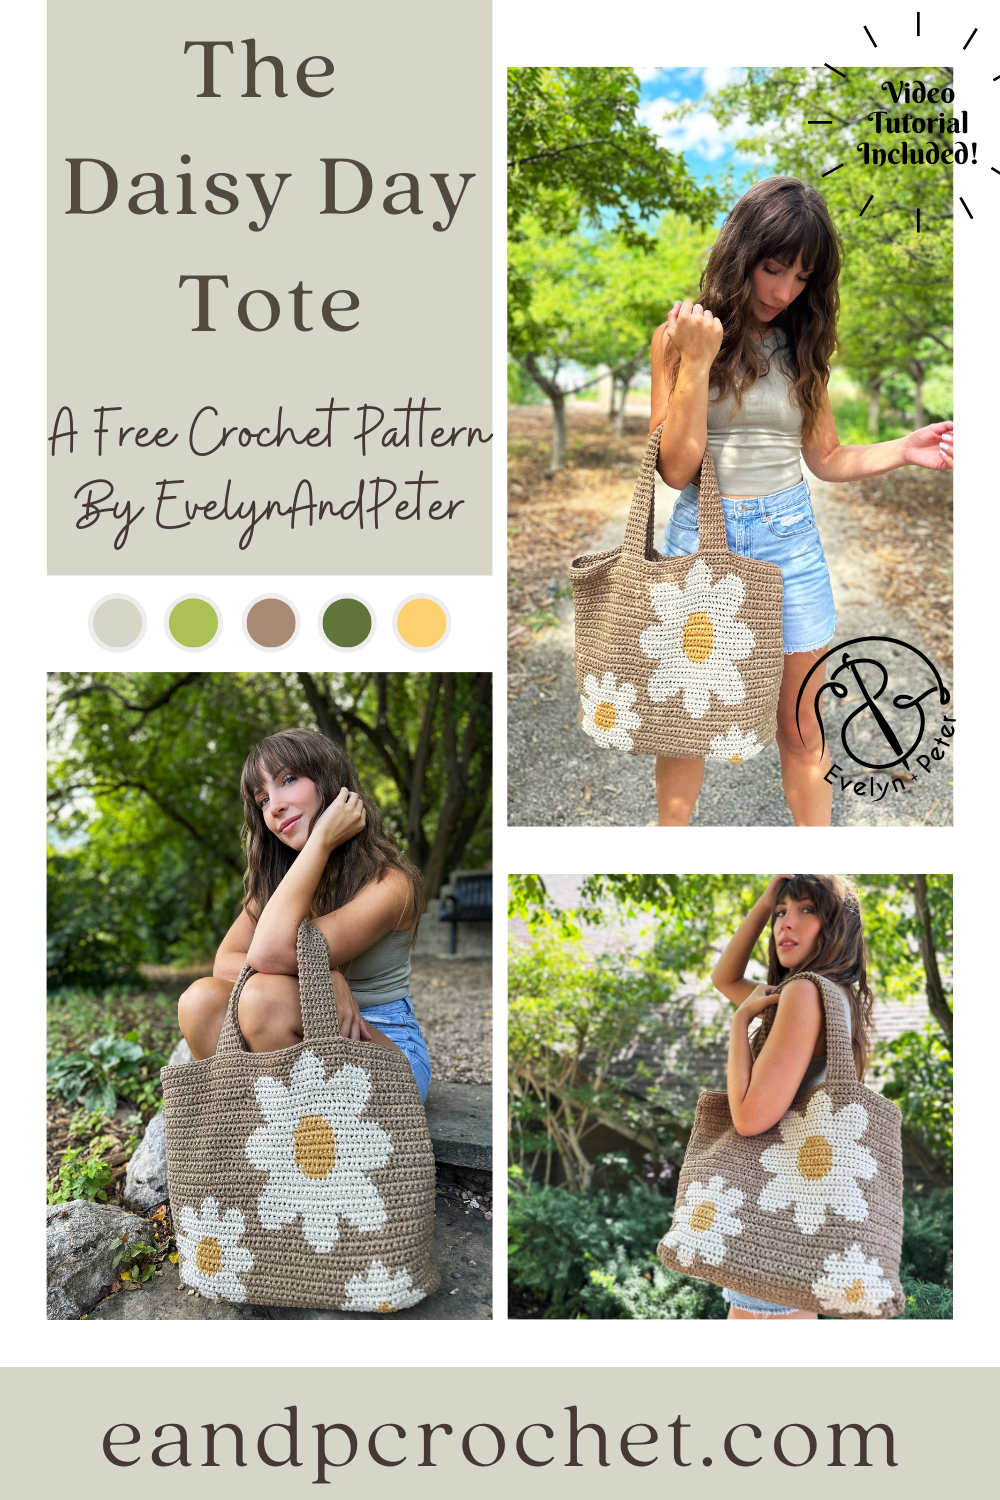
It’s been a long time coming… The Daisy Day Tote is finally here! You might recognize the cute little flowers from my previous pattern The Daisy Day Throw! I always knew I wanted to expand this collection and a large tote is what came next! Maybe there will be a Daisy Day Rug down the road??
The Daisy Day Tote Is made in 2 separate panels from the bottom up. You will also be making 2 straps. Then you will sew together! When you work the main panels of the bag you will be carrying Color A and Color B throughout. For mine, I crocheted directly over the yarn I was carrying to hide it. You will bring it up with you each row. If you aren’t familiar on how to carry yarn along in color work be sure to check out the video tutorial! For Color C, you will not carry it. Simply leave Color C where it is at and when you come back to it in the next row, just pick it up again. Only the center of the flower uses Color C so we don’t need to carry it. Once the center of one is finished just cut Color C and move to the next flower center.
The straps are made using thermal stitch which makes them extra sturdy! Be sure when you sew the straps to the bag that you place them far enough down on the inside of the tote before seaming. This keeps everything nice and secure.
If you plan on purchasing yarn, I recommend checking out the Lion Brand kit! The kit comes with all the yarn you need to make your Daisy Day Tote plus a FREE copy of the printable PDF pattern! You can even customize your yarn colors.
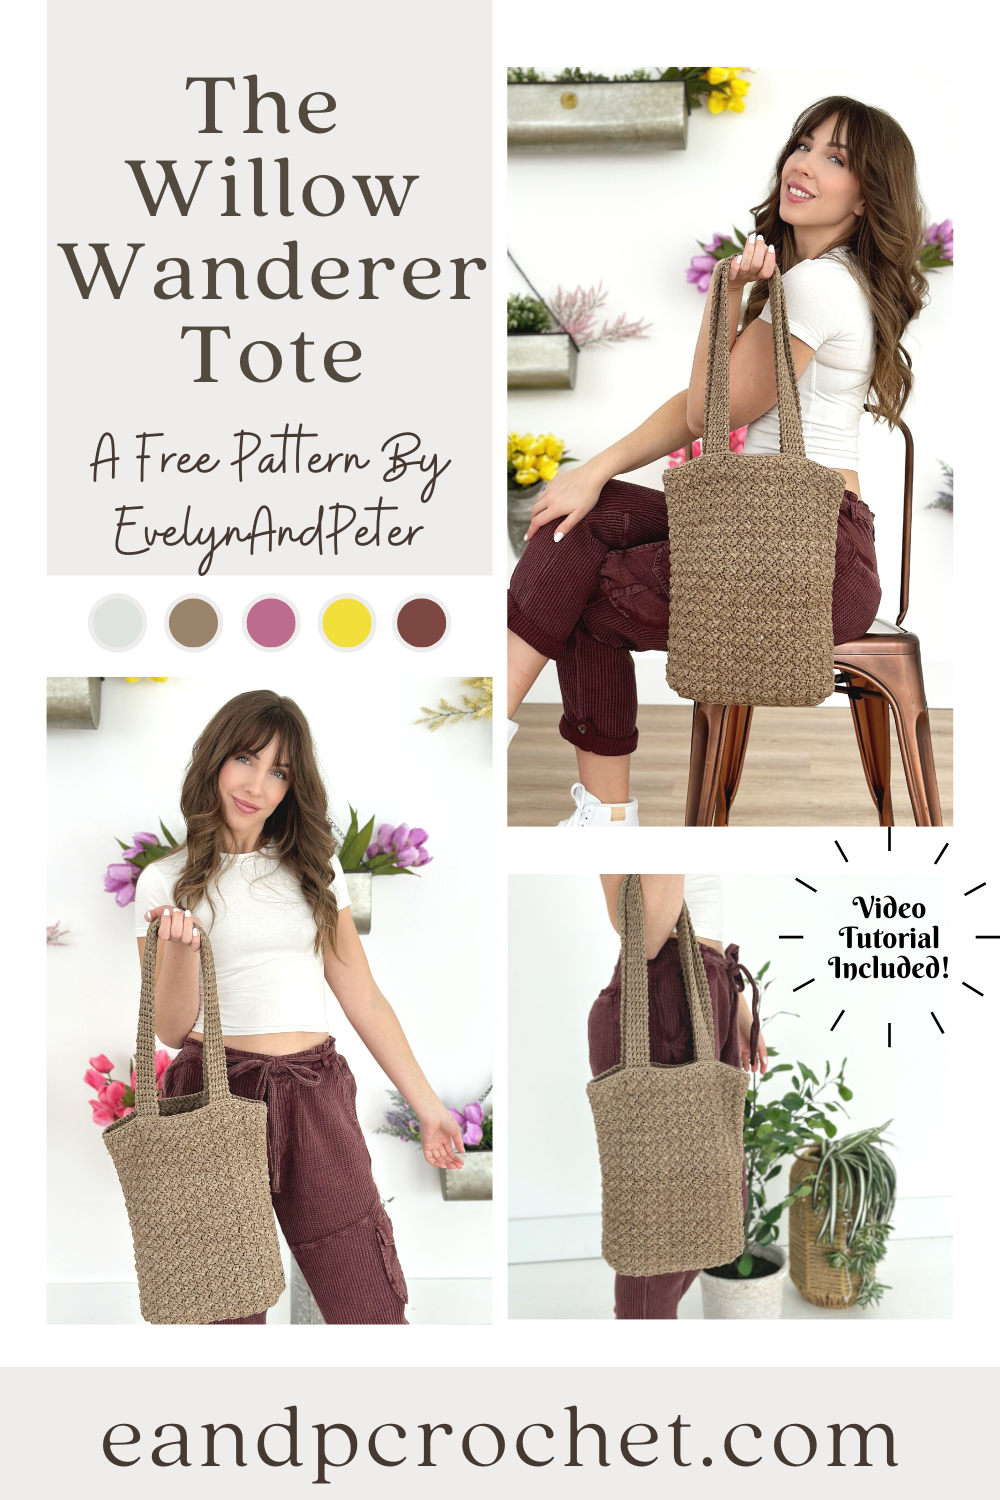
I love a good tote bag! I especially love a good tote bag when it uses Rewind yarn. The Willow Wanderer Tote uses Rewind yarn AND one of my favorite stitches!
The Willow Wanderer Tote is worked in 2 matching panels from the bottom up. Once both panels are made you’ll join them down the sides and bottom. The panels are made using the Sedge Stitch! You might recognize this stitch from my Kiah Cardigan and my Winter Moonlight Set! Overall this pattern is pretty beginner friendly. There is one spot where you will need to know how to work a Foundation Single Crochet (Fsc). It’s only a small part totaling 6 Sc in the shaping. If you don’t know how to work a Fsc, don’t worry!! I show you how to do it in my video tutorial, so be sure to check it out.
Once you have the 2 main panels made you have to make the straps! The straps are worked up in the Thermal Stitch. This is a very thick and sturdy stitch. My straps are approximately 26″ long. When you sew them onto the bag you will position it about 1.5″ down from the top of the bag on both sides. This way when you sew it on, it’s attached in a square shape and makes it extra sturdy.
I used Rewind yarn for this bag. This is such a nice yarn in my opinion. It’s super soft and a flat tape shape. There are so many nice colors too! My tote is available as a Lion Brand kit which comes with all the yarn you need to make your tote plus a FREE copy of the digital PDF pattern!
Be sure to check out some of my other bags here!

Looking for an easy tote bag pattern? Then The Lucy Tote crochet pattern is perfect for you! This tote bag is worked from the bottom up, in the round. It comes together quickly since you will be using bulky weight tape yarn!
If you haven’t used Lionbrand Rewind yarn yet, then you are in for a treat! It’s sooo soft and creates a sturdy fabric when worked up! There is no snagging because of the flat tape style and it’s super easy to frog if needed! I used under 2 skeins in the Elm color and 1 in Willow! They have several different really pretty color options though if you want to check it out!
I also wanted to point out that the straps can totally be made longer if you want! I put a little note within the pattern on where and how to do this. When designing the bag I was going back and forth with the strap length. When I asked TikTok what I should to the majority of people said to keep the straps the length I had them! But I wanted to make sure those who prefer longer straps would have that option as well!

Are you a plant lady? I like to think I am. I admit sometimes I can’t keep all of my plants and succulents happy and alive but I try my hardest! The Plant Lady Tote is perfect for anyone who loves plants and succulents! I hope you love it as much as I do!
The Plant Lady Tote is made with Lion Brand 24/7 Cotton yarn. This is my favorite yarn to use to make sturdy bags and home decor. Not to mention it has so many gorgeous color options! Most recently, I used it for my Magical Market Tote.
If you haven’t tried tapestry crochet or any type of color-work before I definitely recommend checking out some tutorials and make a practice swatch! It can be a bit cumbersome switching back and fourth between colors at first. But with a little bit of practice you’ll be a pro in no time! Check out the recommended tutorials below before you get started.
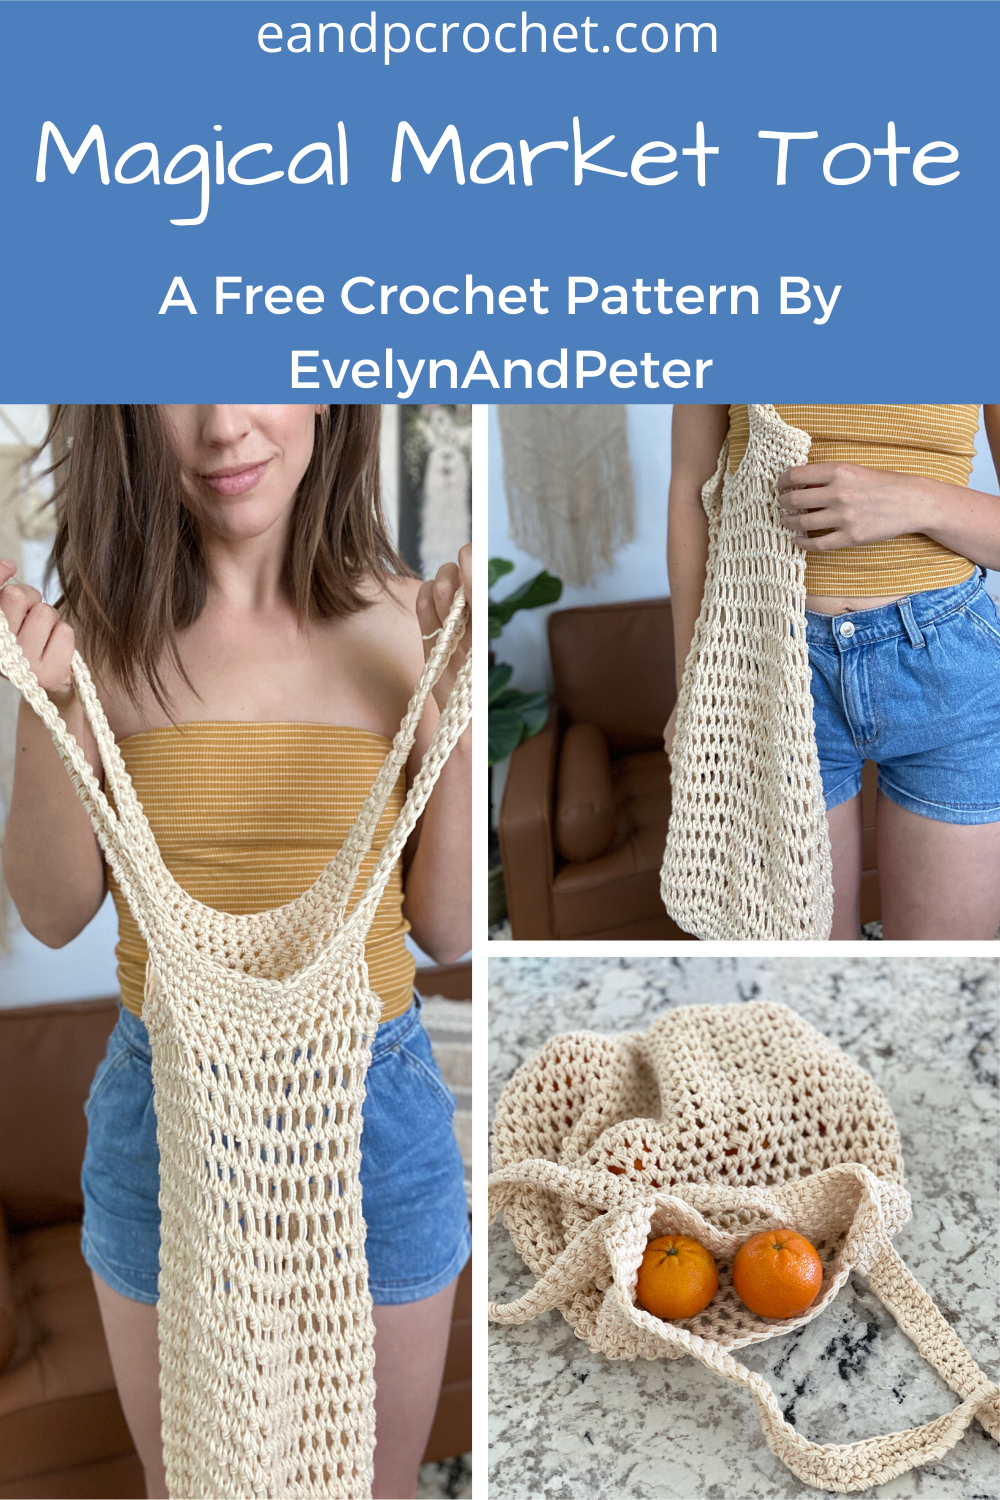
Im a huge fan of FAST patterns, what about you?! The Magical Market Tote works up in just a few hours. Maybe even less if you don’t take any breaks! Its double stranded and uses a few different large hooks for a quick make!