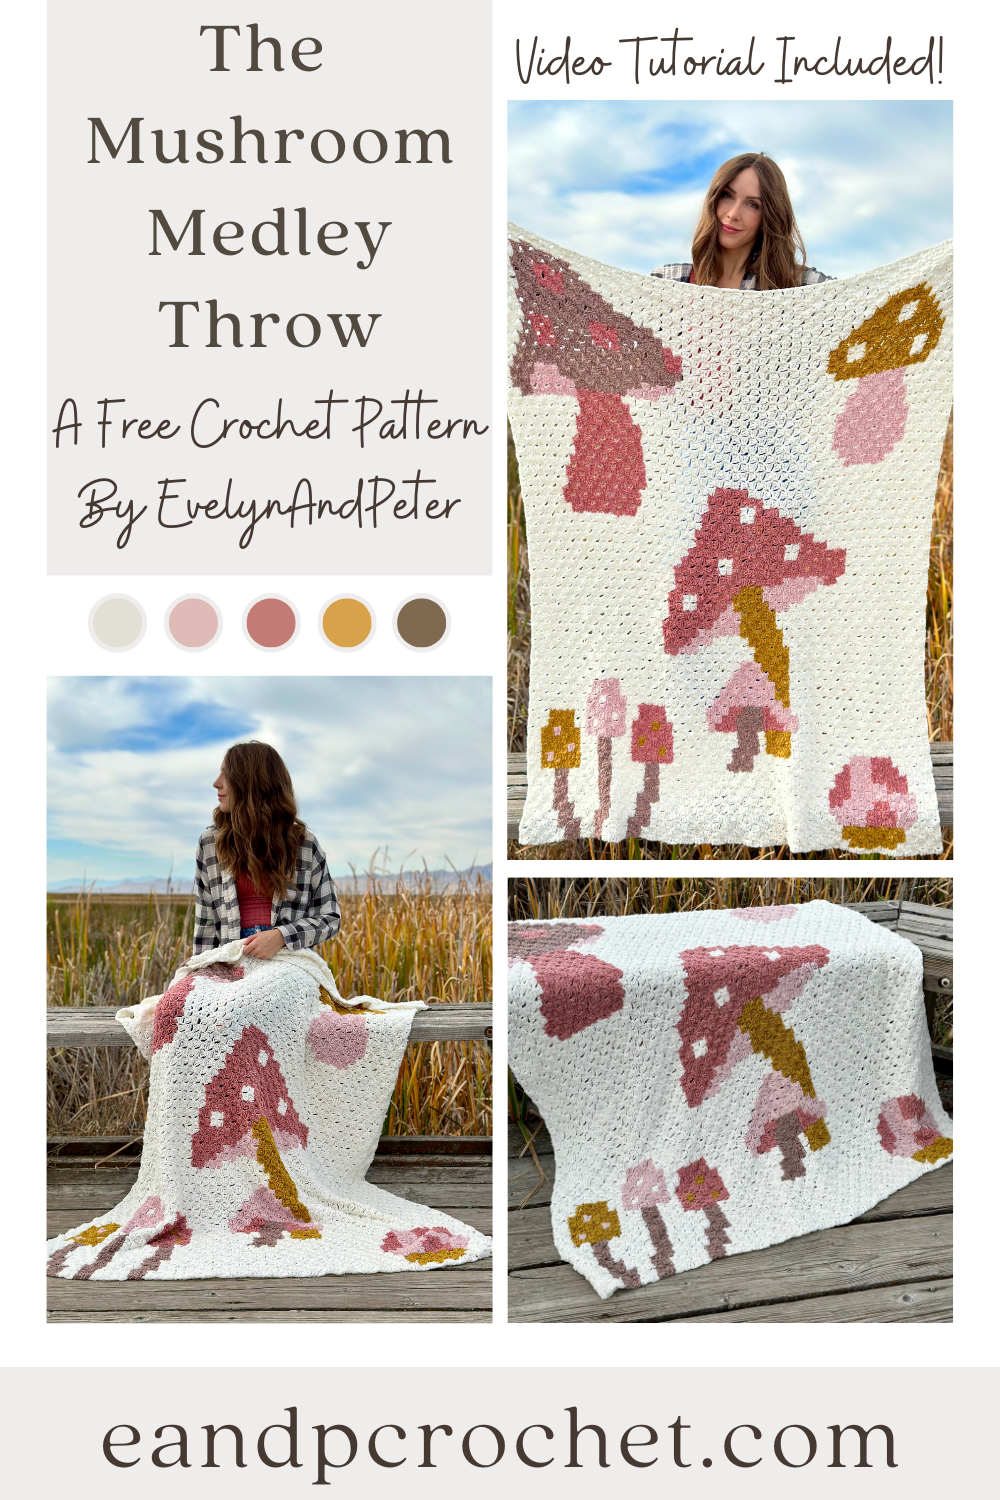
I know I’m not the only mushroom fan around here. If you’ve been to literally any store in the past year I’m sure you’ve seen cute little mushrooms on mugs, wall decor, pillows… I could go on and on! Who doesn’t love a cute whimsical mushroom?! The Mushroom Medley Throw is perfect to add to your mushroom collection or give to a mushroom fan! (how many times can I say mushroom haha)
If you guys have been following me for a while you know that I am a C2C crochet fan. I like to make at least 2 c2c crochet blankets every year. The Mushroom Medley Throw is my third this year! I designed The Daisy Day, The Squeeze The Day and now The Mushroom Medley! Be sure to check out all my other c2c patterns if you’re a fan too!
If you are new to C2C I recommend practicing with a smaller swatch before beginning a blanket! Once you understand how to make the basic squares it really is easy! You just repeat squares to grow your blanket, and decrease when you reach the corners!
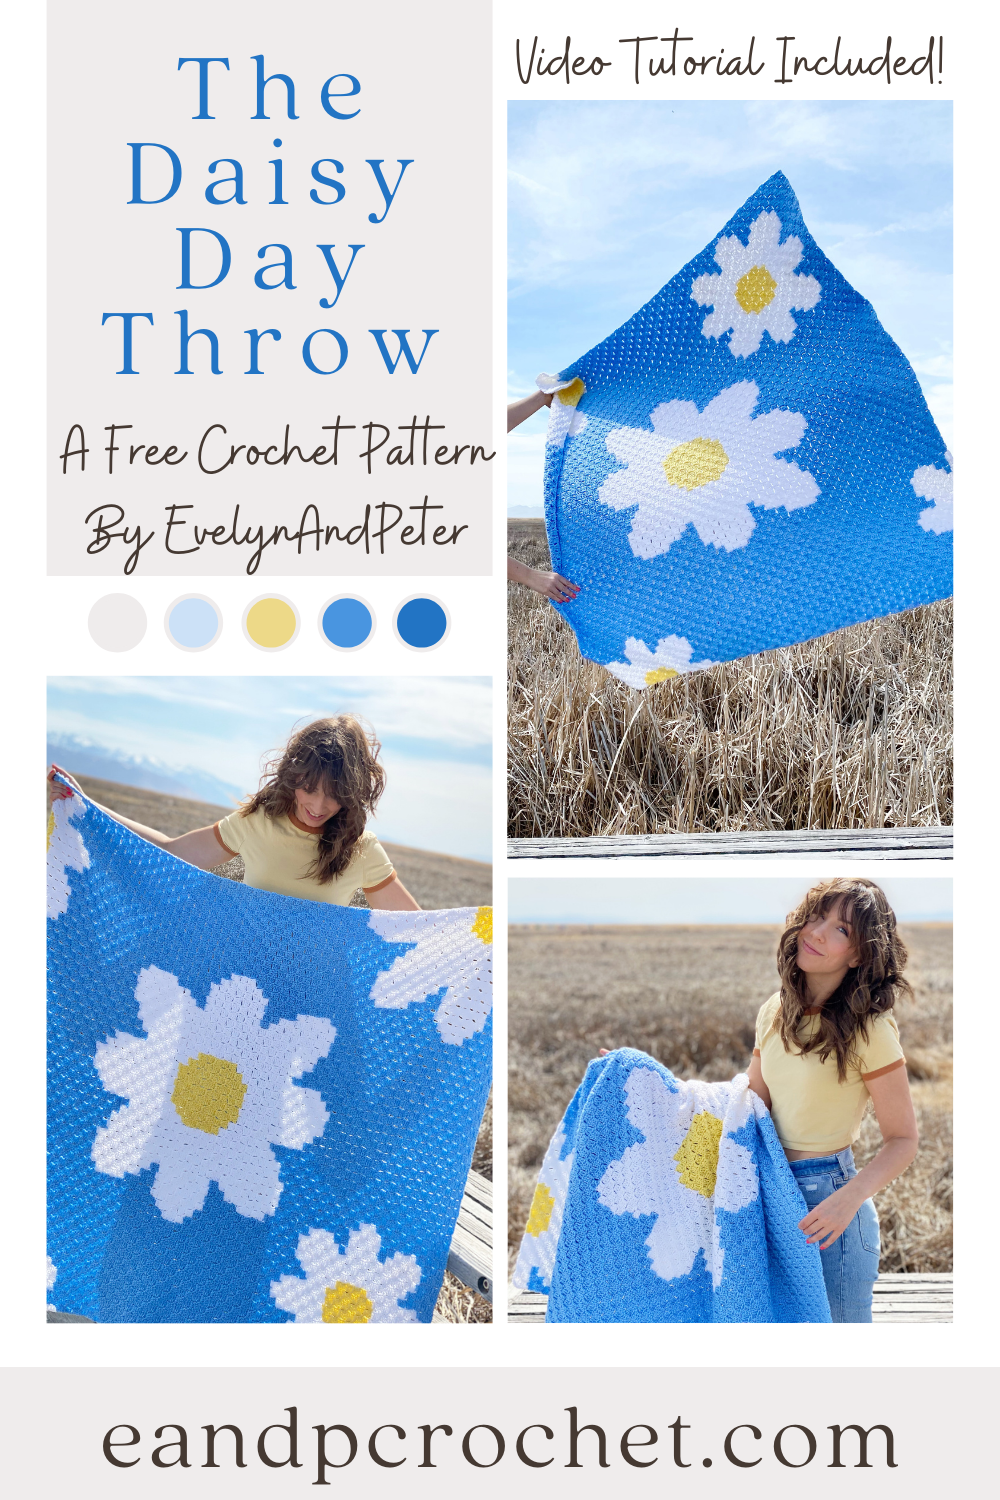
Every few months I get the urge to make a C2C crochet blanket and it never disappoints. The Daisy Day Throw was perfect to make on these cloudy spring days, to bring some happiness. I don’t know if you guys have noticed but the 90s are making a big comeback in design and fashion! I think that the Daisy Day Throw fits in perfectly with 90s vibes. It reminds me of my childhood and I love it!
The Daisy Day Throw is a Corner 2 Corner (C2C) blanket which means it’s made from the bottom right corner, diagonally to the top left corner. If you’ve never made a C2C then I recommend checking out my video tutorial as you create the blanket. You could even work up a practice swatch before diving into the project.
I also recommend making separate balls of yarn to help prevent cutting and joining your yarn with each color change. For example, when you get to the petal sections you will want a separate ball/skein of yarn for each petal and a separate ball for the blue sections in between. That way you don’t have to cut and join the yarn each time. Now, at some points there will be NO avoiding the cutting of the yarn. You will have to do it and you will have ends to weave in. I found with this blanket that it wasn’t too overwhelming and I got them all weaved in within an hour or so. If you need some visuals on how to keep your yarn organized there are lots of tutorials available out there!