search results for
cardigan
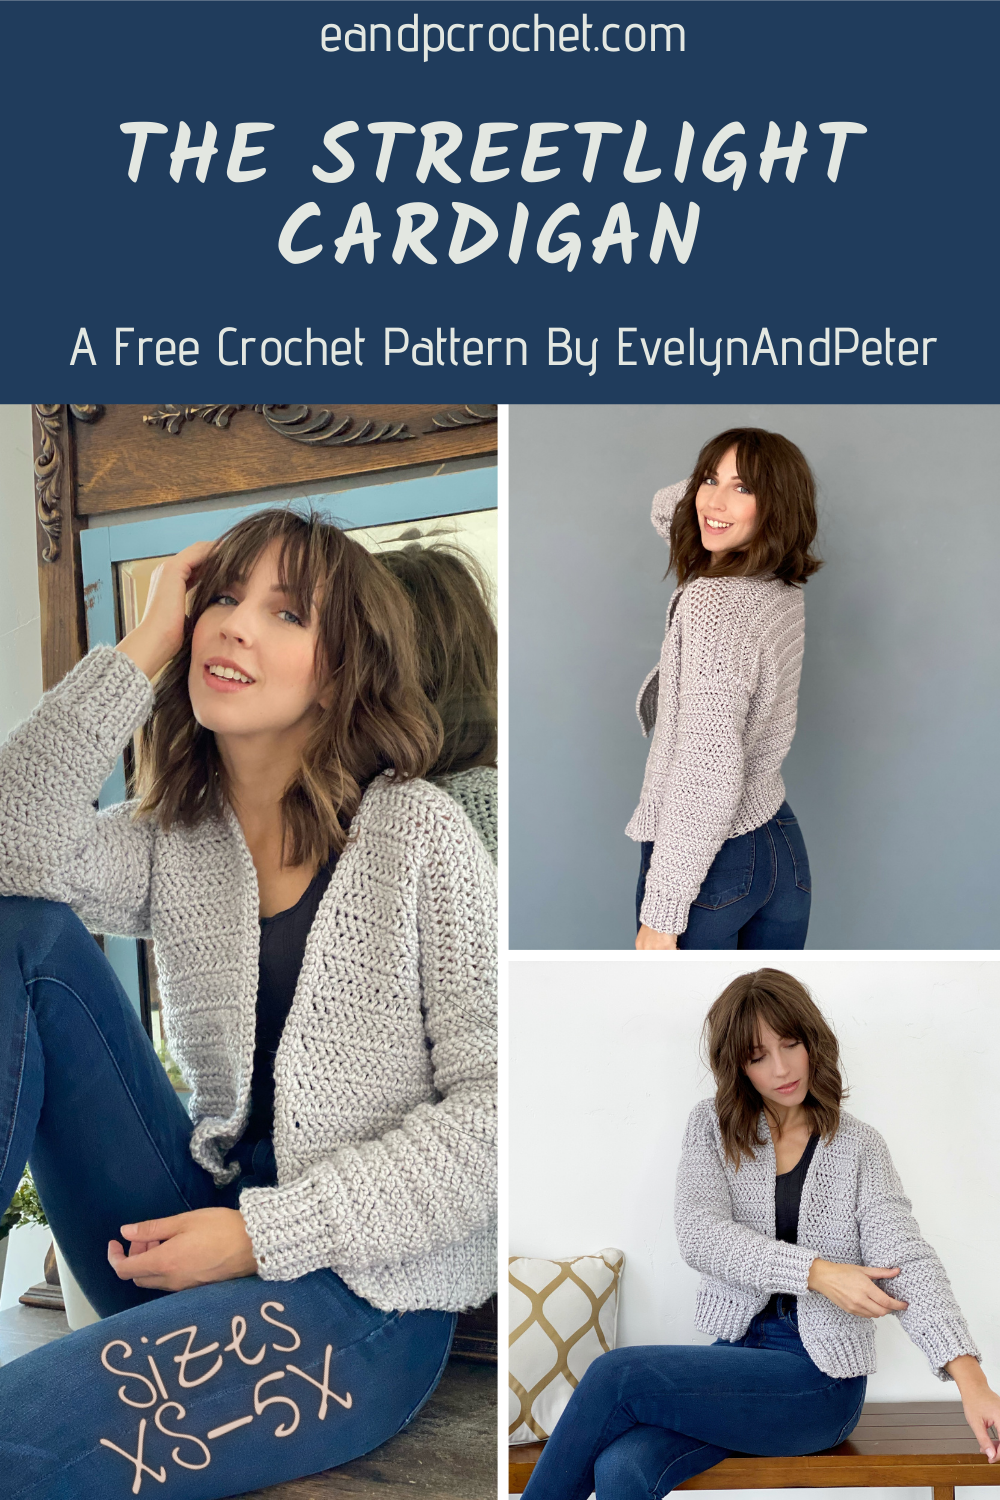
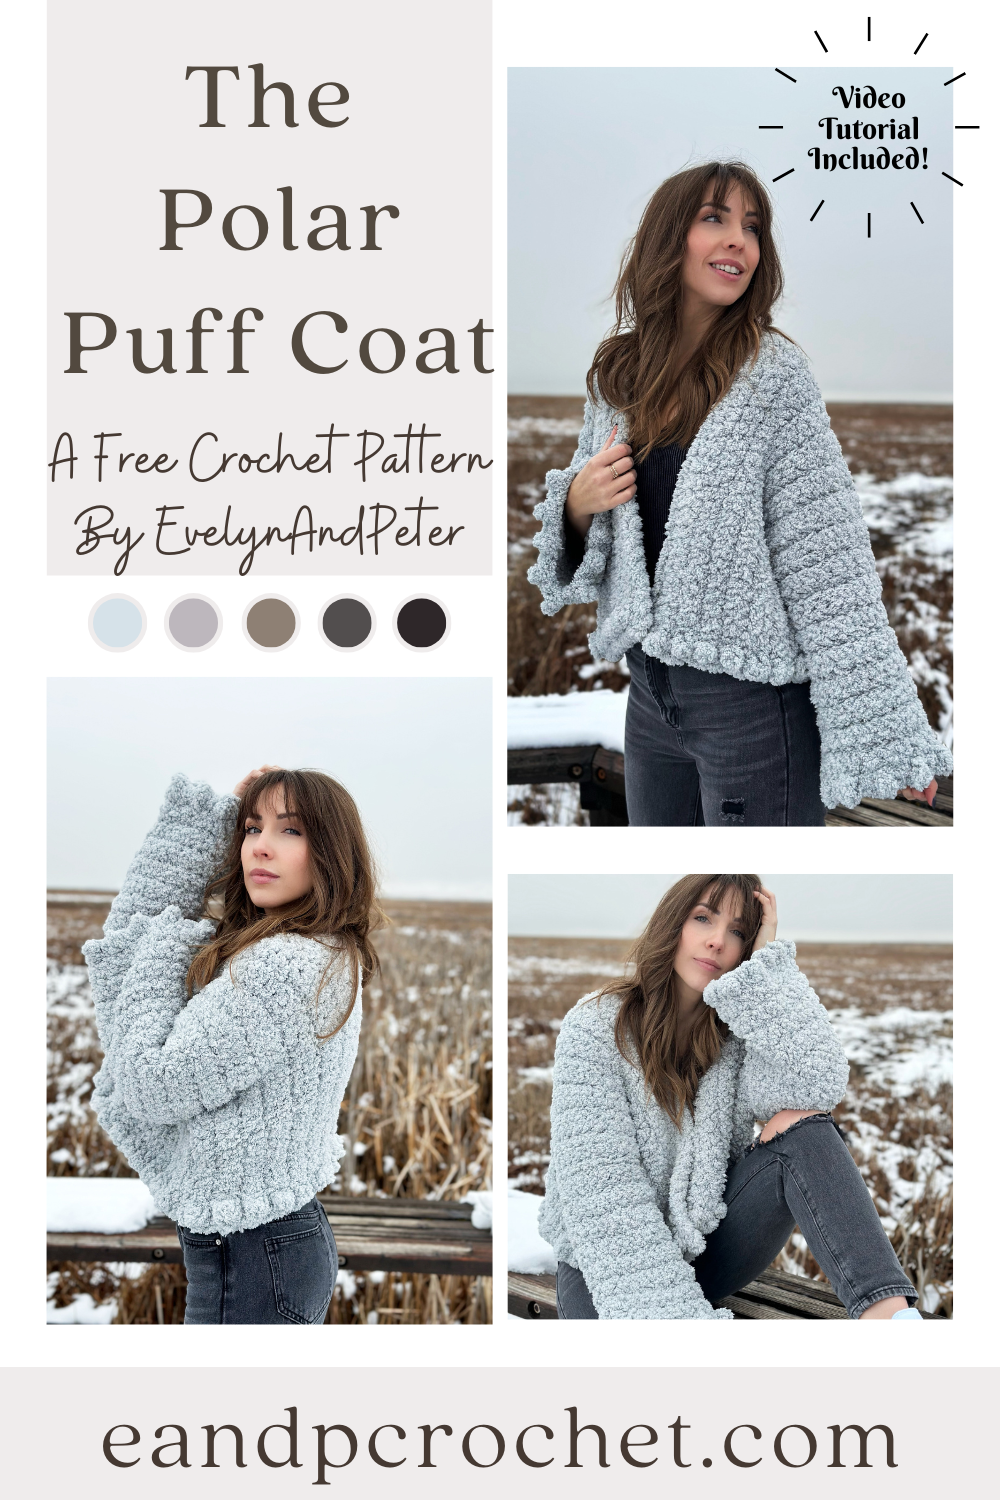
Is it really that time again? The Countdown To Christmas Campaign with Lion Brand has begun and I’m so excited to once again be featured in it! This year I’m sharing the Streetlight Cardigan with you guys!
This cozy bomber style cardigan flew off my hook not even kidding. It was SO quick to make because I used a bulky weight yarn! I also wanted it to be beginner friendly so there isn’t really anything tricky in this design either. I designed it for sizes XS-5X but it’s also really easy to customize your length if you wanted to!
You might notice the Streetlight Cardigan is a little similar to the pattern I made last year for this campaign- The Cozy Boyfriend Cardigan. What can I say, I have a thing for grey I guess! haha.
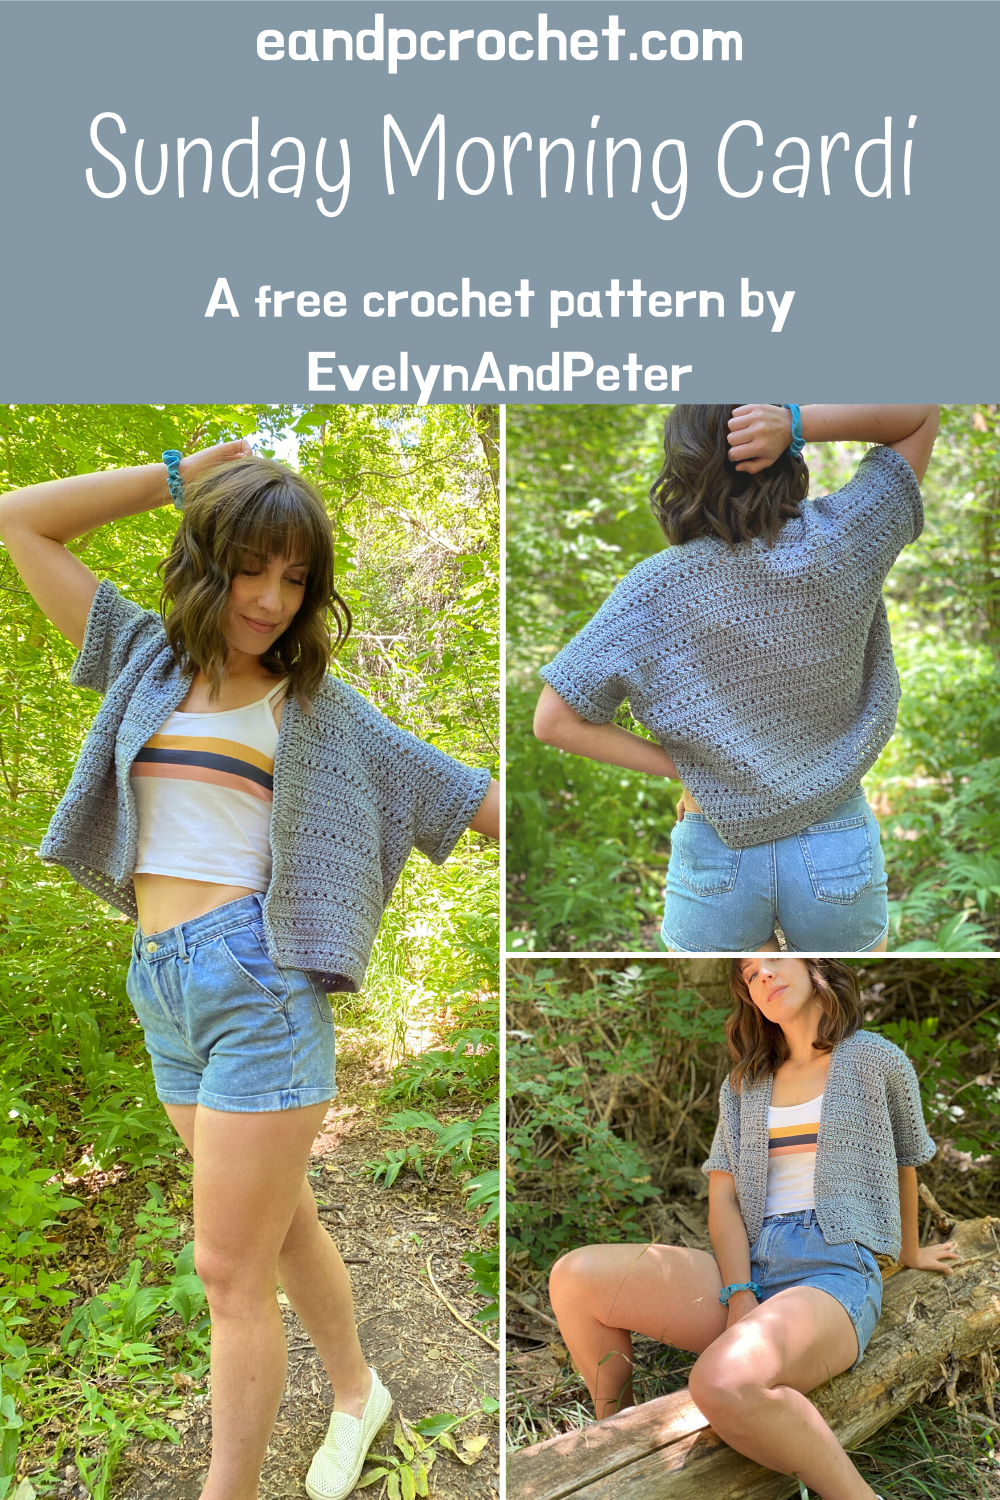
I wanted a short sleeve cardigan to throw on in the morning when I got up. You know those hot summer days where the AC is blasting non stop so when you wake up first thing its freezing cold in the house?! That’s what the Sunday Morning Cardigan is for! I like to keep it by my bed and put it on while i’m making coffee and getting ready for the day.
I think The Sunday Morning Cardigan would be SO cute over a little sundress. Maybe somebody will decide to take some photos wearing it? 😉 Make sure you tag me on Instagram so I can share your work!
I used Lion Brand Cobblestone yarn for the very first time for the Sunday Morning Cardigan. This yarn was amazing to work with. It’s soft and squishy with just a little bit of bounce when worked up! I love how quickly this cardigan worked up with the worsted weight yarn.
LINKS:
-
The Sunday Morning Cardigan is available as a kit through Lionbrand.com! It includes all the yarn needed to make the cardigan + the PDF digital download of the pattern.
-
The Sunday Morning Cardigan is available as a low cost ad-free PDF digital download in my Etsy shop!
-
The Sunday Morning Cardigan is available as a low cost ad-free PDF digital download in my Ravelry shop!
Description: The Sunday Morning Cardigan is perfect to throw on first thing in the morning while it’s still chilly. It’s beginner friendly with no shaping at all! The stitch repeat is easy and fun for a quick make.
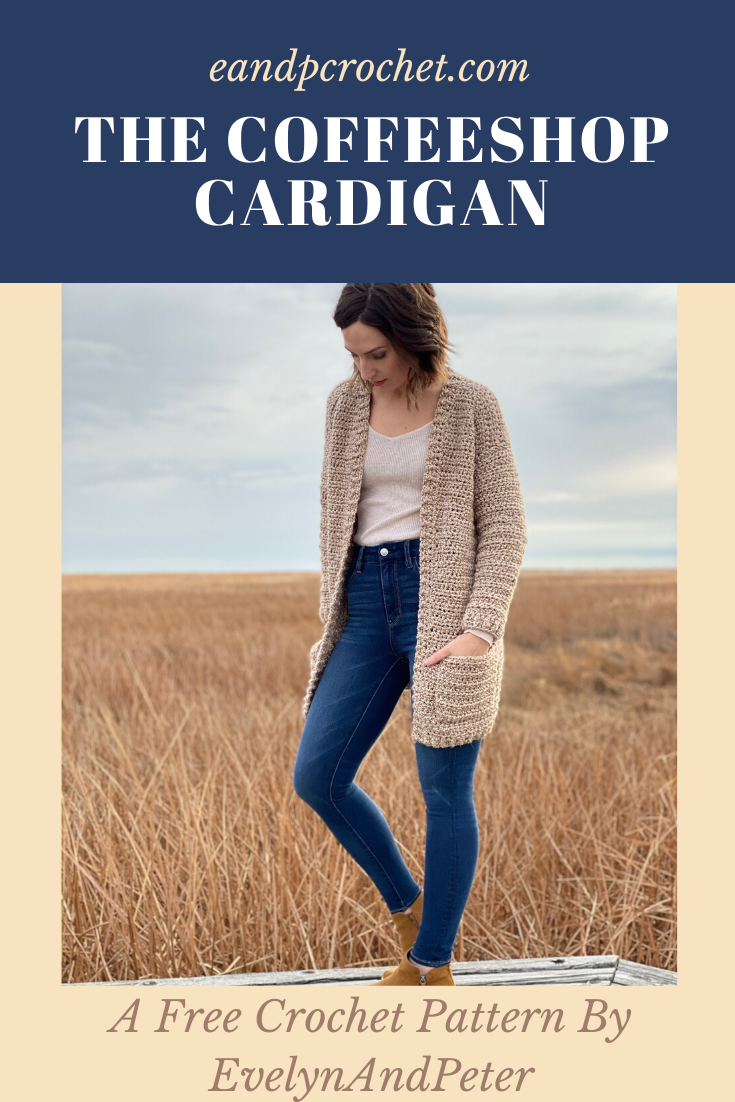
I’m super excited to be bringing you guys the new and improved Coffeeshop Cardigan! This pattern was one of my very first designs and was always a huge hit + top seller. It definitely needed a little face lift and some larger sizes added to it. It’s crazy how much you learn as a designer in just a couple of short years!
I’ve added more sizes to the design so now it goes from XS all the way to 5X! I also updated the construction of this sweater so there is a lot less seaming and sewing pieces together. Now, there is only 2 small sections up the side to seam. YAY! The sleeves have NO seaming!
The Coffeeshop Cardigan was inspired by all things cozy. It’s the perfect housecoat to throw on over leggings and an oversized tee. The homespun yarn gives it the perfect amount of rustic handmade feel. The pattern uses half double crochet throughout for easy stitching.
LINKS:
-
This pattern is available as a kit from the Lion Brand website. It includes the printed ad-free PDF + all the yarn needed to make the sweater. Purchase it here! It is currently 40% off with code JAN40 (as of 1/17/20)
-
You can find all the info for this pattern + the ad-free printable PDF pattern on Ravelry, here!
-
You can find the ad-free printable PDF in my Etsy shop, HERE!
Materials:
-
Bulky Yarn (5) Lion Brand Homespun. 5(5,6,6,6,7,7,8,8) skeins. 875(910,970,1050,1100,1180,1250,1325,1400) Yards needed.
-
6.5mm Crochet Hook
-
Yarn Needle
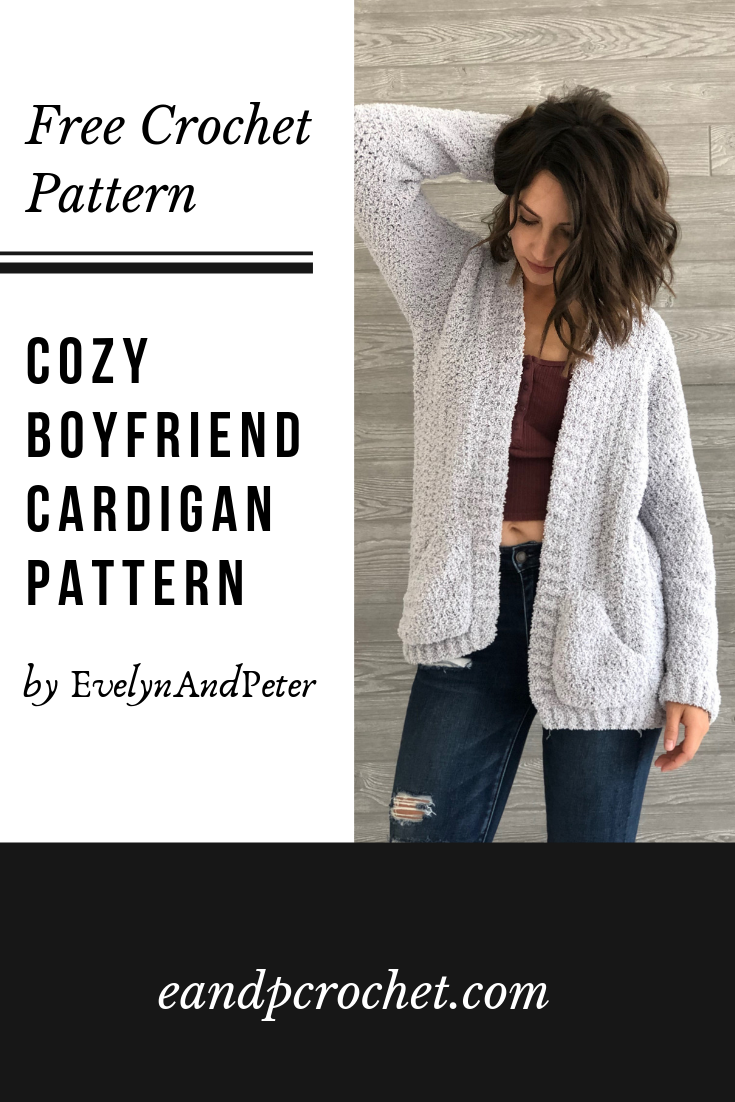
There is finally a chill in the air! I woke up this morning and it was cold enough for a cozy sweater while waiting at the bus stop with Evie! I’ve been keeping this pattern a secret for sooooo long. I finally get to share with you guys my “Cozy Boyfriend Cardigan” which is part of Lion Brands, 12 Weeks Of Christmas! I know, I know. Christmas seems so far away but it’s never too early to start making gifts right? Especially when they are handmade and take a bit more time. Yay for slow fashion!
My Cozy Boyfriend Cardigan is available as a kit from Lion Brand at a super awesome discounted price of 40% off! Use code “SAVE40SEPT” at checkout. Go snag yours now so you can get started! Did you know you get a free printed PDF of my pattern when you buy the kit? Yup.
If you have the yarn but still want a pretty PDF to print out, grab it from my Etsy Shop or Ravelry Shop.
This design was inspired by the chunky oversized sweaters you see at the mall. I wanted it to be something you could throw on with leggings and a tee. The Boucle yarn gives it just the look I was going for! I know the Boucle yarn can sometimes be intimidating but if you take it slow, use stitch markers and count by feeling your stitches you will be fine!
Materials:
-
Baby Soft Boucle (bulky,5) Skeins needed 9(10,11,11,12,13,13). 1040(1120,1210,1290,1360,1450,1500) yards. I recommend buying the kit here.
-
6.00mm Crochet Hook
-
Yarn Needle
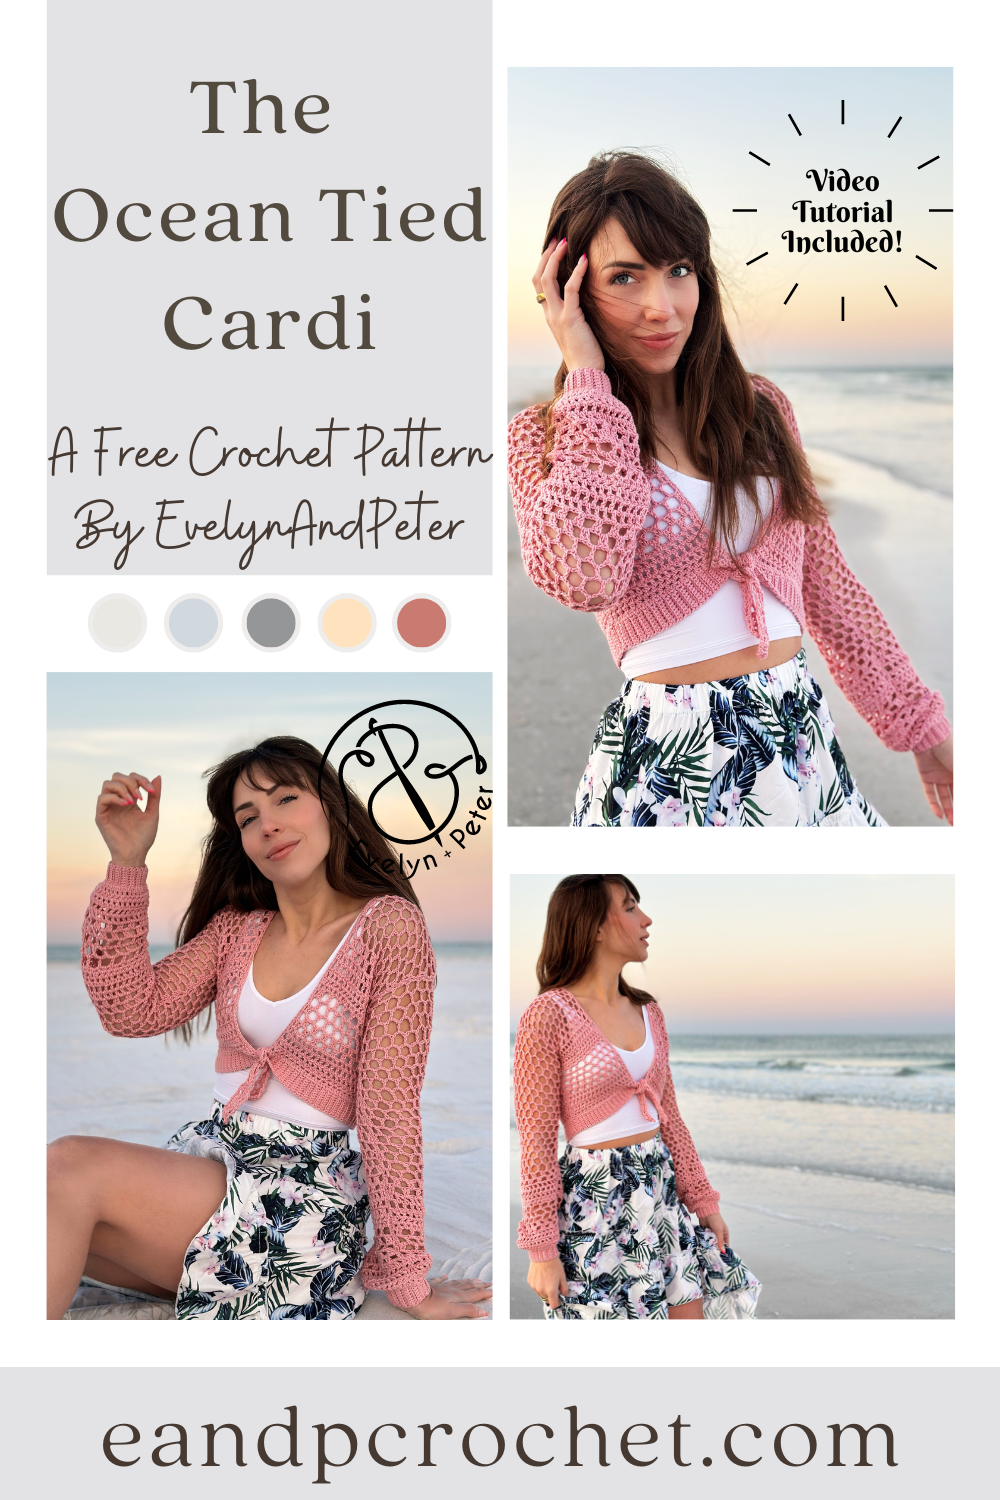
Once the sun starts shining and the blooms start to poke out I always get the urge to make a summer garment! I knew I wanted it to be meshy and airy as well as having a cute tie feature in the front. The Ocean Tied Cardi crochet pattern quickly came to life!
I played around with a bunch of different mesh stitches and decided to combine a whole bunch of them into one design! It actually came together pretty easily with very minimal swatching and frogging! It’s like it was meant to be. The majority of The Ocean Tied Cardi uses double crochet stitches and chains so it works up quickly. It’s also easily adjustable if you want yours longer or shorter. Just add or remove rows to the end of each panel before fastening off.
I think its sooo cute with the little tie in the front, it really makes the design in my opinion! However, if you want to keep it off and wear it as an open cardigan, then you can easily do that! Just add the final trim and don’t follow the instructions for the tie at the end.

I was sooooo excited to see that shrug and bolero style sweaters were starting to become popular again! They are one of my favorite styles so I knew I had to design one, which is exactly what I did! I’m so excited to share The Tilda Shrug crochet pattern with you all!
I stepped out of my comfort zone a bit with this one in terms of shaping. You’ll find some short rows around the opening of the shrug as well as increase shaping within the rows of the sleeves! The Tilda Shrug is worked in 2 separate mirrored panels. You will then do a small seam up the back as well as under the arms.
I used wool ease recycled yarn for this project and loved it! This was my first time using it and it worked up so well. The Tilda Shrug crochet pattern is a kit so if you need yarn I recommend checking it out! If you are intimidated with making the Tilda Shrug crochet pattern be sure to check out the video tutorial! Thank you guys so much for subscribing!
If you love this design be sure to check out some of my other cardigans and sweaters free here on my blog!
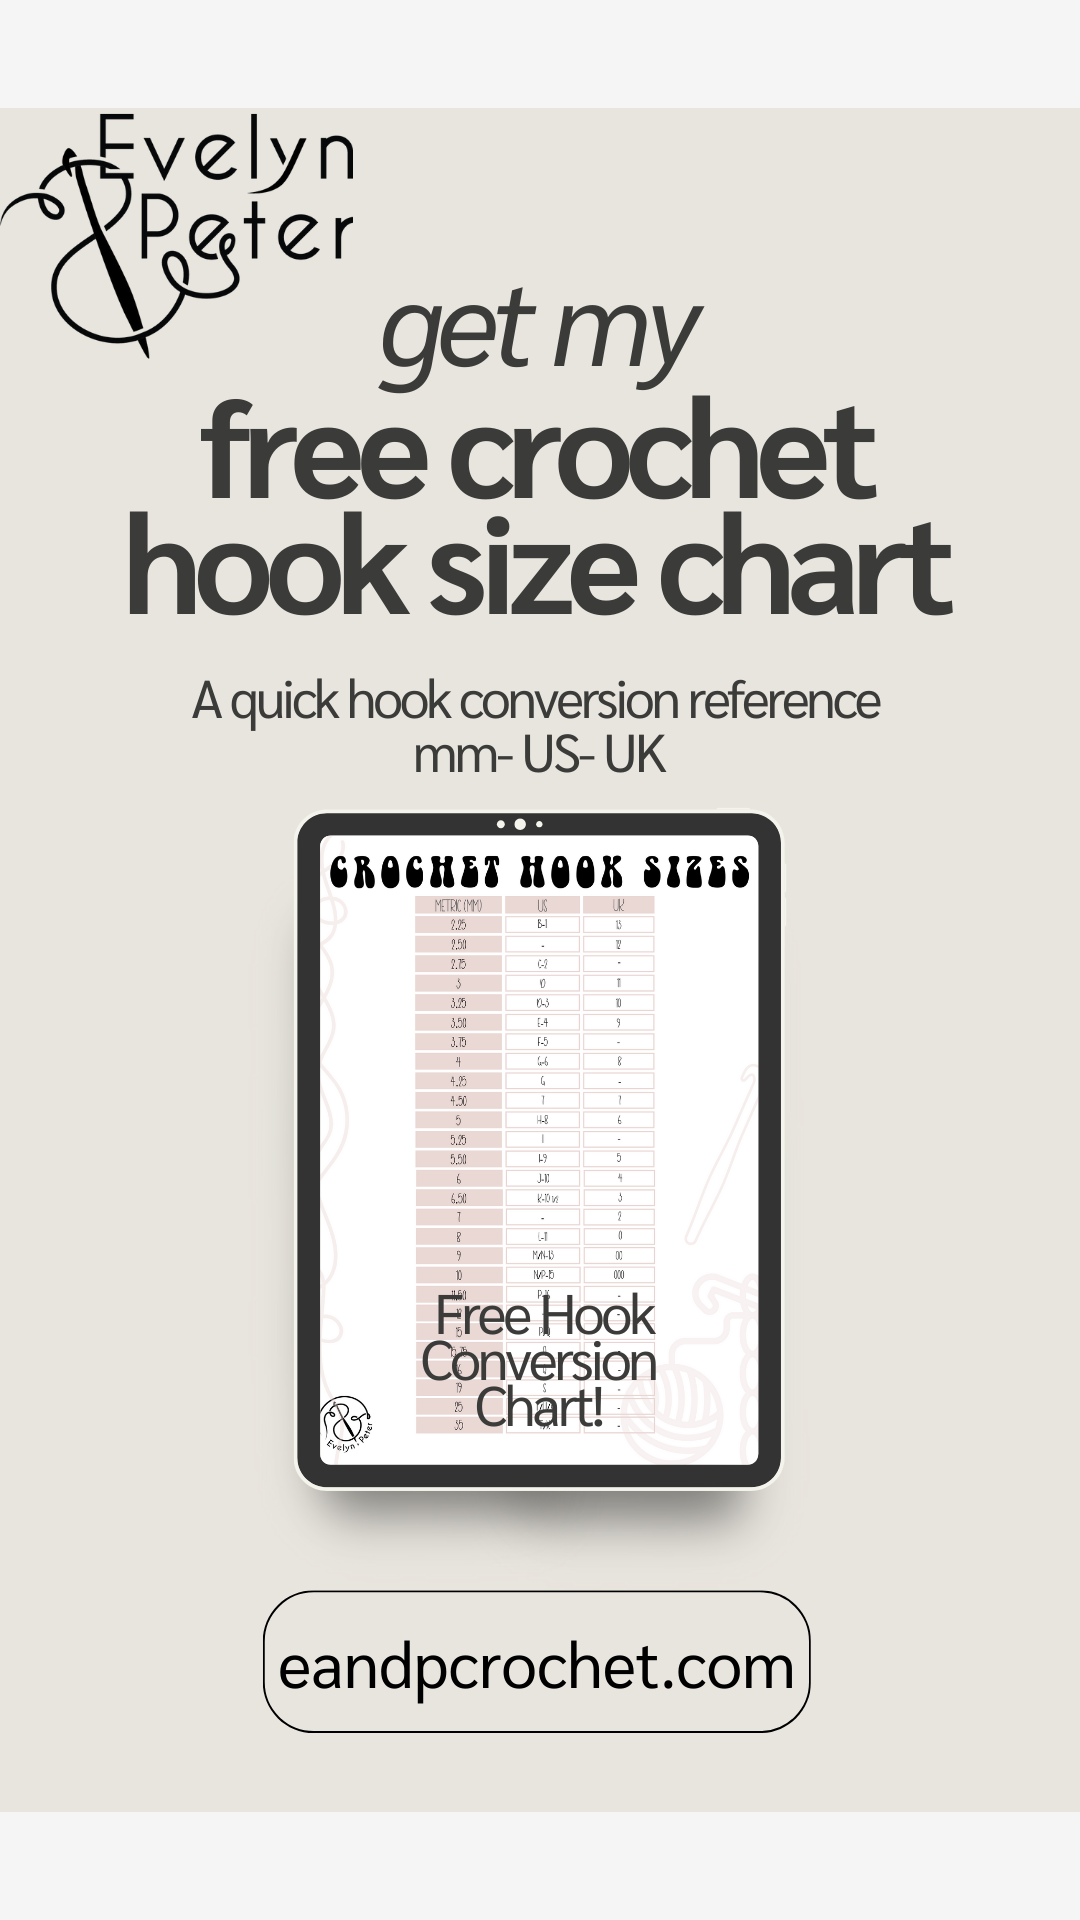
When I first started to learn how to crochet, I was constantly looking up hook sizes! I wasn’t sure what letter or number went with what mm size (i’ll admit, I still sometimes have to check haha) and it got so confusing! I made a quick reference freebie guide for you all!
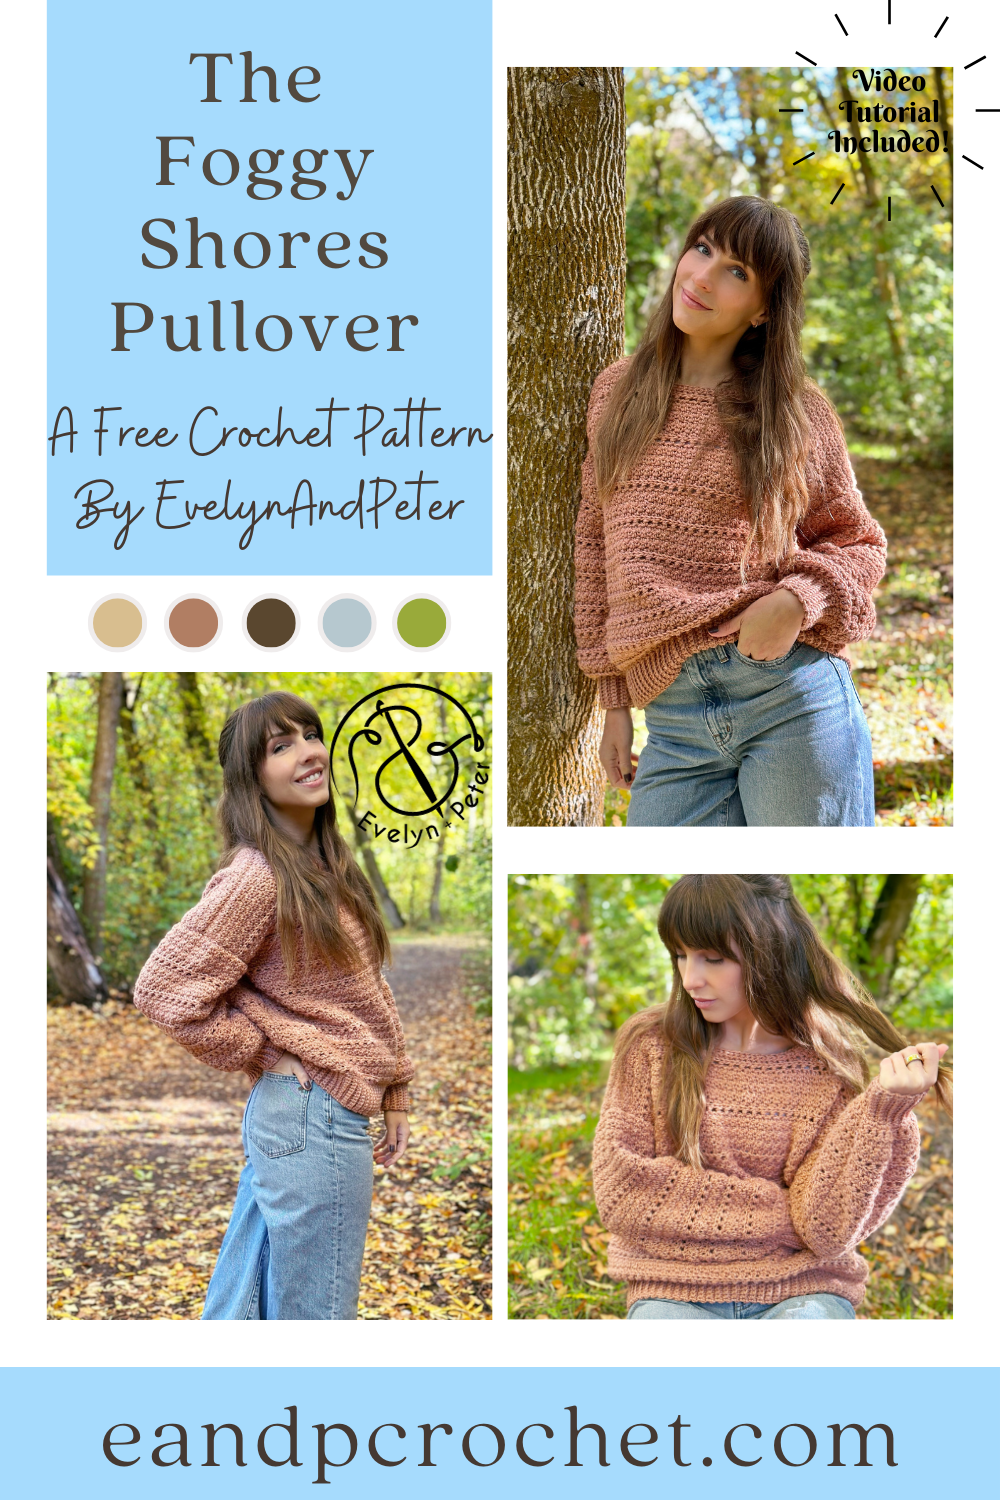
You know I wasn’t going to leave you hanging! The Foggy Shores Pullover crochet pattern is here! One of my biggest requests I get when I make a popular cardigan design is to make a pullover version or vice versa. So when I released The Foggy Shores Cardigan a couple weeks ago I already had the pullover ready and waiting!
I did use a different yarn for the pullover version, Lion Brands Basic Stitch Anti-Microbial! It has some really cute colors and was very easy to work with! This is an Anti-Allergen yarn which I thought was pretty cool. It has long-lasting freshness for your projects while preventing odor, bacteria and allergens. You can grab this yarn as part of the kit with Lion Brand! The kit comes with all the yarn you need to make your Foggy Shores Pullover plus a FREE copy of the printable PDF pattern! You can also swap out your yarn colors.
The Foggy Shores Pullover crochet pattern is worked in separate panels from the bottom up. You can easily adjust the length of your pullover by adding or removing rows to the front and back panel. If you made the cardigan than you should already have the easy row repeat memorized! You’ll be using a mix of lemon peel stitch and hdc stitches!
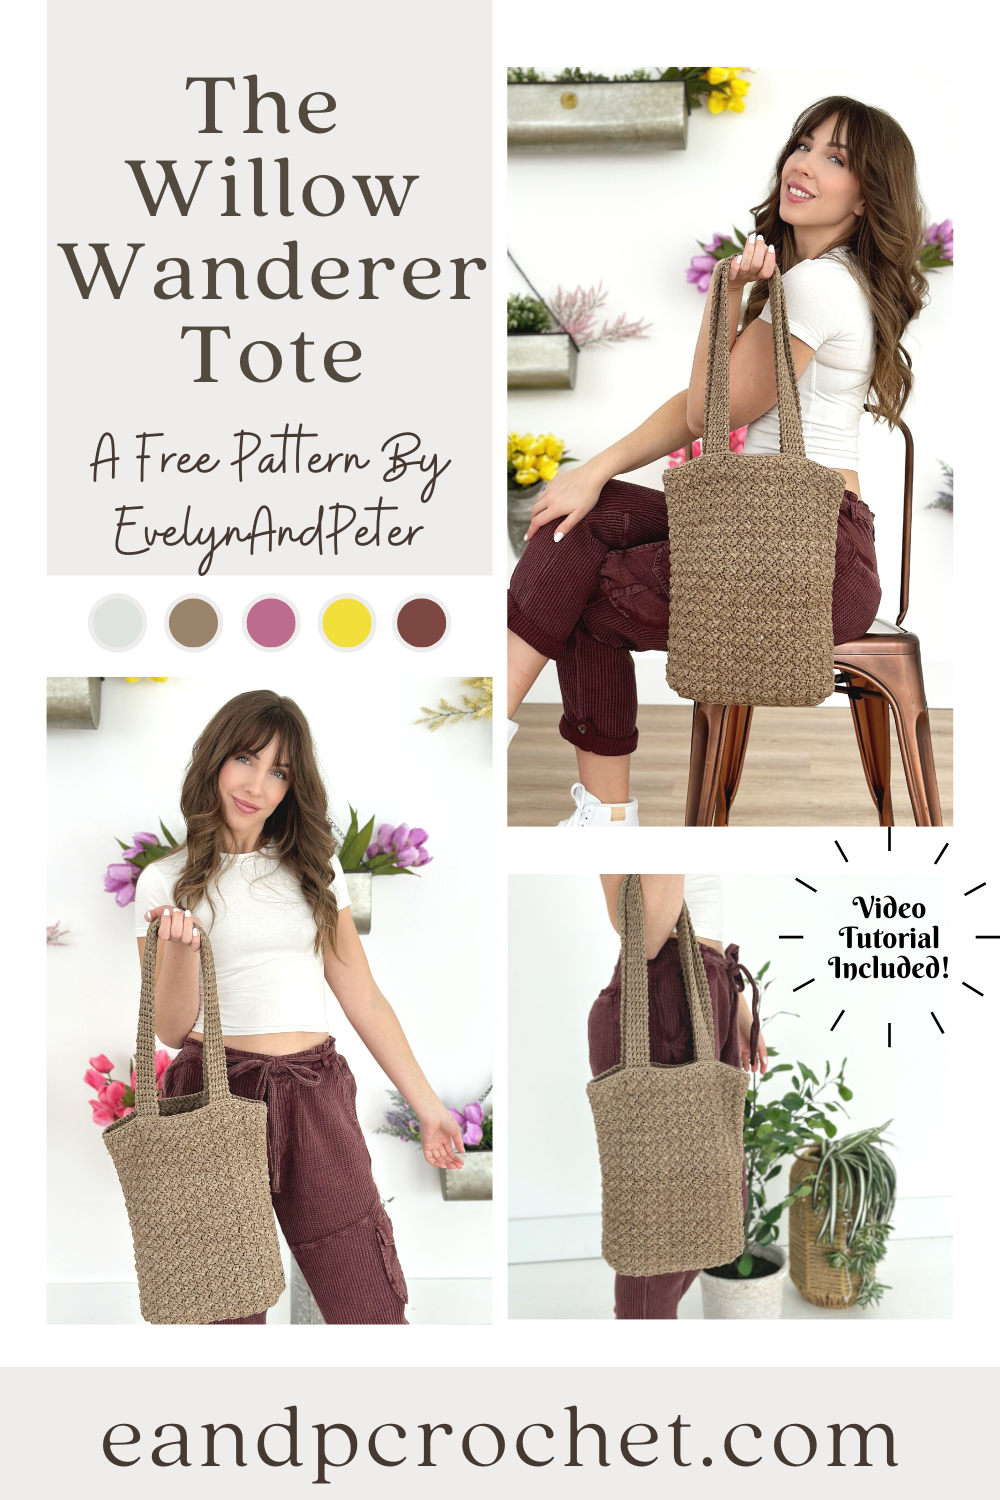
I love a good tote bag! I especially love a good tote bag when it uses Rewind yarn. The Willow Wanderer Tote uses Rewind yarn AND one of my favorite stitches!
The Willow Wanderer Tote is worked in 2 matching panels from the bottom up. Once both panels are made you’ll join them down the sides and bottom. The panels are made using the Sedge Stitch! You might recognize this stitch from my Kiah Cardigan and my Winter Moonlight Set! Overall this pattern is pretty beginner friendly. There is one spot where you will need to know how to work a Foundation Single Crochet (Fsc). It’s only a small part totaling 6 Sc in the shaping. If you don’t know how to work a Fsc, don’t worry!! I show you how to do it in my video tutorial, so be sure to check it out.
Once you have the 2 main panels made you have to make the straps! The straps are worked up in the Thermal Stitch. This is a very thick and sturdy stitch. My straps are approximately 26″ long. When you sew them onto the bag you will position it about 1.5″ down from the top of the bag on both sides. This way when you sew it on, it’s attached in a square shape and makes it extra sturdy.
I used Rewind yarn for this bag. This is such a nice yarn in my opinion. It’s super soft and a flat tape shape. There are so many nice colors too! My tote is available as a Lion Brand kit which comes with all the yarn you need to make your tote plus a FREE copy of the digital PDF pattern!
Be sure to check out some of my other bags here!