search results for
bags
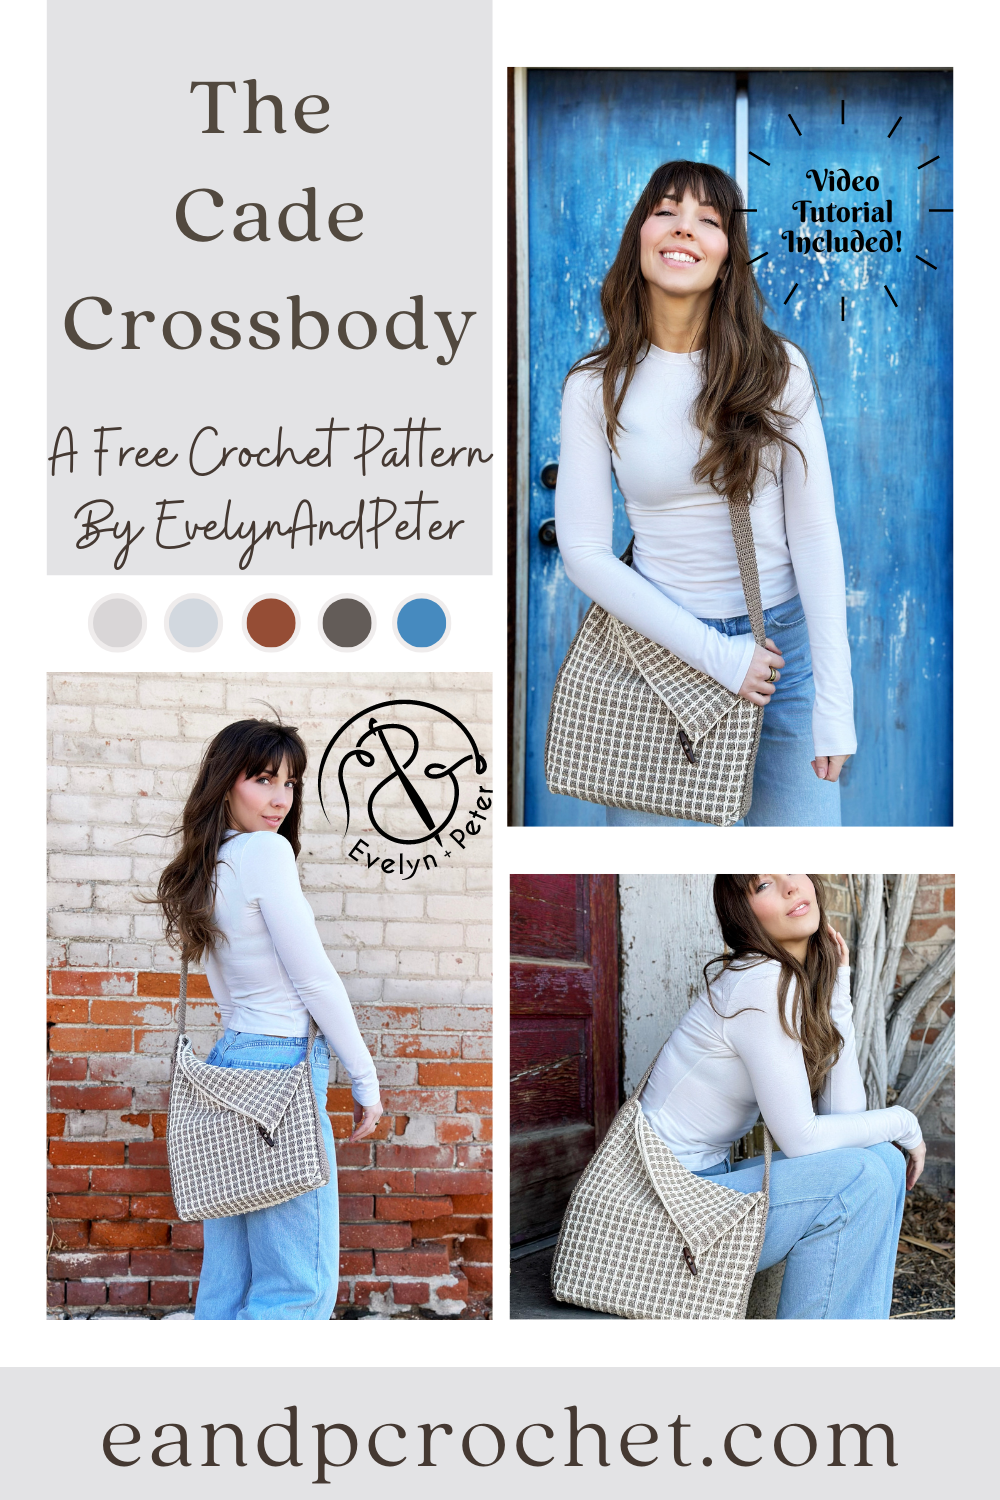
I had so much designing The Cade Crossbody. Why? Because it’s part of a collab with my yarn bestie Meghan from Meghanmakesdo! I made the crochet version and she made the knit version! It’s always nice to have options so maybe if you are seeing this but you are a knitter, than be sure to check out her blog!
The Cade Crossbody crochet pattern is actually pretty simple. It’s 2 rectangles sewn together and a long strap added last! You’ll add the strap on with a unique twist to give it the slanted fold over look. To give your bag some shape, you will be tacking/sewing the corners up into a triangle point when you add the strap. Once side is sewn further up than the other. That’s it!
When Meghan showed me the knit stitch she was going to use for her bag, I knew I would have to do some swatching and figure out how to get my crochet version looking similar! I tried a bunch of different stitch combinations. Finally I settled with a combo of Sc, Sl St and surface stitches to give the look you see here! There will be some ends on your rectangle panels. But don’t worry!! Most of them you will crochet right over, so don’t let the ends scare you! Just check out the notes section or watch the video tutorial!
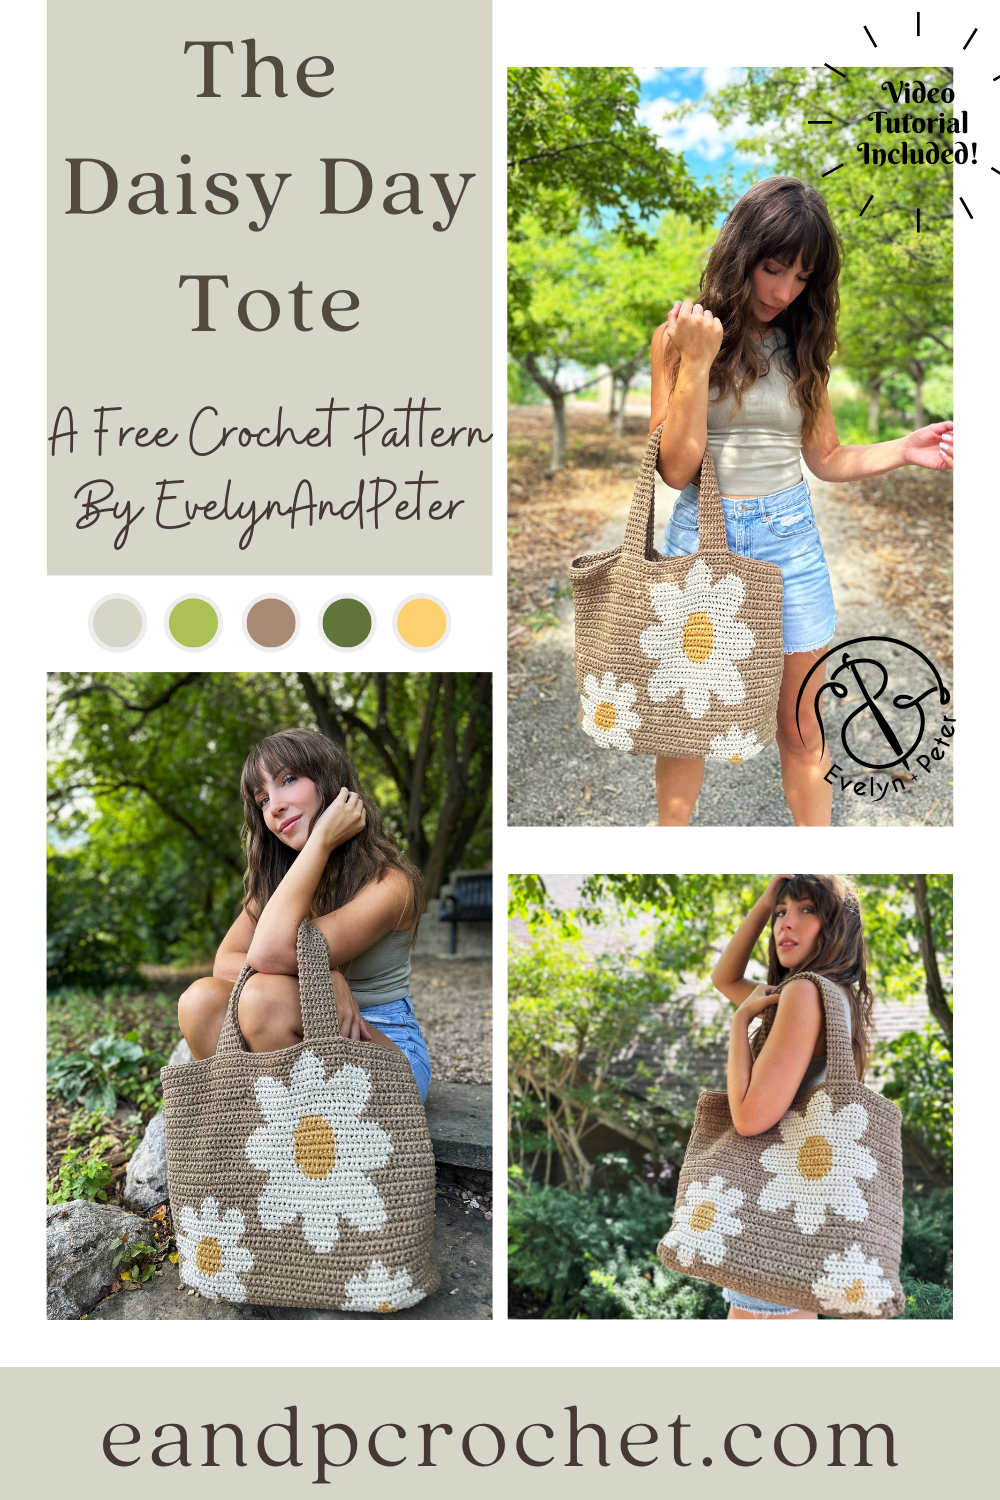
It’s been a long time coming… The Daisy Day Tote is finally here! You might recognize the cute little flowers from my previous pattern The Daisy Day Throw! I always knew I wanted to expand this collection and a large tote is what came next! Maybe there will be a Daisy Day Rug down the road??
The Daisy Day Tote Is made in 2 separate panels from the bottom up. You will also be making 2 straps. Then you will sew together! When you work the main panels of the bag you will be carrying Color A and Color B throughout. For mine, I crocheted directly over the yarn I was carrying to hide it. You will bring it up with you each row. If you aren’t familiar on how to carry yarn along in color work be sure to check out the video tutorial! For Color C, you will not carry it. Simply leave Color C where it is at and when you come back to it in the next row, just pick it up again. Only the center of the flower uses Color C so we don’t need to carry it. Once the center of one is finished just cut Color C and move to the next flower center.
The straps are made using thermal stitch which makes them extra sturdy! Be sure when you sew the straps to the bag that you place them far enough down on the inside of the tote before seaming. This keeps everything nice and secure.
If you plan on purchasing yarn, I recommend checking out the Lion Brand kit! The kit comes with all the yarn you need to make your Daisy Day Tote plus a FREE copy of the printable PDF pattern! You can even customize your yarn colors.
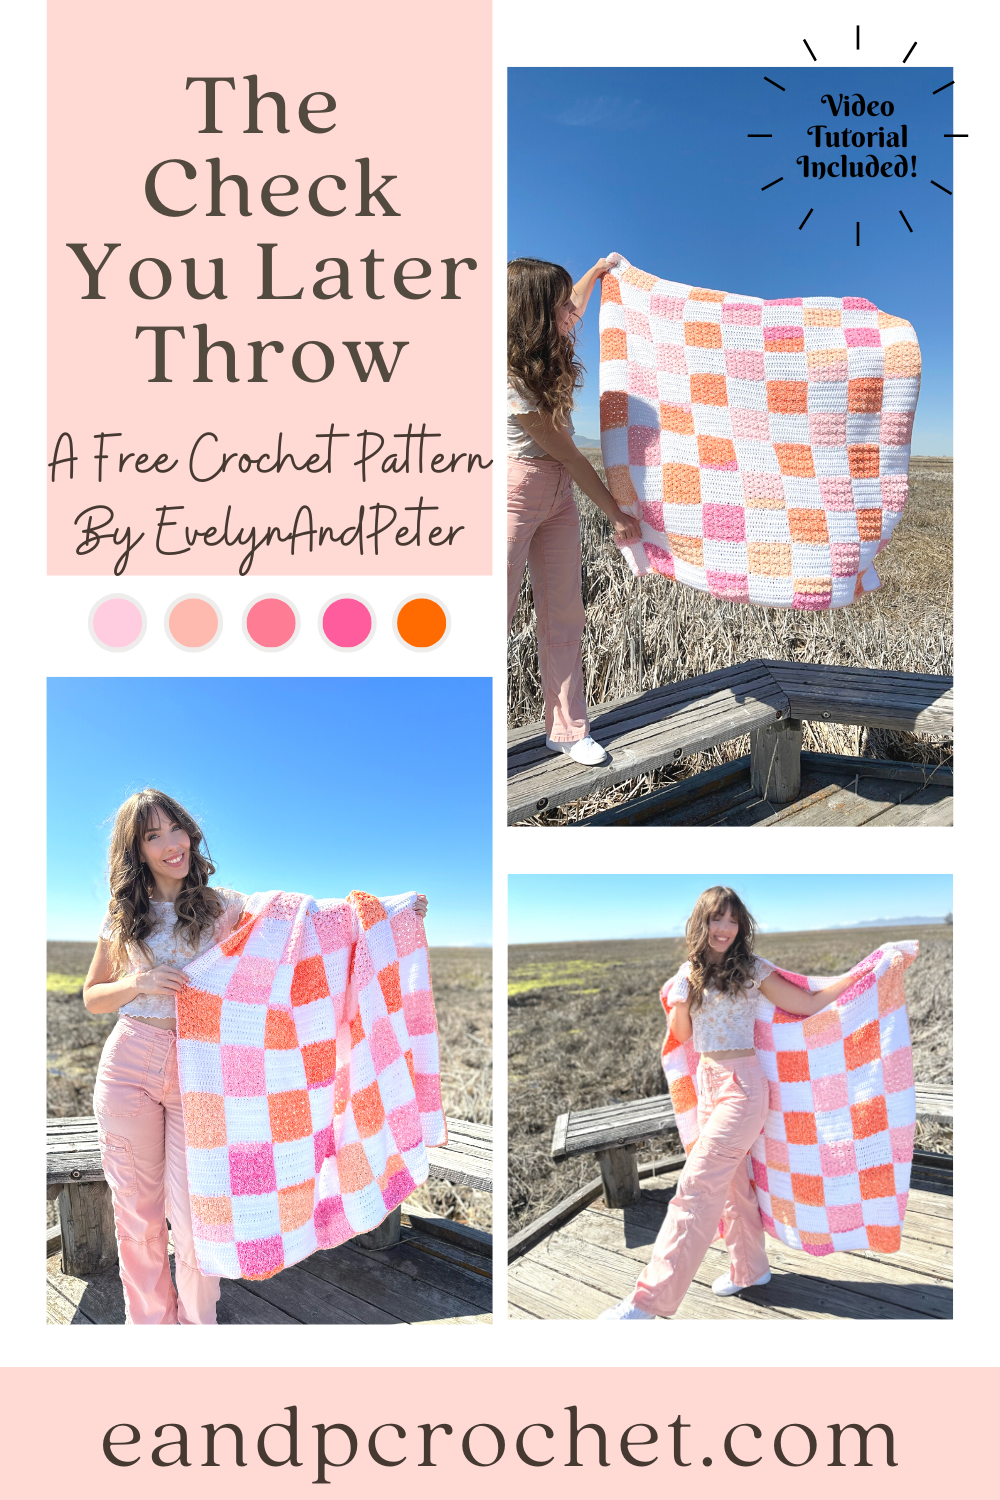
I don’t know about you but I’ve been seeing checkers everywhere this season! On shirts, shoes, hats, rugs, bags and of course, blankets!! I wanted to put my own spin on the trend and came up with The Check You Later Throw!
After testing out different ways to make a checkered design I finally settled on working it up in strips. I know doing separate squares is more time consuming and can be intimidating so I got rid of that idea. I swatched a bit with C2C but ultimately decided that there would be too many skeins of yarn going at once for the amount of squares I wanted. I also thought about working in rows but that would still require too many balls of yarn at once for me. I wanted something a bit easier for a beginner to do! After I did a test working it from the bottom up in separate strips I knew I found the winner!!
There are 2 separate strip patterns, Panel A and Panel B. You will be making 5 Panel A and 4 of Panel B. They are made from the bottom up. You will have to cut and join yarn each time you change colors for the squares but don’t worry! Tie the tails together in a secure knot. Then, you can crochet over the tails for less ends to weave. I only did this when changing from color B to Color A. I would work my Dc stitches over half the tail. Then after I was done I weaved them back the other way to make it extra secure. I did not crochet over the tails when making the Color B square. I found that because of the stitch I used it didn’t hide the tails well enough and you could see it peaking through. I save those to weave in at the end.
When I made my strips, I kept my colors in order as they came. I did not do any special cutting and rearranging of yarn colors. I worked my panels from let to right starting with the first Panel A and picked up each skein where I left off in the previous square. That does not mean you have to do the same though! You can join in your colors from the Mandala however you would like.
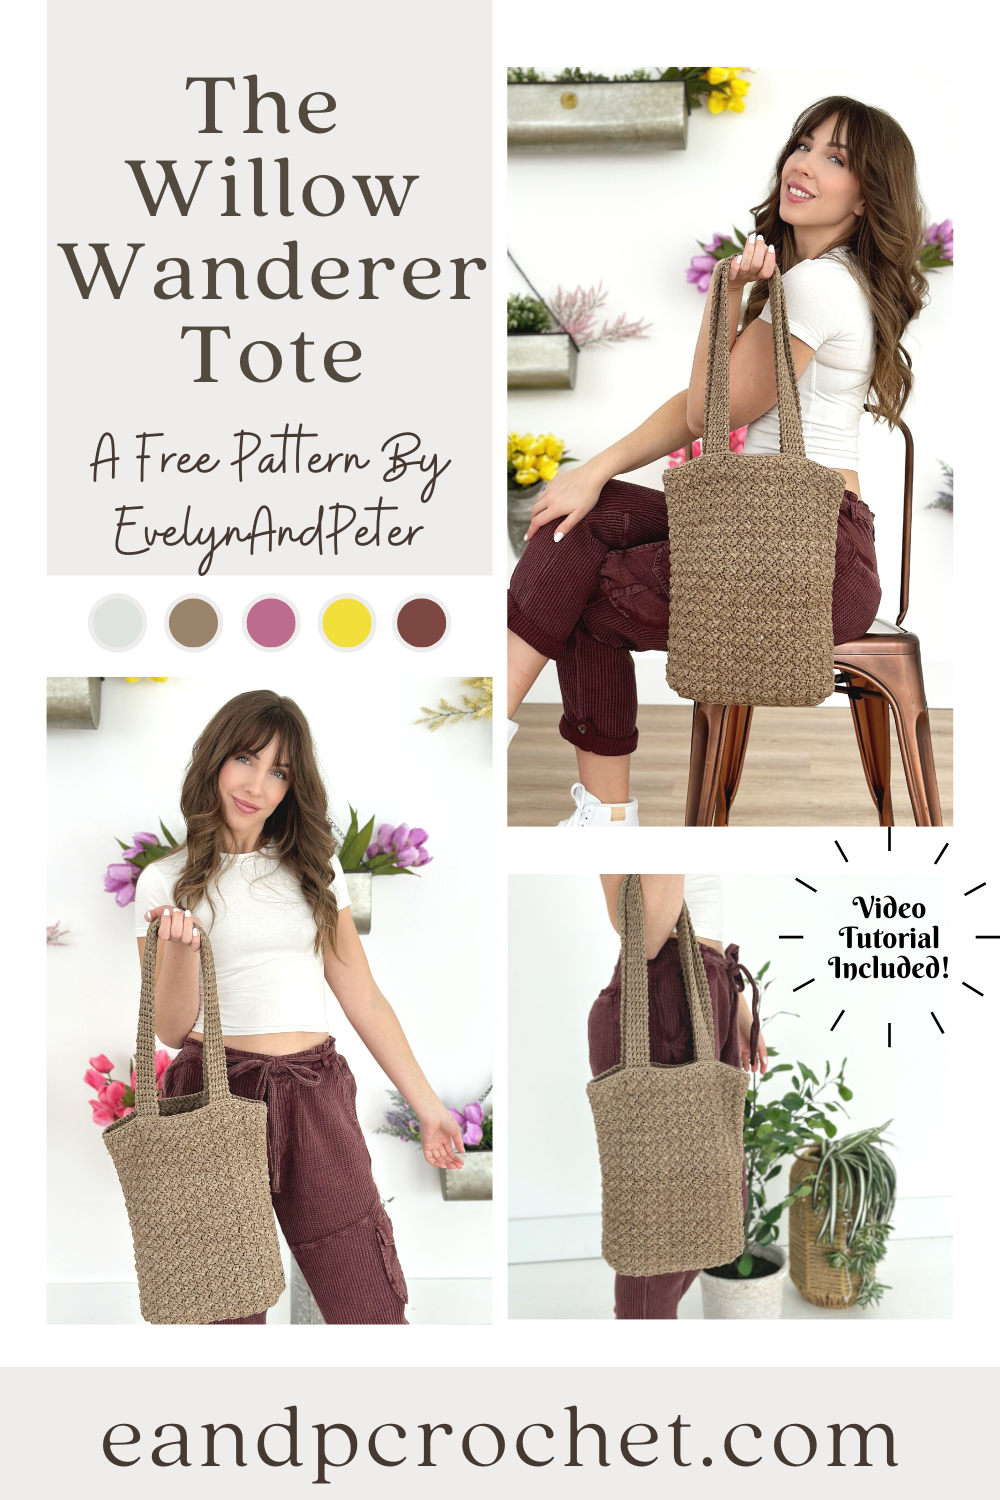
I love a good tote bag! I especially love a good tote bag when it uses Rewind yarn. The Willow Wanderer Tote uses Rewind yarn AND one of my favorite stitches!
The Willow Wanderer Tote is worked in 2 matching panels from the bottom up. Once both panels are made you’ll join them down the sides and bottom. The panels are made using the Sedge Stitch! You might recognize this stitch from my Kiah Cardigan and my Winter Moonlight Set! Overall this pattern is pretty beginner friendly. There is one spot where you will need to know how to work a Foundation Single Crochet (Fsc). It’s only a small part totaling 6 Sc in the shaping. If you don’t know how to work a Fsc, don’t worry!! I show you how to do it in my video tutorial, so be sure to check it out.
Once you have the 2 main panels made you have to make the straps! The straps are worked up in the Thermal Stitch. This is a very thick and sturdy stitch. My straps are approximately 26″ long. When you sew them onto the bag you will position it about 1.5″ down from the top of the bag on both sides. This way when you sew it on, it’s attached in a square shape and makes it extra sturdy.
I used Rewind yarn for this bag. This is such a nice yarn in my opinion. It’s super soft and a flat tape shape. There are so many nice colors too! My tote is available as a Lion Brand kit which comes with all the yarn you need to make your tote plus a FREE copy of the digital PDF pattern!
Be sure to check out some of my other bags here!
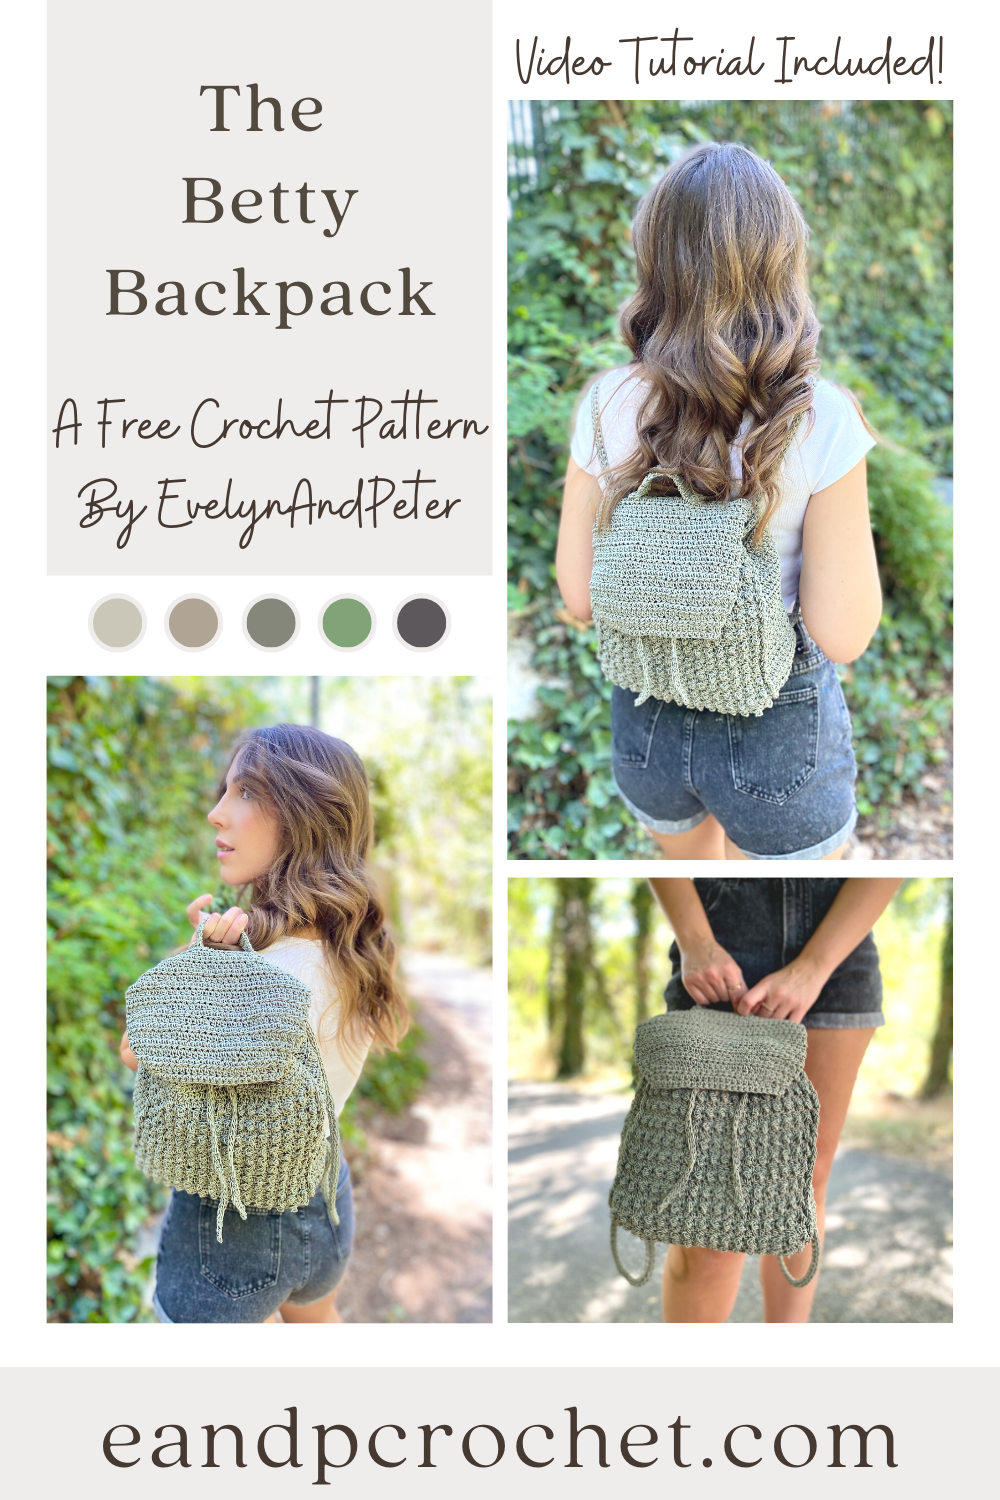
Have you tried out the new For The Home Cording by Lion Brand? I saw it and immediately knew I had to create some sort of bag with it. The Betty Backpack was the perfect outcome!
The Betty Backpack is worked flat and all in one piece! If you’ve made my Aspen Loop Bag, then you will be familiar with this construction. Once you get the main body of the backpack done, you fold it together and join on both sides. After that, you will add the upper trim in the round (don’t forget to join and turn!) and add the flap! Finally, the straps, drawstring and handle are added last.
The stitches used in this backpack are so simple but they create such a beautiful texture! You will use a combination of Hdc stitches throughout and alternating Tr/Sc stitches! Doesn’t it look like tiny puffs or bobbles? Well they aren’t! It’s just the Tr St being pushed to the front of your work! So simple and so cute.
I highly recommend using the yarn I used for this pattern or something similar. This is a cording yarn so it is very sturdy and has no stretch. It might feel a little strange and stiff to work with at first but I promise it’s worth it! If you don’t want to use a cording yarn then make sure you get a sturdy cotton or something with no stretch. The cording helps keep the shape of the backpack and is more secure for heavier weight.
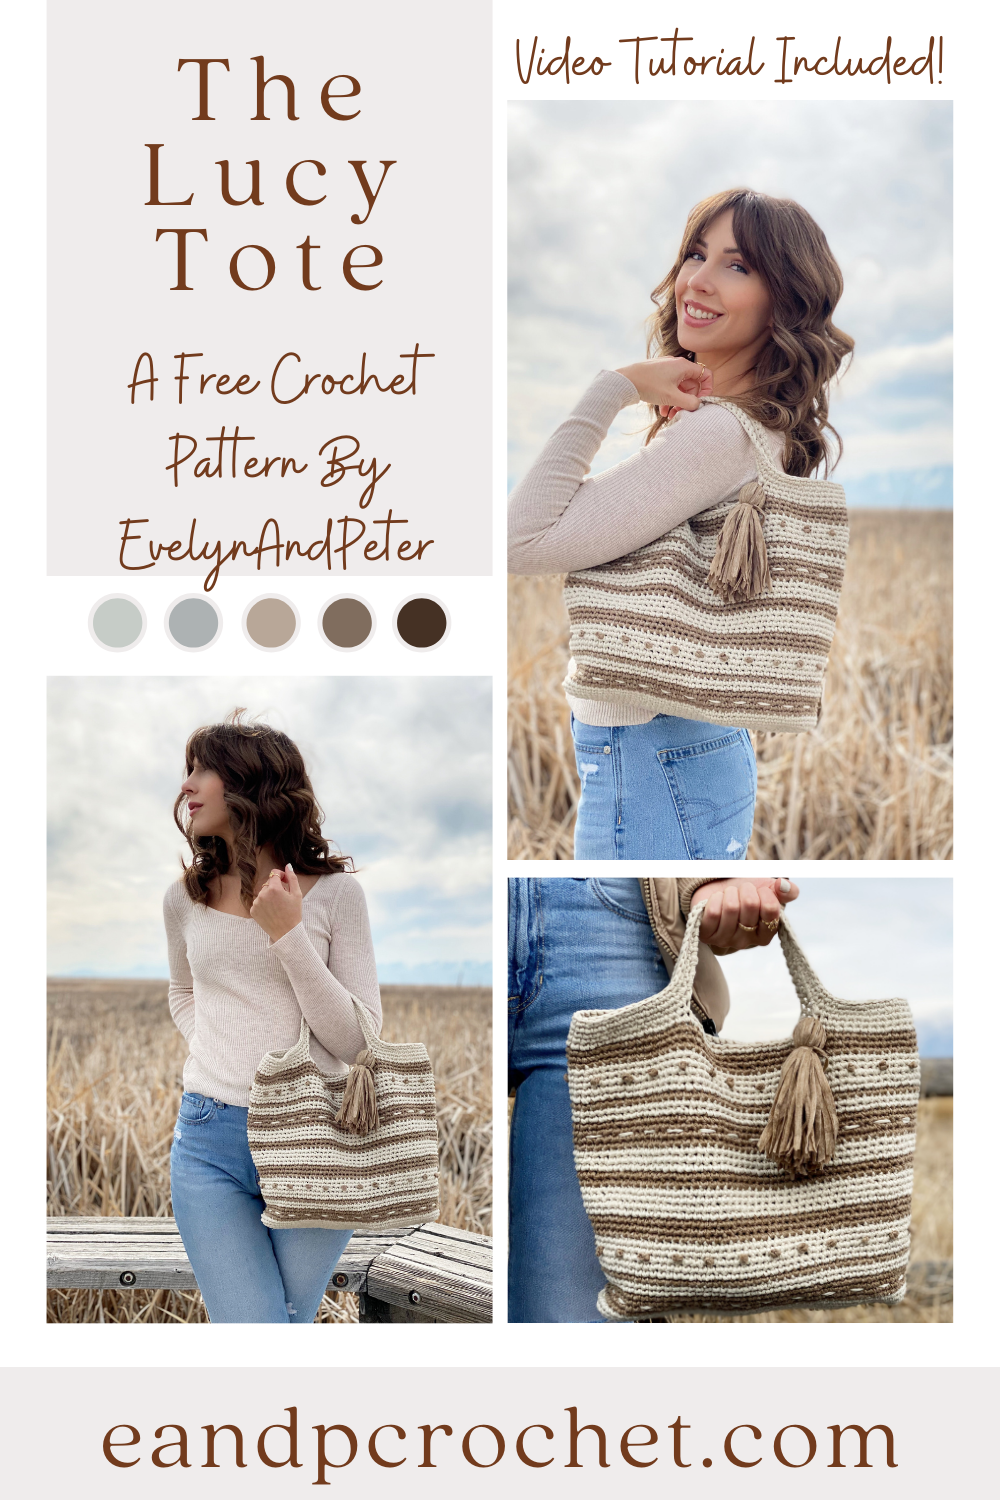
Looking for an easy tote bag pattern? Then The Lucy Tote crochet pattern is perfect for you! This tote bag is worked from the bottom up, in the round. It comes together quickly since you will be using bulky weight tape yarn!
If you haven’t used Lionbrand Rewind yarn yet, then you are in for a treat! It’s sooo soft and creates a sturdy fabric when worked up! There is no snagging because of the flat tape style and it’s super easy to frog if needed! I used under 2 skeins in the Elm color and 1 in Willow! They have several different really pretty color options though if you want to check it out!
I also wanted to point out that the straps can totally be made longer if you want! I put a little note within the pattern on where and how to do this. When designing the bag I was going back and forth with the strap length. When I asked TikTok what I should to the majority of people said to keep the straps the length I had them! But I wanted to make sure those who prefer longer straps would have that option as well!
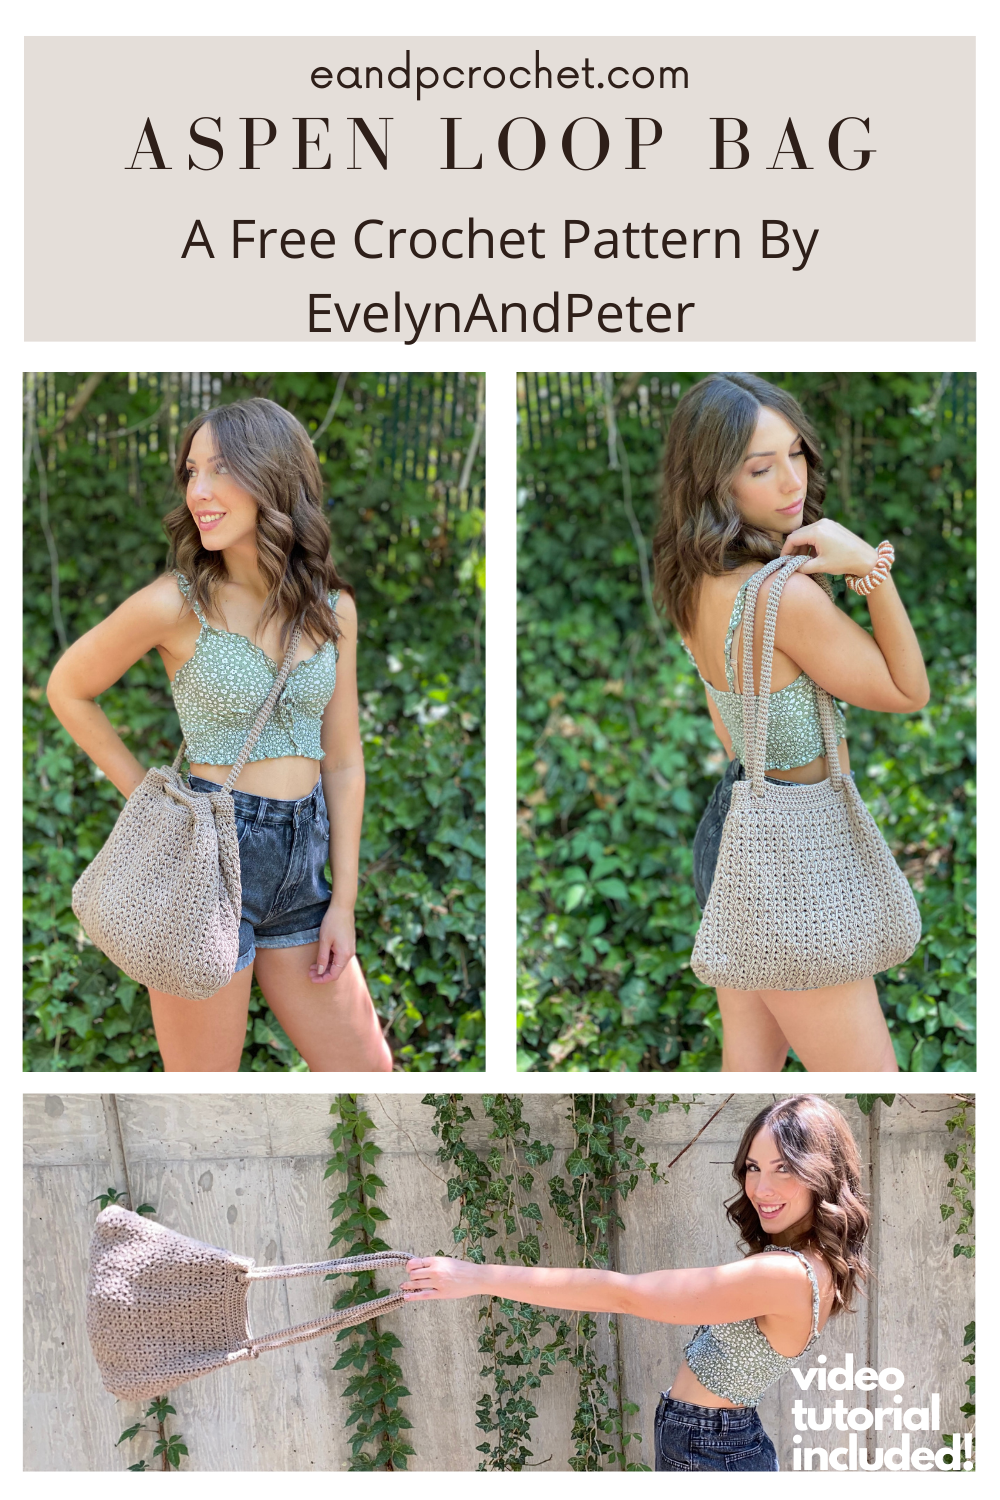
Did I just make my favorite crochet bag ever?? Yup! The Aspen Loop Bag crochet pattern is here! It’s worked up in one large piece and then seamed up the sides to form the bag! The trim and loop handle are added last.
I used the Feather stitch for The Aspen Loop Bag! I saw this stitch a while back and have been keeping it in the back of my mind for the perfect project. I’m so glad I decided to use it for this bag! Once you get the stitch down this pattern is a breeze. You’ll just be repeating the Feather stitch over and over! I know this stitch is probably a new one for most of you so I even made a full VIDEO tutorial! I’ll walk you through step by step on making your bag!
24/7 Cotton is the perfect yarn for this project. Nice and sturdy but not rough on the hands! There is also so many different color options for it. If you switch out the yarn I still recommend trying to use some sort of sturdy cotton!
This pattern includes a full video tutorial on my youtube channel! Be sure to check it out if you have any questions!
If you like this bag pattern be sure to check out some of my others here! Don’t forget to pin this pattern to save for later!
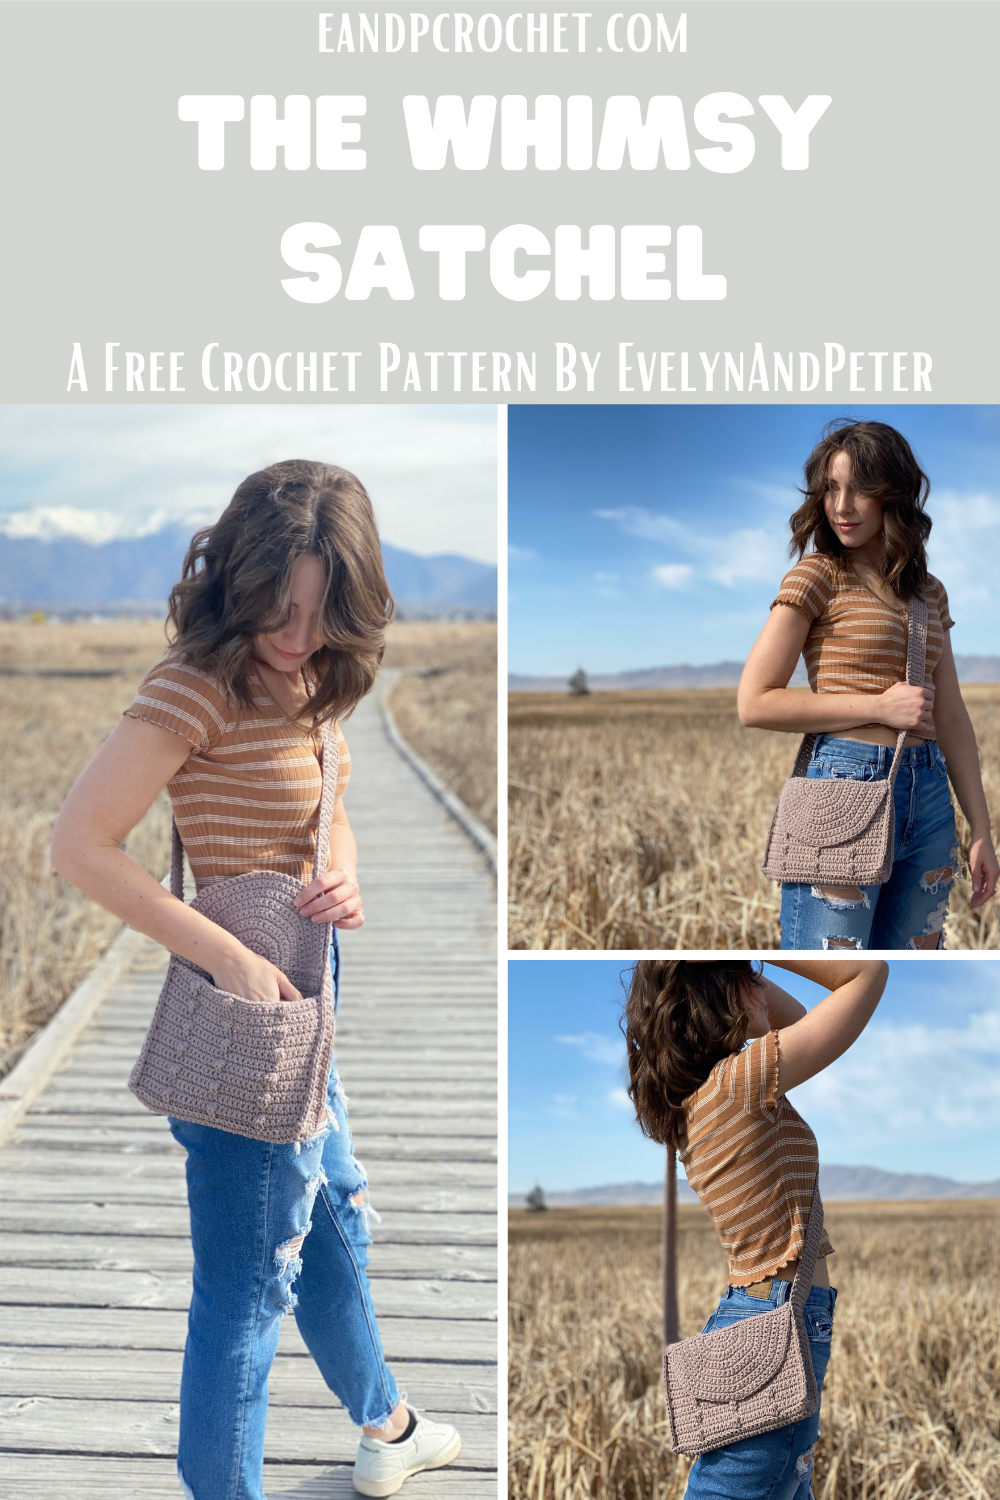
It’s been a while since I’ve made a crochet bag. The Whimsy Satchel is definitely a new favorite of mine! It’s perfect for quick trips out when you don’t want to carry a ton of stuff. It also works up super quickly!
I used a new yarn from Lion Brand called “Just Hemp”. This is a sturdy bulky weight yarn. It’s definitely the type of yarn I would recommend for bags/placemats/baskets over garments and blankets!
The Whimsy Satchel is worked almost entirely in one piece. You will start in the center of the front flap and make your half circle in rows. The front flap, top, back, bottom and front panel are all worked in one piece. The strap and sides are worked in one piece as well and then everything is sewn together. Make sure you check out the available photos if you get confused!
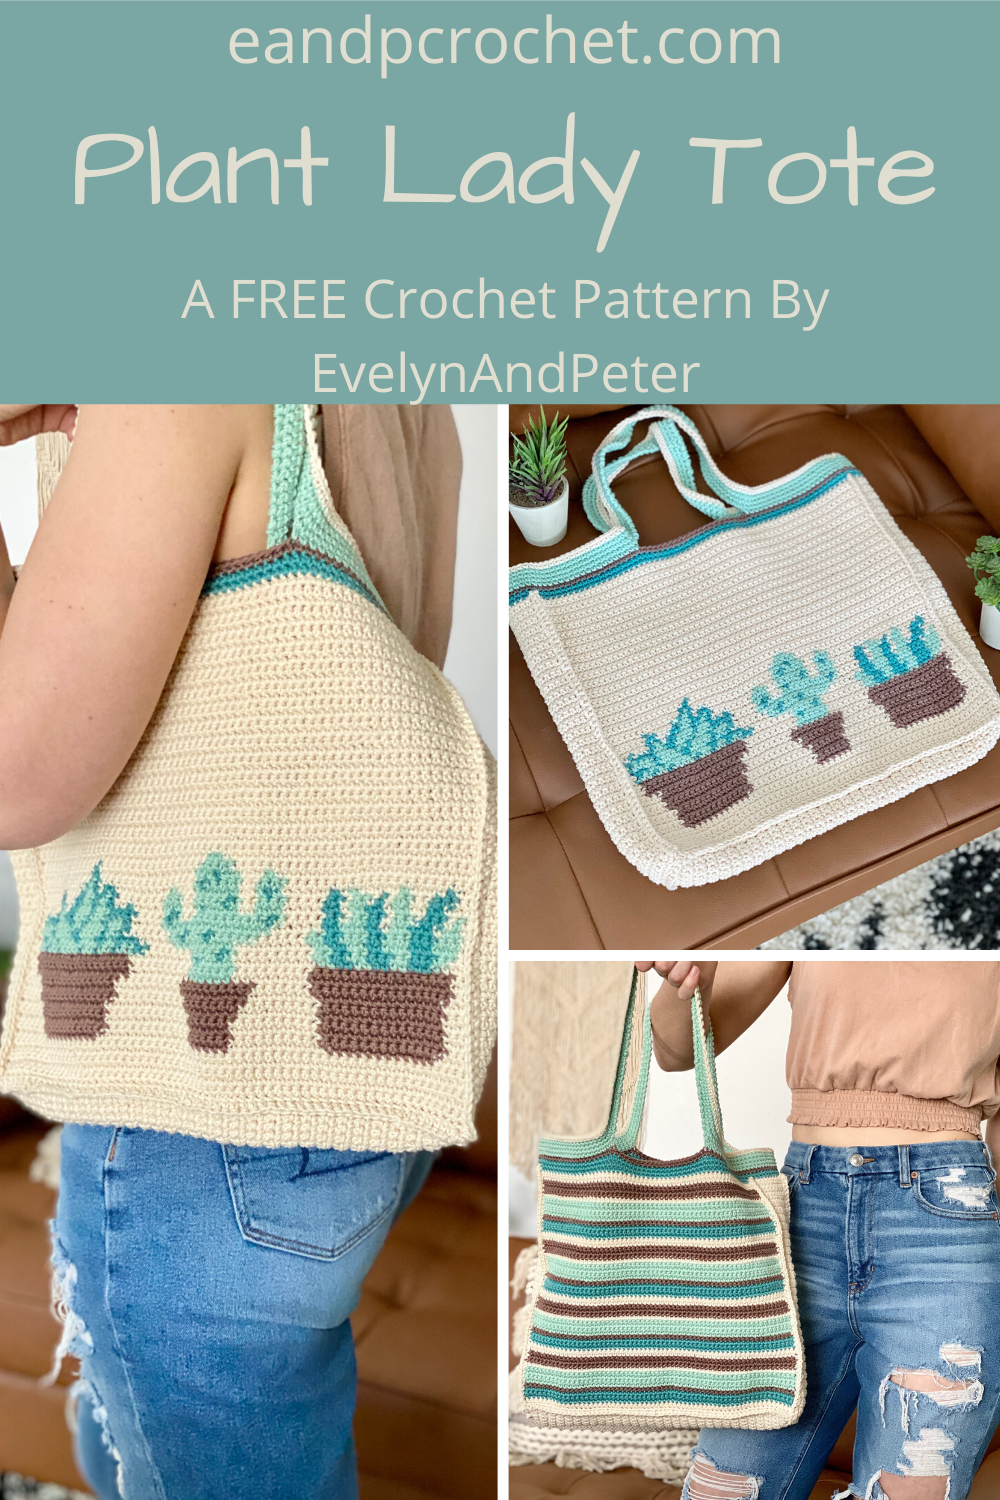
Are you a plant lady? I like to think I am. I admit sometimes I can’t keep all of my plants and succulents happy and alive but I try my hardest! The Plant Lady Tote is perfect for anyone who loves plants and succulents! I hope you love it as much as I do!
The Plant Lady Tote is made with Lion Brand 24/7 Cotton yarn. This is my favorite yarn to use to make sturdy bags and home decor. Not to mention it has so many gorgeous color options! Most recently, I used it for my Magical Market Tote.
If you haven’t tried tapestry crochet or any type of color-work before I definitely recommend checking out some tutorials and make a practice swatch! It can be a bit cumbersome switching back and fourth between colors at first. But with a little bit of practice you’ll be a pro in no time! Check out the recommended tutorials below before you get started.
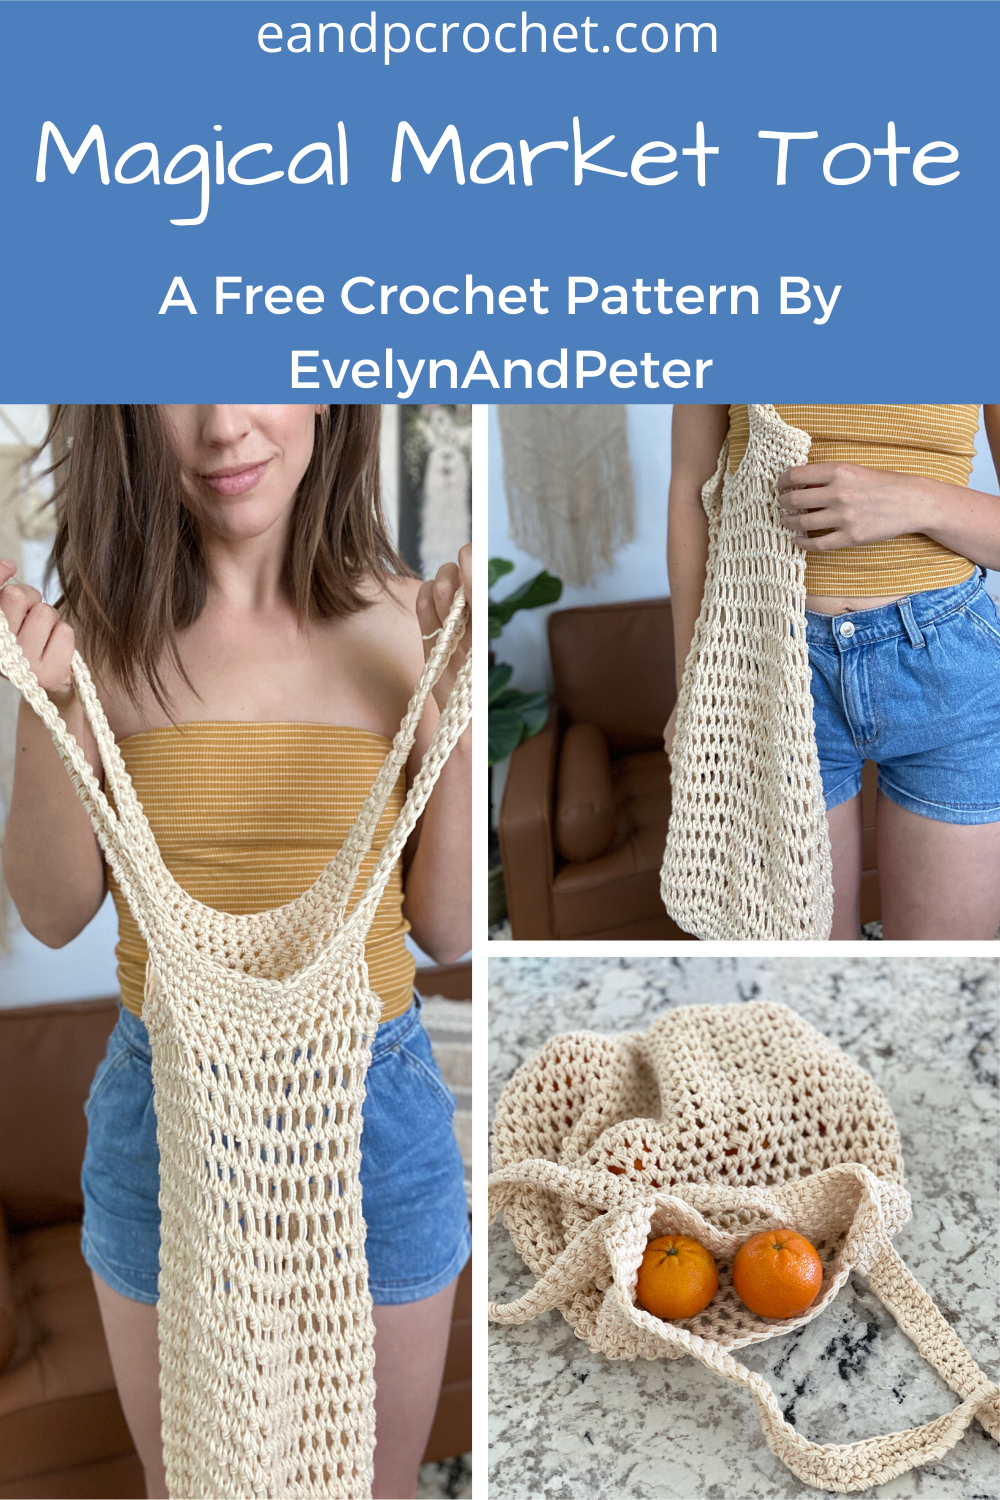
Im a huge fan of FAST patterns, what about you?! The Magical Market Tote works up in just a few hours. Maybe even less if you don’t take any breaks! Its double stranded and uses a few different large hooks for a quick make!

