I remember working with Landscapes yarn many years ago, so when Lion Brand released Landscapes Renewed, I knew I had to try it! Dare I say I like this one better than normal Landscapes?! I immediately got to work on The Strata Sunrise Throw crochet pattern.
I gravitated towards the orange color right away. It reminds me of southern Utah and all the beautiful rock formations in the deep reds and oranges you see! If you have ever been, you know exactly what I am talking about! I knew I had to get it.
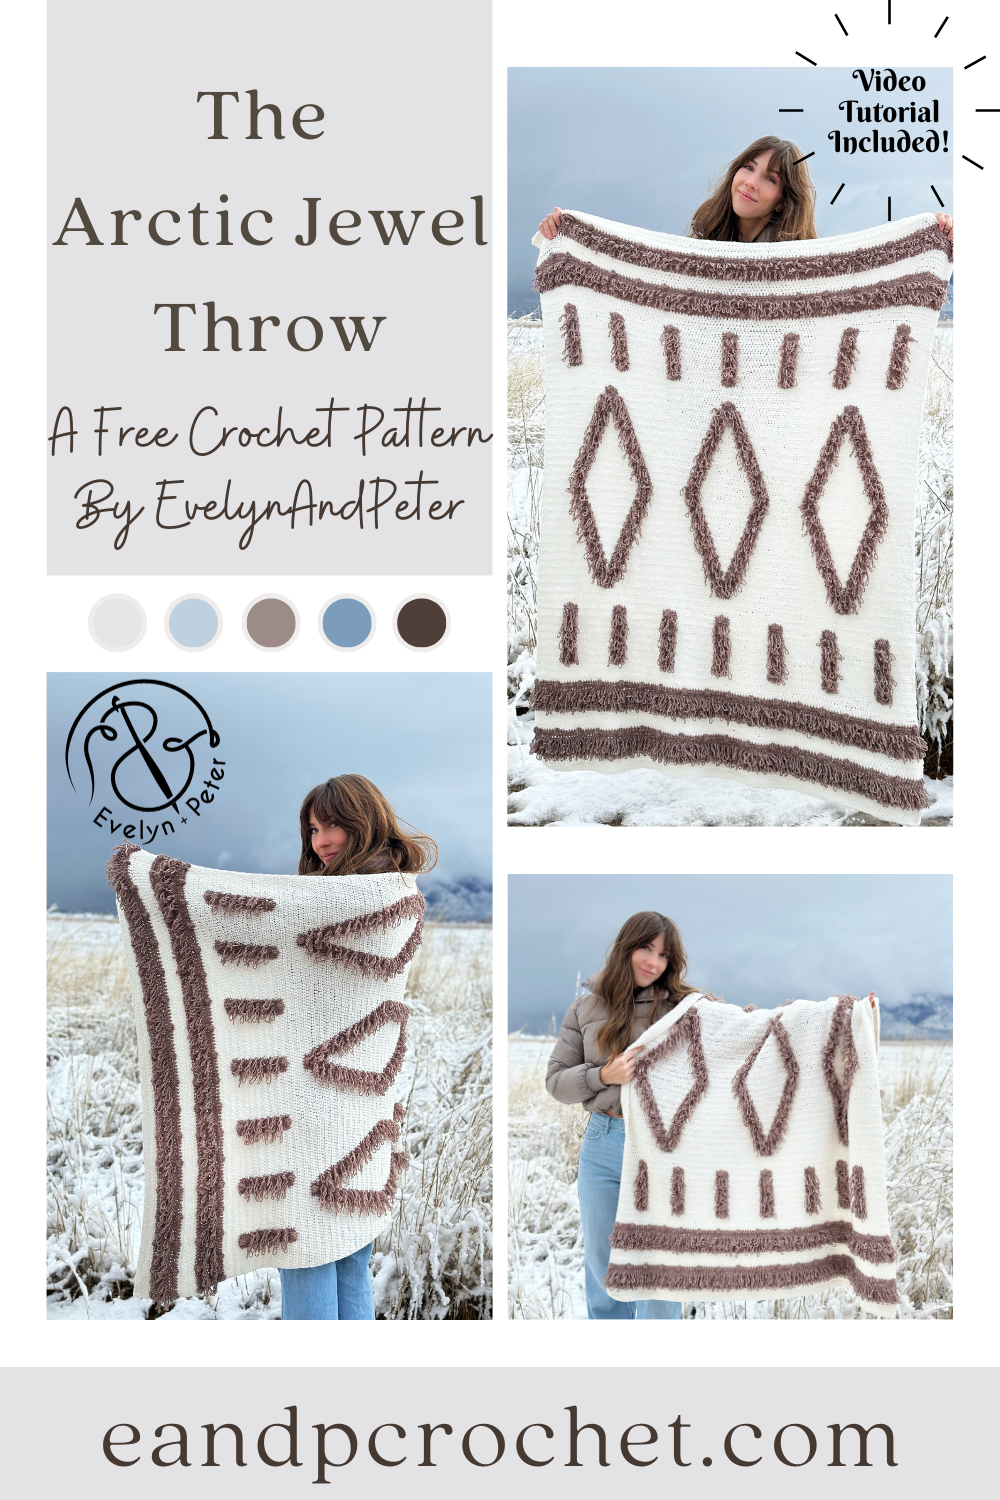
It’s finally time for my last crochet design of the year, The Arctic Jewel Throw! I’m very excited to share this blanket pattern with you guys and I hope you love it just as much as I do!
I was vacuuming my dining room rug one day and instantly got inspired for this project! My rug has different textures where the design is fluffier and sticks out more than the main portion of it. I tried different stitches to achieve a similar look and finally settled on doing a loop stitch. I knew I wanted to do this blanket in Hdc so I ended up altering your typical single crochet loop stitch into a Hdc Loop St. It worked out perfectly after some swatching and I went right into designing what I wanted the blanket to look like.
The Hdc loop St in this blanket takes a tiny bit of practice but I know you can do it! Take a look at my video tutorial where I show you exactly what you need to do! Once you have that stitch down the only other stitches you will be doing are regular Hdc and a small bobble! You do need to know how to change colors at the end of a row, as well as mid row. I show this in my video too!
The best way to make this blanket is to separate your CC (contrasting color- stucco) into multiple balls. That way, you don’t have to cut and join your yarn a million times. You don’t need to worry about doing this until you reach the vertical stripes and diamond portion of the blanket. Once you reach this area you will use 7 separate balls of the brown color. Do not cut and join these, simply work your stitches needed, then drop the color and leave it there for when you need it in the next row, then just pick back up!
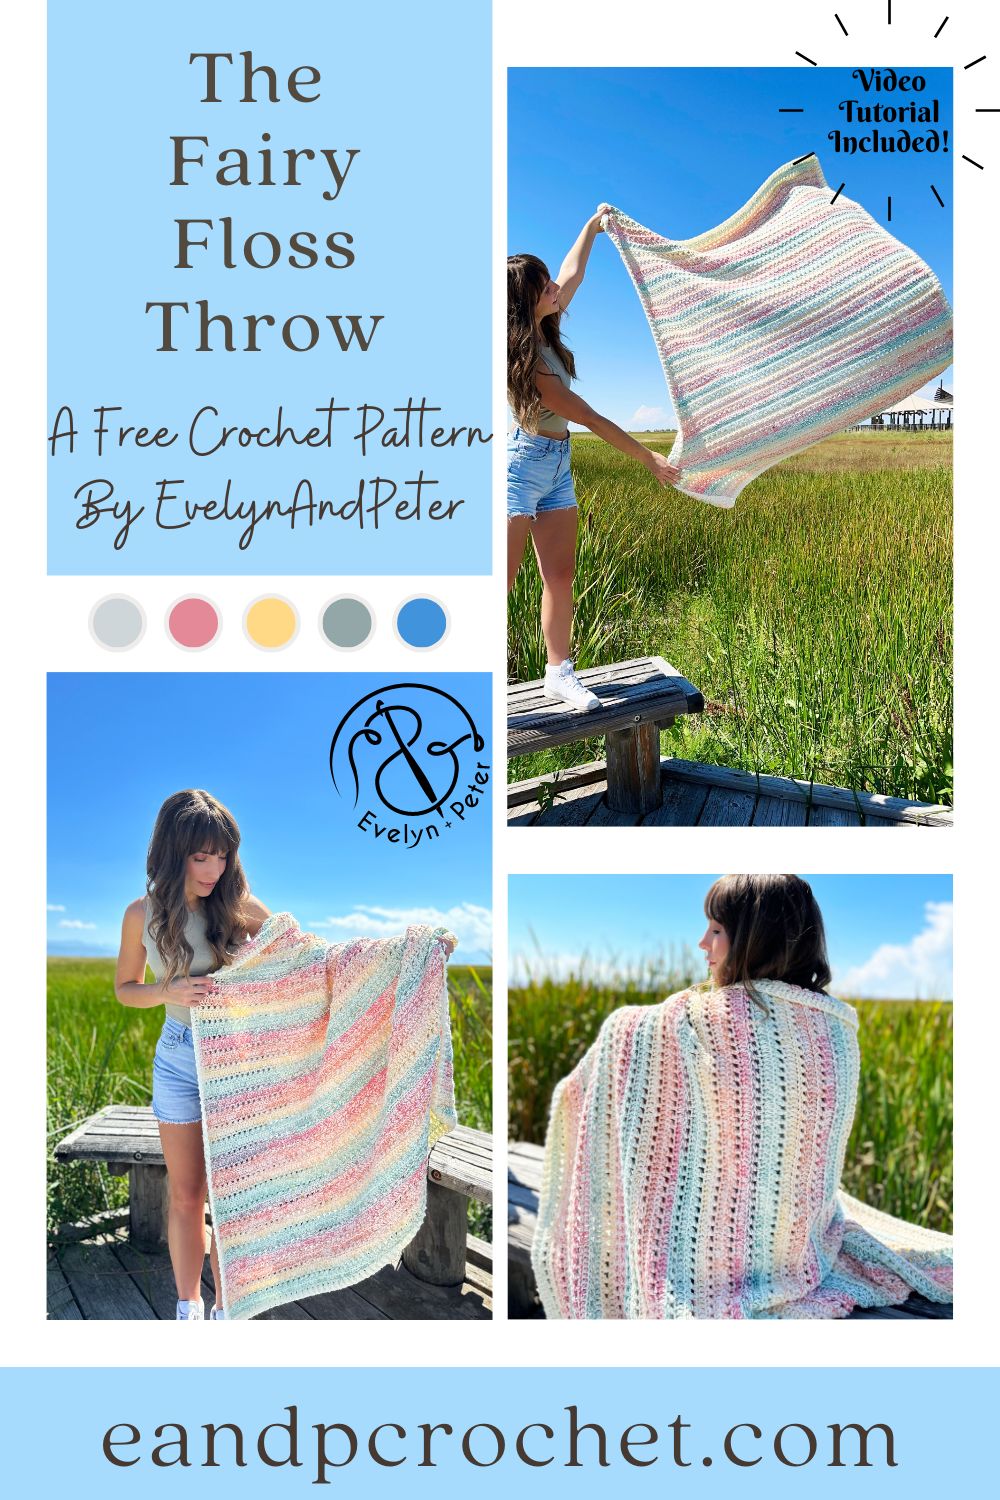
I love a good blanket project that is mindless, don’t you? There is just something about being able to curl up with it, put on whatever current binge worthy show and crochet without having to think about what i’m doing! Even better, The Fairy Floss Throw uses yarn held double. So not only does it work up quicker, it gives a beautiful but effortless look!
The Fairy Floss Throw uses two different yarns, both of them Lion Brand. First is Pound Of Love which is a worsted weight and the second one is Mandala String which is a super fine weight. The Mandala String yarn does allllll the talking in this pattern. It creates a beautiful stripe effect with zero effort on your part.
There are so many different color combinations for this blanket. I used vintage white (but you can also use Vanilla or White for the same look) and Jazz for the mandala yarn. I wanted to see what it would look like with a darker yarn and I totally love it just as much!! Check it out below! You can use Charcoal or Black to achieve this look.
If you want more of a neutral look you can swap out the Jazz color for the color Ballad. I think this would look amazing! I’m so excited to see everyones blankets! If you plan on getting yarn I recommend grabbing the kit from lion brand which comes with a free copy of the printable pattern!
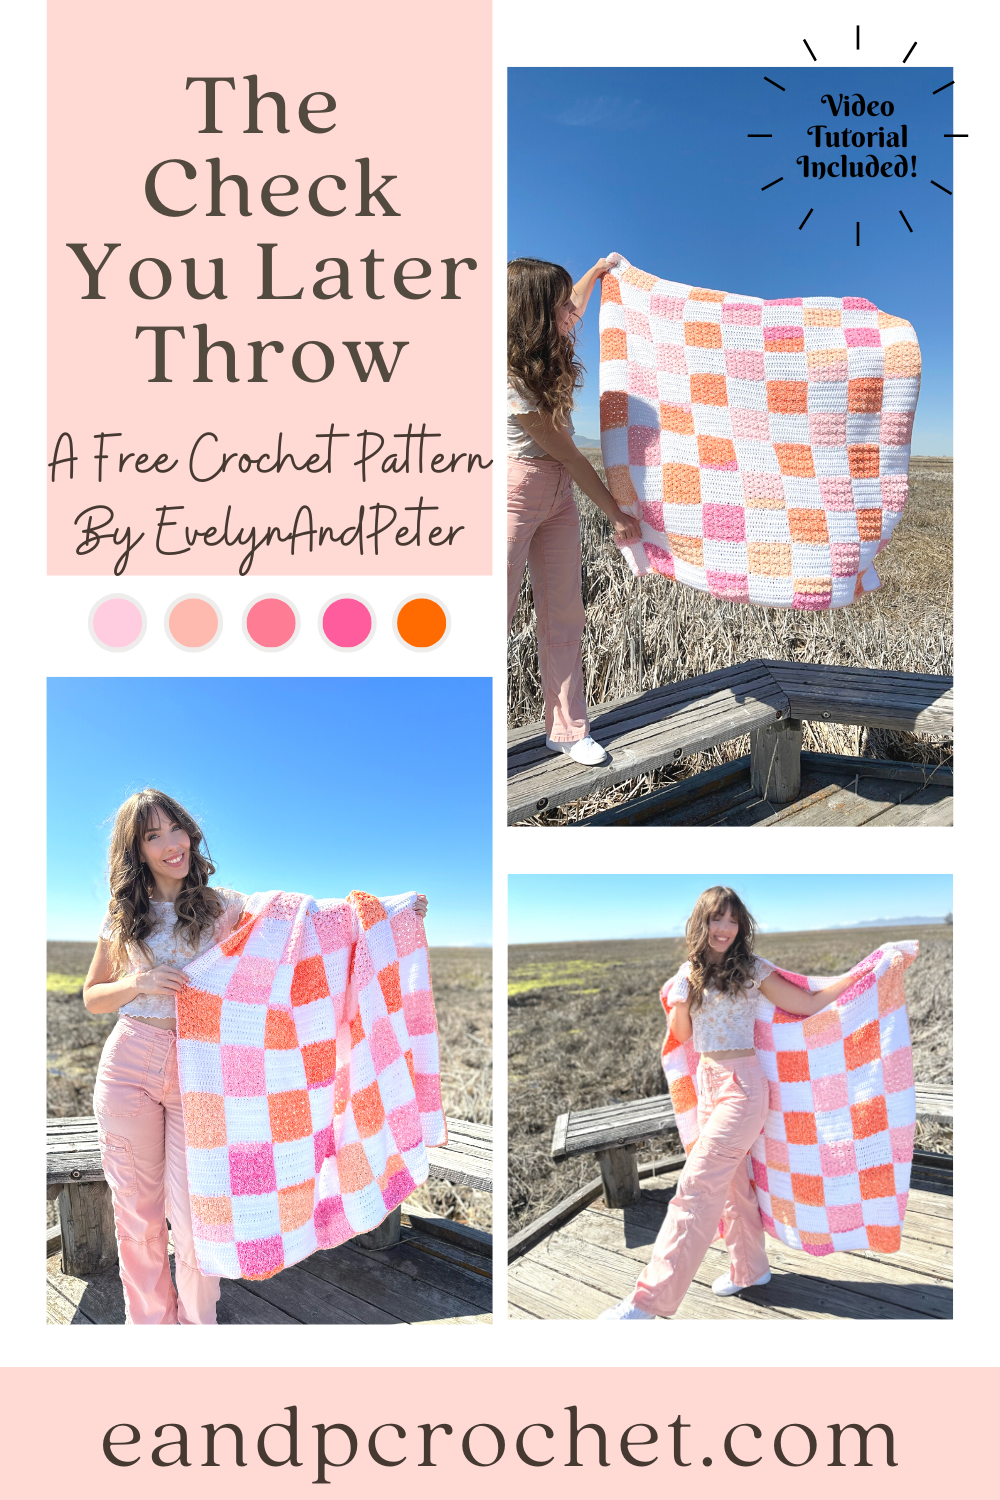
I don’t know about you but I’ve been seeing checkers everywhere this season! On shirts, shoes, hats, rugs, bags and of course, blankets!! I wanted to put my own spin on the trend and came up with The Check You Later Throw!
After testing out different ways to make a checkered design I finally settled on working it up in strips. I know doing separate squares is more time consuming and can be intimidating so I got rid of that idea. I swatched a bit with C2C but ultimately decided that there would be too many skeins of yarn going at once for the amount of squares I wanted. I also thought about working in rows but that would still require too many balls of yarn at once for me. I wanted something a bit easier for a beginner to do! After I did a test working it from the bottom up in separate strips I knew I found the winner!!
There are 2 separate strip patterns, Panel A and Panel B. You will be making 5 Panel A and 4 of Panel B. They are made from the bottom up. You will have to cut and join yarn each time you change colors for the squares but don’t worry! Tie the tails together in a secure knot. Then, you can crochet over the tails for less ends to weave. I only did this when changing from color B to Color A. I would work my Dc stitches over half the tail. Then after I was done I weaved them back the other way to make it extra secure. I did not crochet over the tails when making the Color B square. I found that because of the stitch I used it didn’t hide the tails well enough and you could see it peaking through. I save those to weave in at the end.
When I made my strips, I kept my colors in order as they came. I did not do any special cutting and rearranging of yarn colors. I worked my panels from let to right starting with the first Panel A and picked up each skein where I left off in the previous square. That does not mean you have to do the same though! You can join in your colors from the Mandala however you would like.
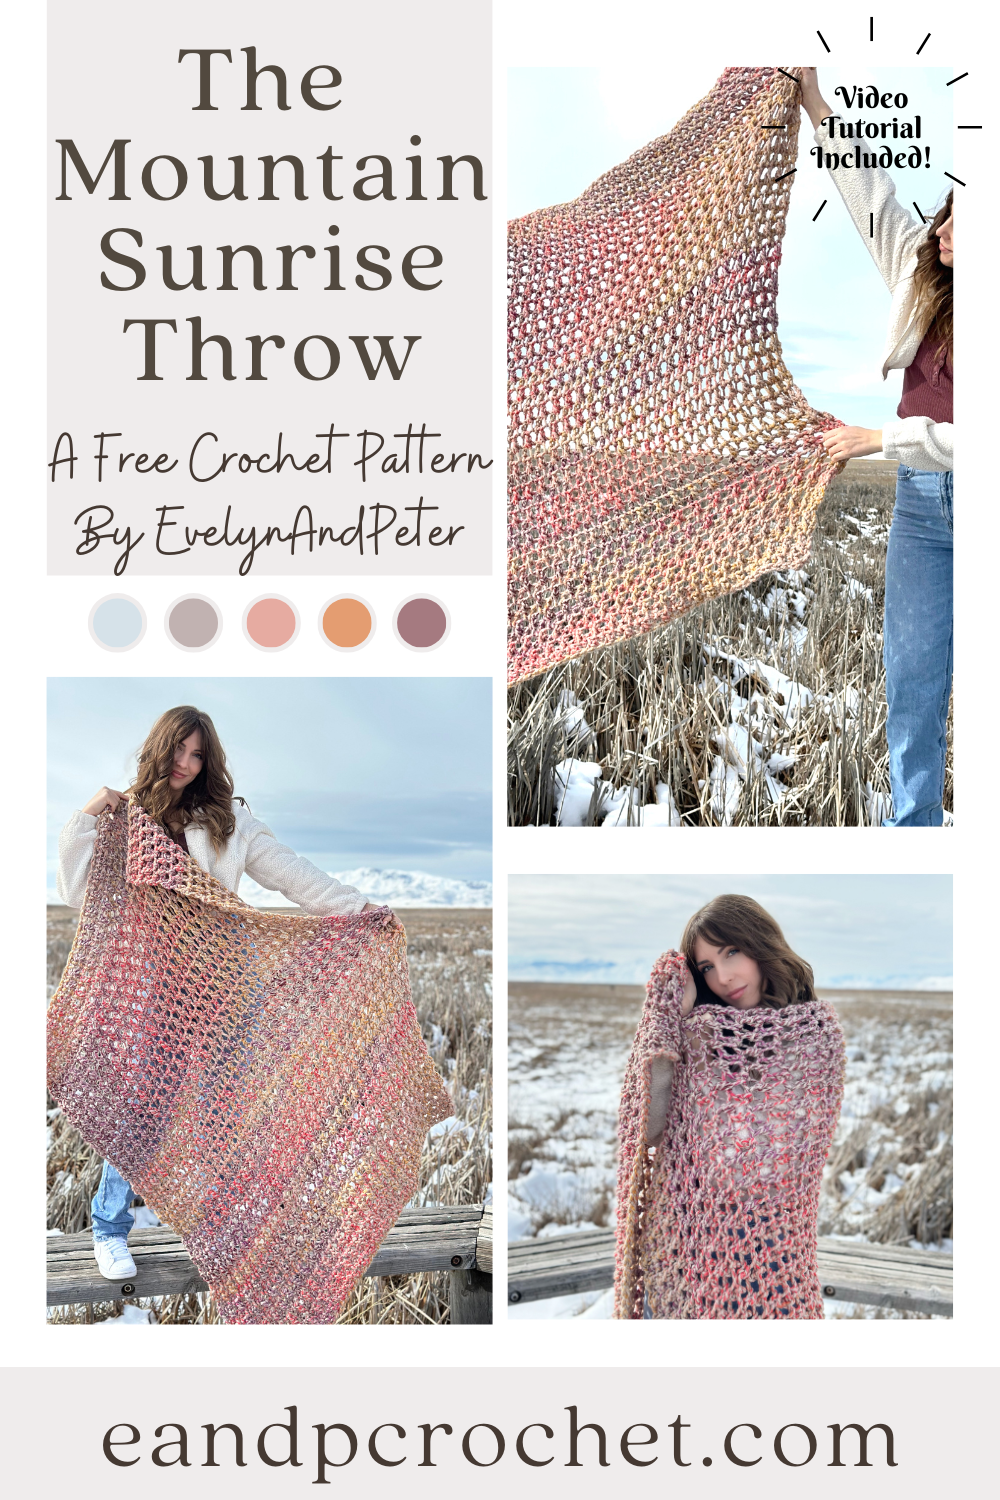
I’m hosting a Crochet Along! I’m so excited you guys, it’s been a while since i’ve done a CAL and I’m pumped to be hosting one for The Mountain Sunrise Throw! Keep reading for all the info you need on where to join the CAL and the next steps to get started!
The Mountain Sunrise Throw is easy breezy to work up, beginner friendly, has bouncy stitches, amazing drape and is FUN to crochet!! I hope you guys are excited to crochet along with me!
What do I do first?
The CAL officially starts on March 20th 2023! I wanted to give you guys plenty of time to get all of the materials before we start.
A while back I was browsing wayfair for home decor ideas (as one does) and came across the wallpaper section. One of them immediately caught my eye. Not to actually wallpaper my house with…but as a crochet project, obviously! I’m constantly on the lookout for inspiration and this one came easily!
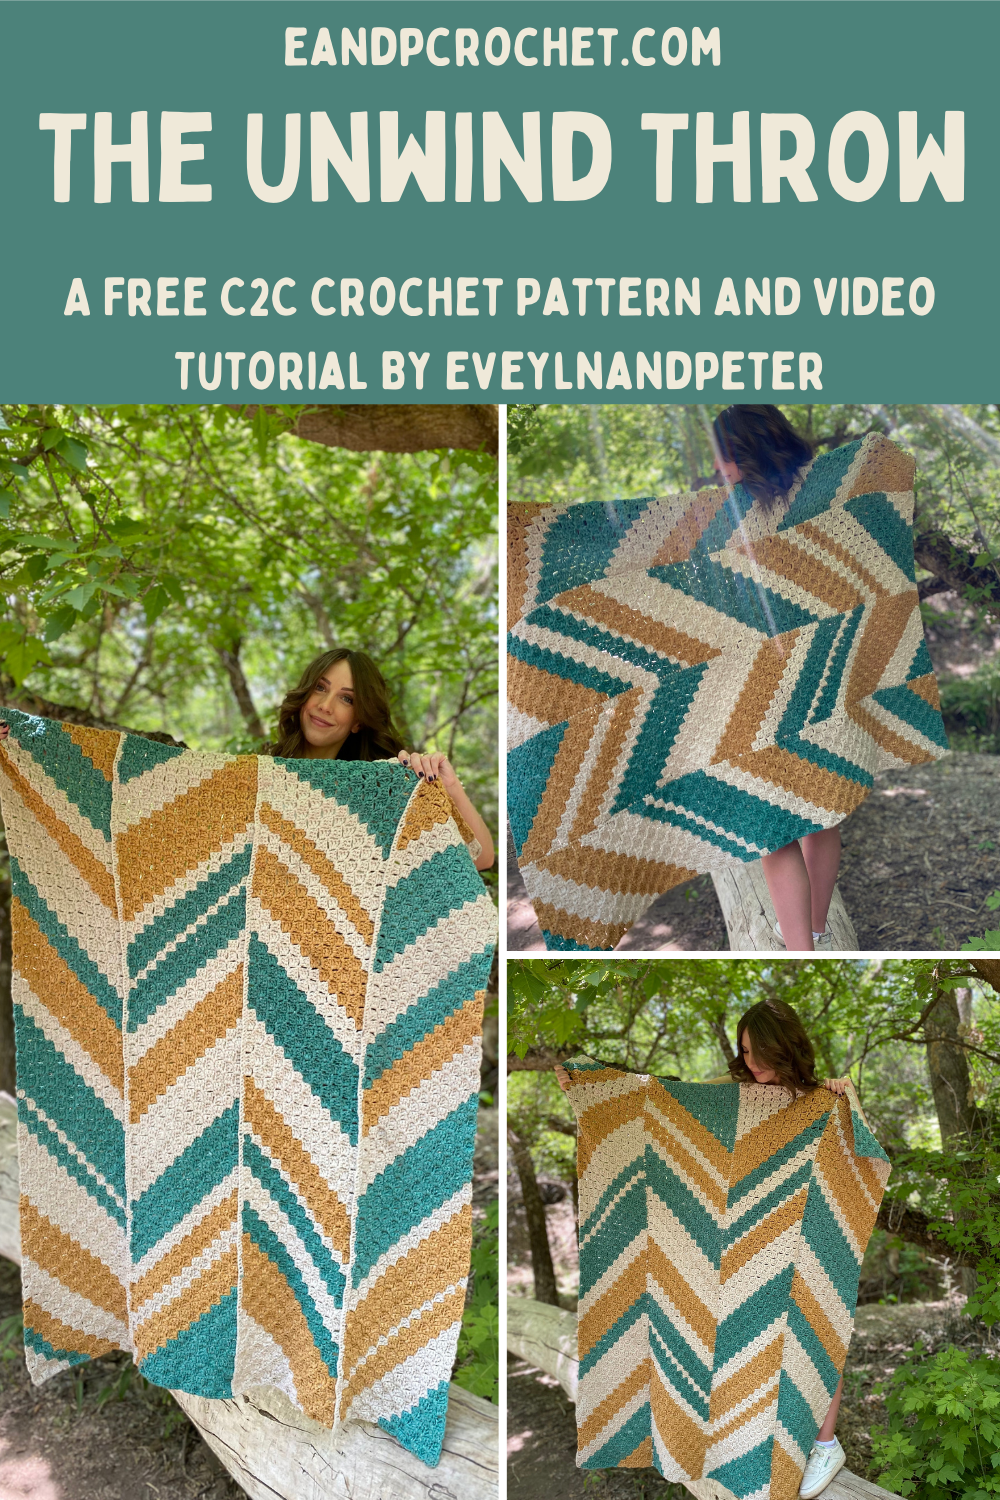
Right away I knew I was going to do a C2C blanket design- The Unwind Throw blanket! Usually I make my C2C blankets in one large piece. For this design I split it into 4 separate rectangular panels. It actually made it feel like the crocheting went by a lot quicker! Breaking it up into easily manageable sections worked out great.
I know what your thinking… look at all those ends to weave in!! Well, it actually wasn’t very many at all! When you crochet the 4 panels together, you crochet right over the knotted tails! So the only ends to weave in on The Unwind Throw Blanket were from some of the color changes on the outside perimeter of the blanket. You could make it even easier on yourself and crochet a border too and not have a single end to weave!