search results for
blankets
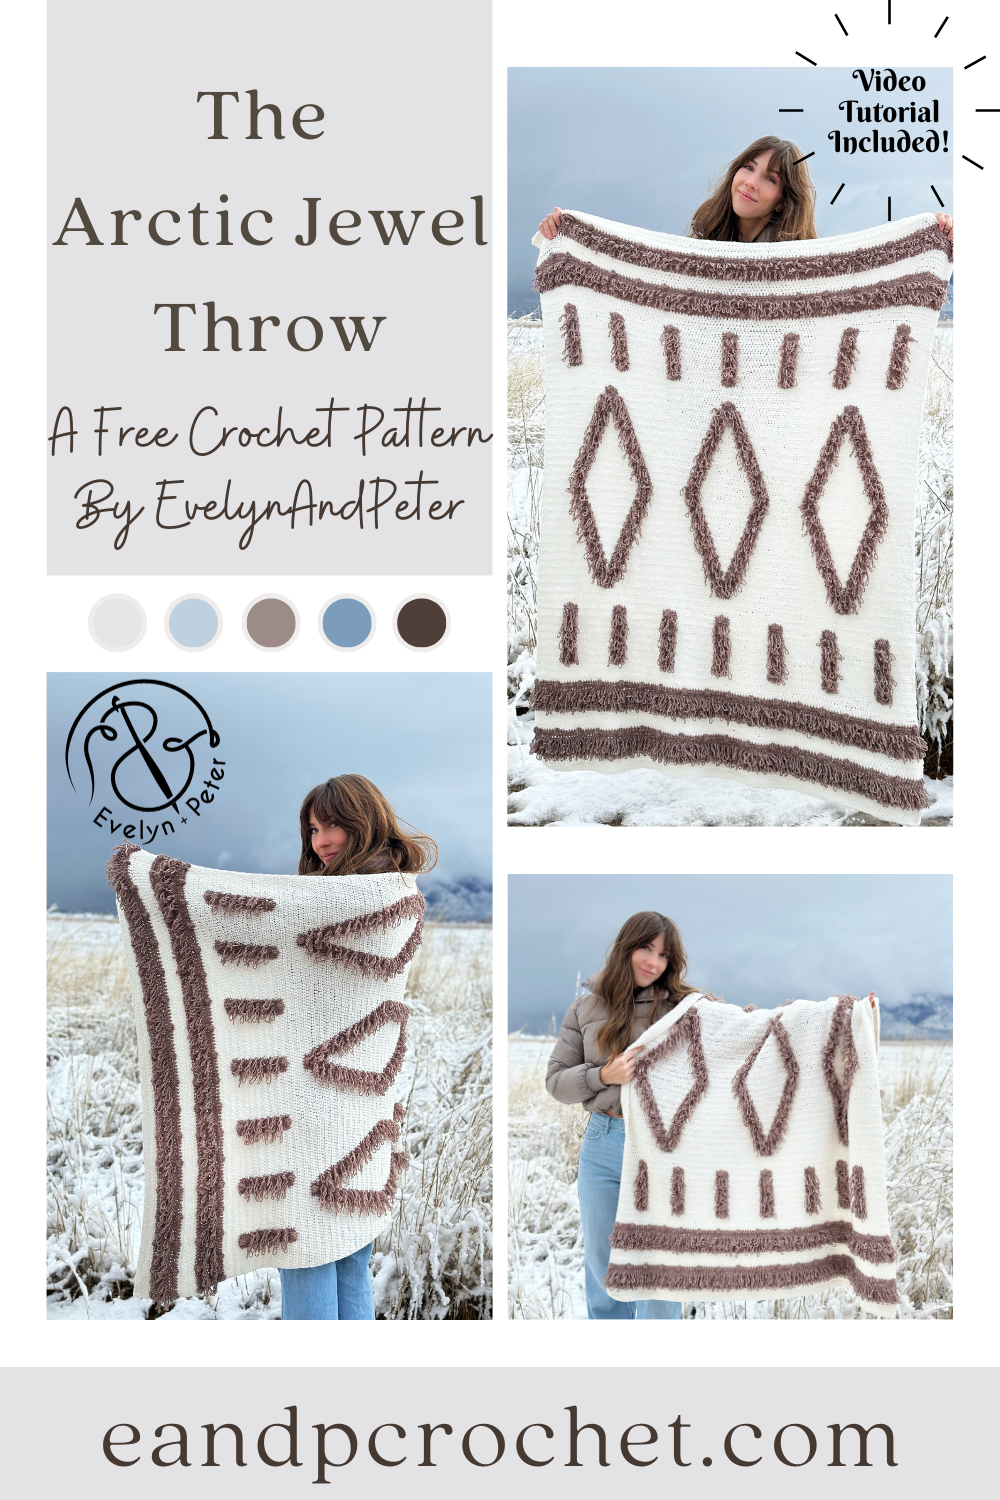
It’s finally time for my last crochet design of the year, The Arctic Jewel Throw! I’m very excited to share this blanket pattern with you guys and I hope you love it just as much as I do!
I was vacuuming my dining room rug one day and instantly got inspired for this project! My rug has different textures where the design is fluffier and sticks out more than the main portion of it. I tried different stitches to achieve a similar look and finally settled on doing a loop stitch. I knew I wanted to do this blanket in Hdc so I ended up altering your typical single crochet loop stitch into a Hdc Loop St. It worked out perfectly after some swatching and I went right into designing what I wanted the blanket to look like.
The Hdc loop St in this blanket takes a tiny bit of practice but I know you can do it! Take a look at my video tutorial where I show you exactly what you need to do! Once you have that stitch down the only other stitches you will be doing are regular Hdc and a small bobble! You do need to know how to change colors at the end of a row, as well as mid row. I show this in my video too!
The best way to make this blanket is to separate your CC (contrasting color- stucco) into multiple balls. That way, you don’t have to cut and join your yarn a million times. You don’t need to worry about doing this until you reach the vertical stripes and diamond portion of the blanket. Once you reach this area you will use 7 separate balls of the brown color. Do not cut and join these, simply work your stitches needed, then drop the color and leave it there for when you need it in the next row, then just pick back up!
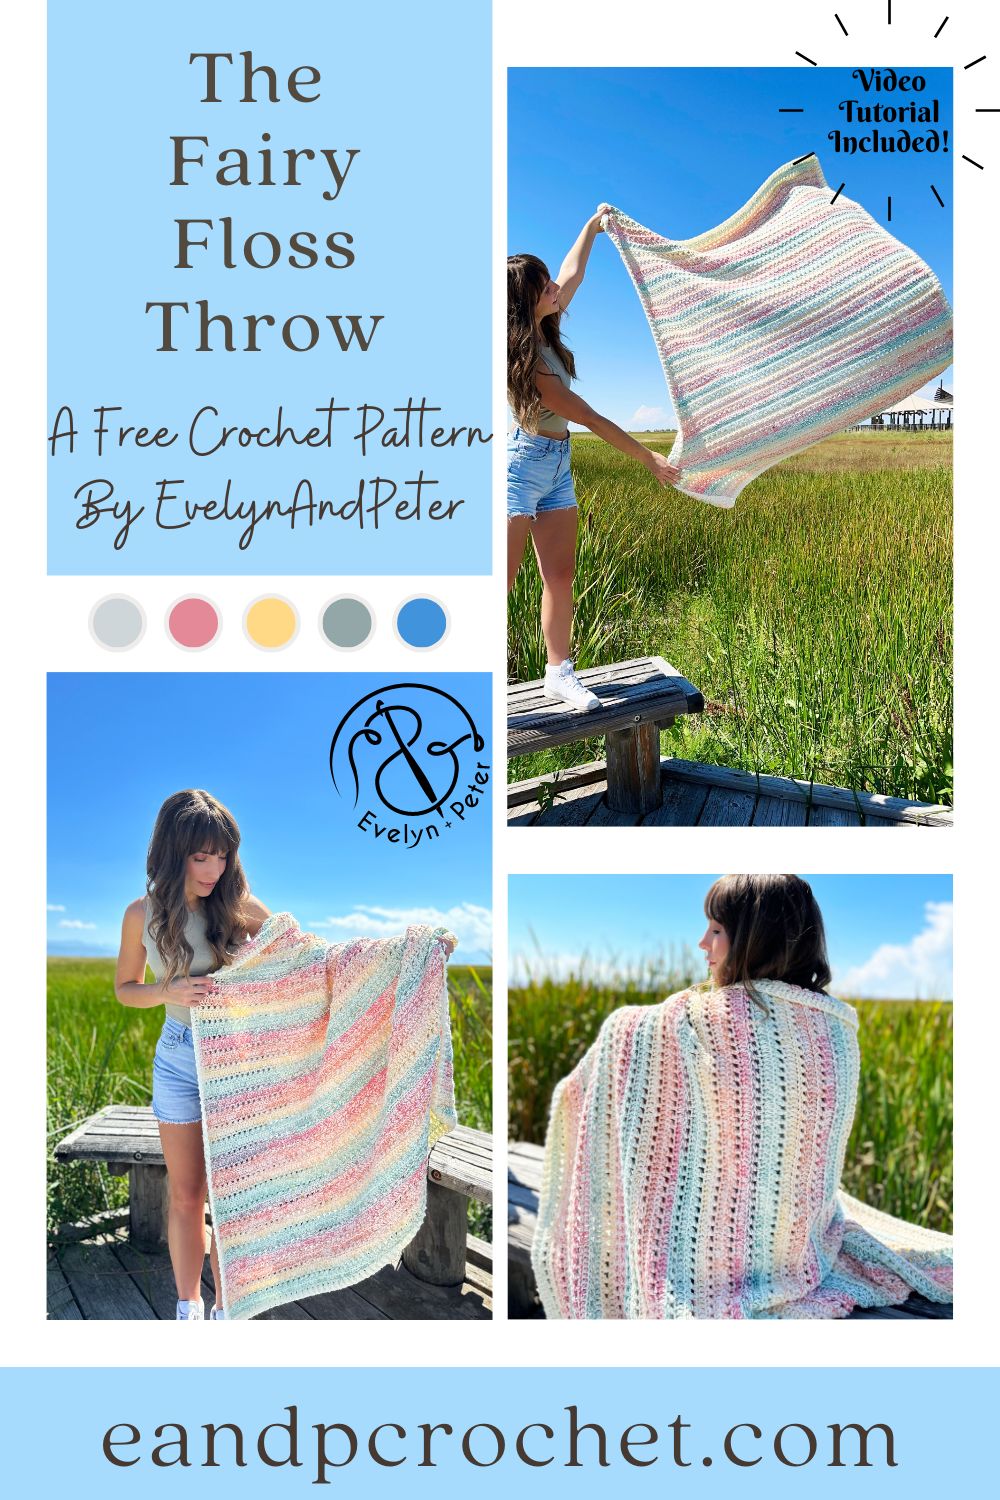
I love a good blanket project that is mindless, don’t you? There is just something about being able to curl up with it, put on whatever current binge worthy show and crochet without having to think about what i’m doing! Even better, The Fairy Floss Throw uses yarn held double. So not only does it work up quicker, it gives a beautiful but effortless look!
The Fairy Floss Throw uses two different yarns, both of them Lion Brand. First is Pound Of Love which is a worsted weight and the second one is Mandala String which is a super fine weight. The Mandala String yarn does allllll the talking in this pattern. It creates a beautiful stripe effect with zero effort on your part.
There are so many different color combinations for this blanket. I used vintage white (but you can also use Vanilla or White for the same look) and Jazz for the mandala yarn. I wanted to see what it would look like with a darker yarn and I totally love it just as much!! Check it out below! You can use Charcoal or Black to achieve this look.
If you want more of a neutral look you can swap out the Jazz color for the color Ballad. I think this would look amazing! I’m so excited to see everyones blankets! If you plan on getting yarn I recommend grabbing the kit from lion brand which comes with a free copy of the printable pattern!
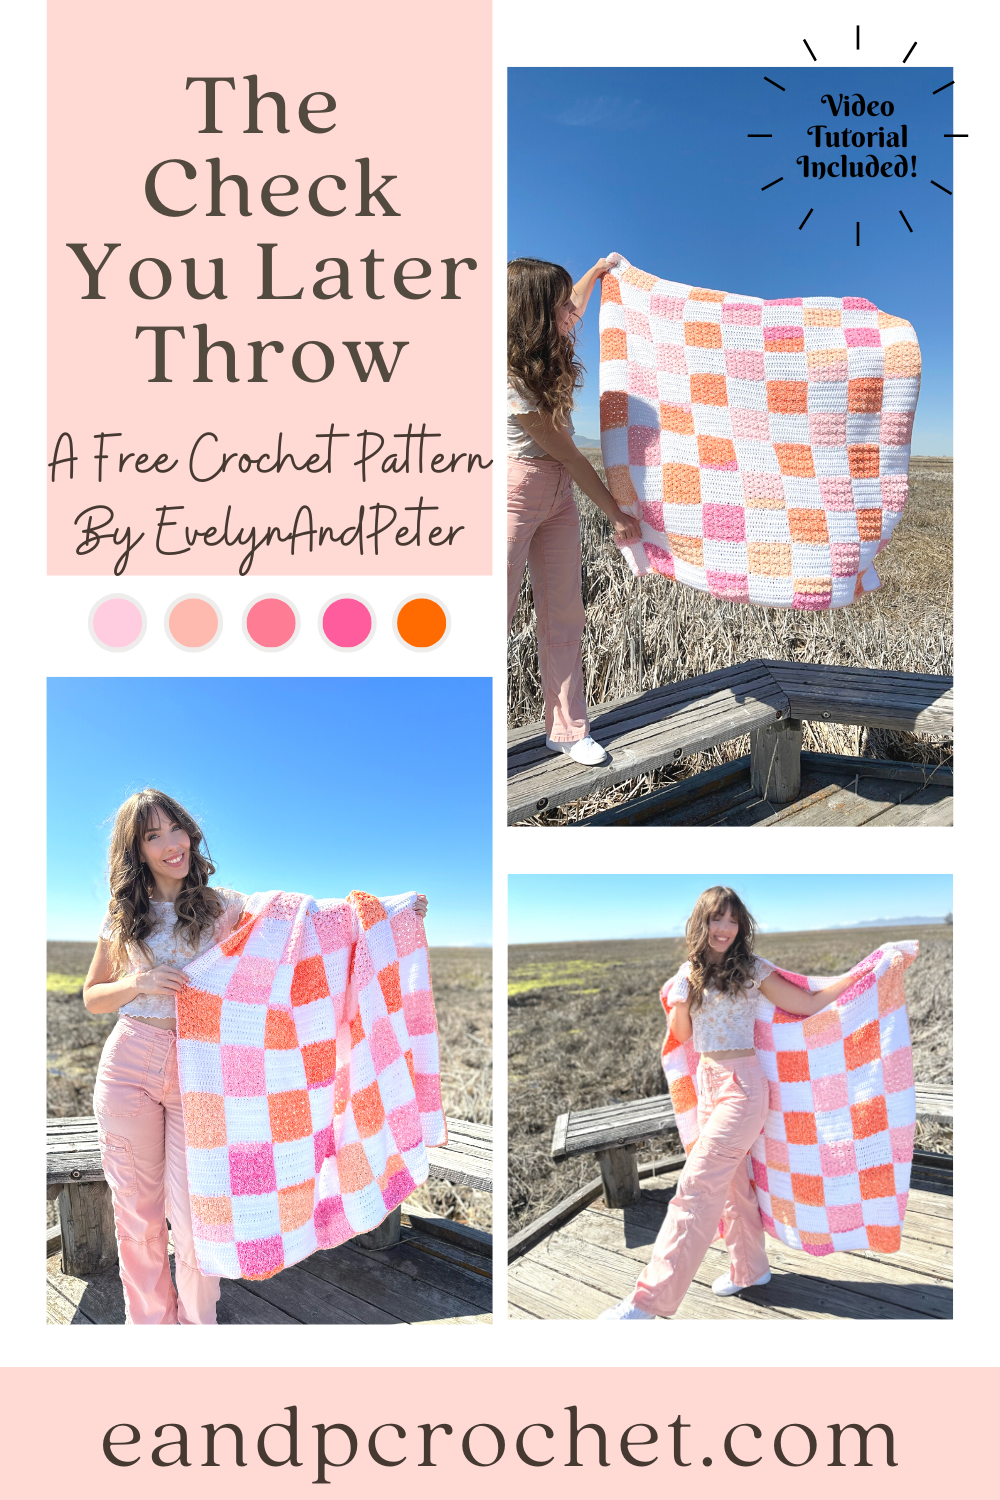
I don’t know about you but I’ve been seeing checkers everywhere this season! On shirts, shoes, hats, rugs, bags and of course, blankets!! I wanted to put my own spin on the trend and came up with The Check You Later Throw!
After testing out different ways to make a checkered design I finally settled on working it up in strips. I know doing separate squares is more time consuming and can be intimidating so I got rid of that idea. I swatched a bit with C2C but ultimately decided that there would be too many skeins of yarn going at once for the amount of squares I wanted. I also thought about working in rows but that would still require too many balls of yarn at once for me. I wanted something a bit easier for a beginner to do! After I did a test working it from the bottom up in separate strips I knew I found the winner!!
There are 2 separate strip patterns, Panel A and Panel B. You will be making 5 Panel A and 4 of Panel B. They are made from the bottom up. You will have to cut and join yarn each time you change colors for the squares but don’t worry! Tie the tails together in a secure knot. Then, you can crochet over the tails for less ends to weave. I only did this when changing from color B to Color A. I would work my Dc stitches over half the tail. Then after I was done I weaved them back the other way to make it extra secure. I did not crochet over the tails when making the Color B square. I found that because of the stitch I used it didn’t hide the tails well enough and you could see it peaking through. I save those to weave in at the end.
When I made my strips, I kept my colors in order as they came. I did not do any special cutting and rearranging of yarn colors. I worked my panels from let to right starting with the first Panel A and picked up each skein where I left off in the previous square. That does not mean you have to do the same though! You can join in your colors from the Mandala however you would like.
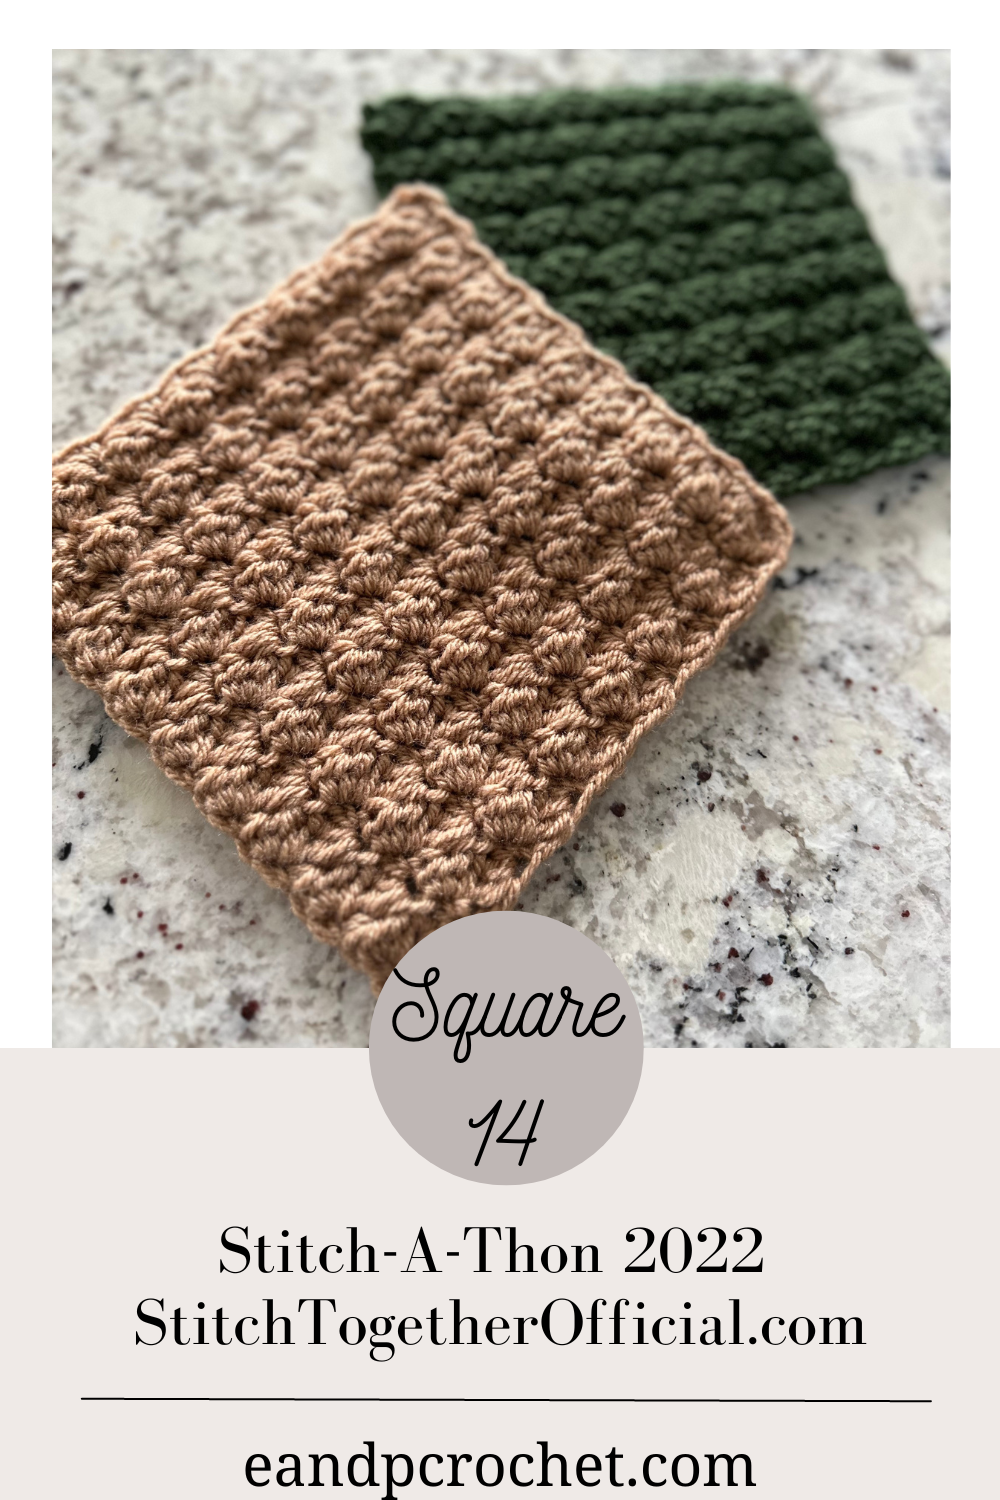
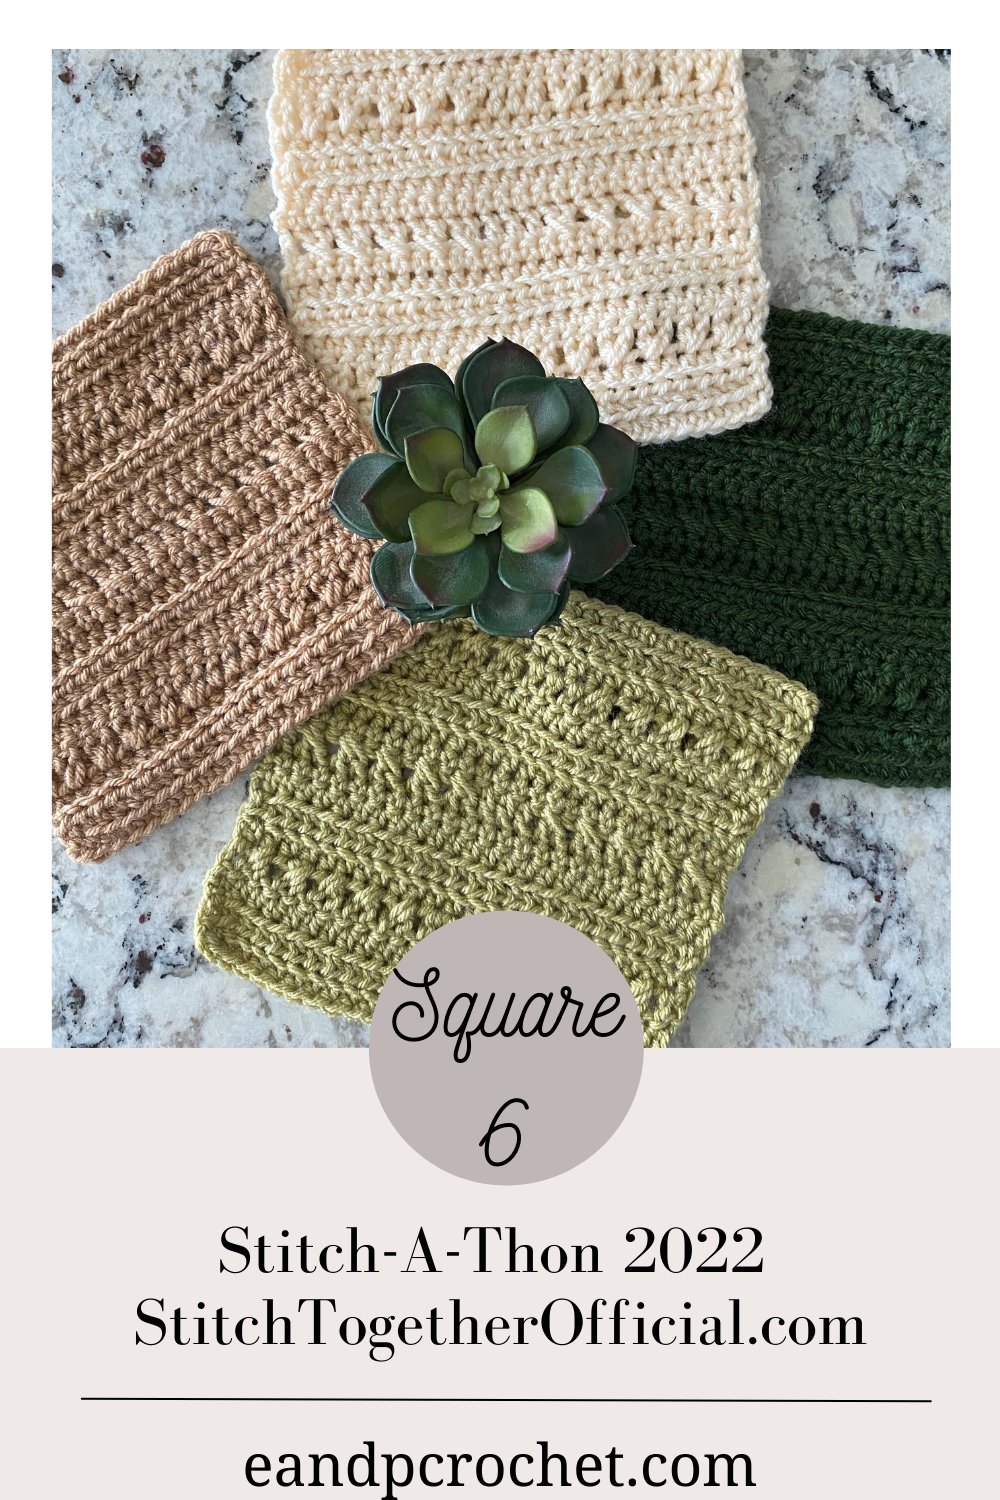
As many of you know I’m a part of the crochet along group- Stitch Together Official! This year we are doing one giant Stitch-A-Thon and making a blanket together! Stitch-A-Thon 2022! It’s been such a blast making and seeing all of the designers squares so far!
Let me explain a bit, all 7 of us Stitch Together designers are each designing and releasing 2 squares this year. Each time we release a square you need to make 4 of them. Each square will be available on the individual designers blog. At the end of the year you will have 56 squares, enough squares to make 1 giant blanket! You can find even more info and a full schedule with links to all the squares over at stitchtogetherofficial.com
Be sure to join us on our facebook group so you can follow along with us, work on your squares, and share photos! It’s so fun to do it as a group and see everyones colors and work! If you’d like you can find a PDF version of the Stitch-A-Thon that will be updated with each new square from the WeCrochet website. All team members are using WeCrochet worsted weight yarns for their blankets. They have so many beautiful yarns and colors to choose from. There’s something for everyone!
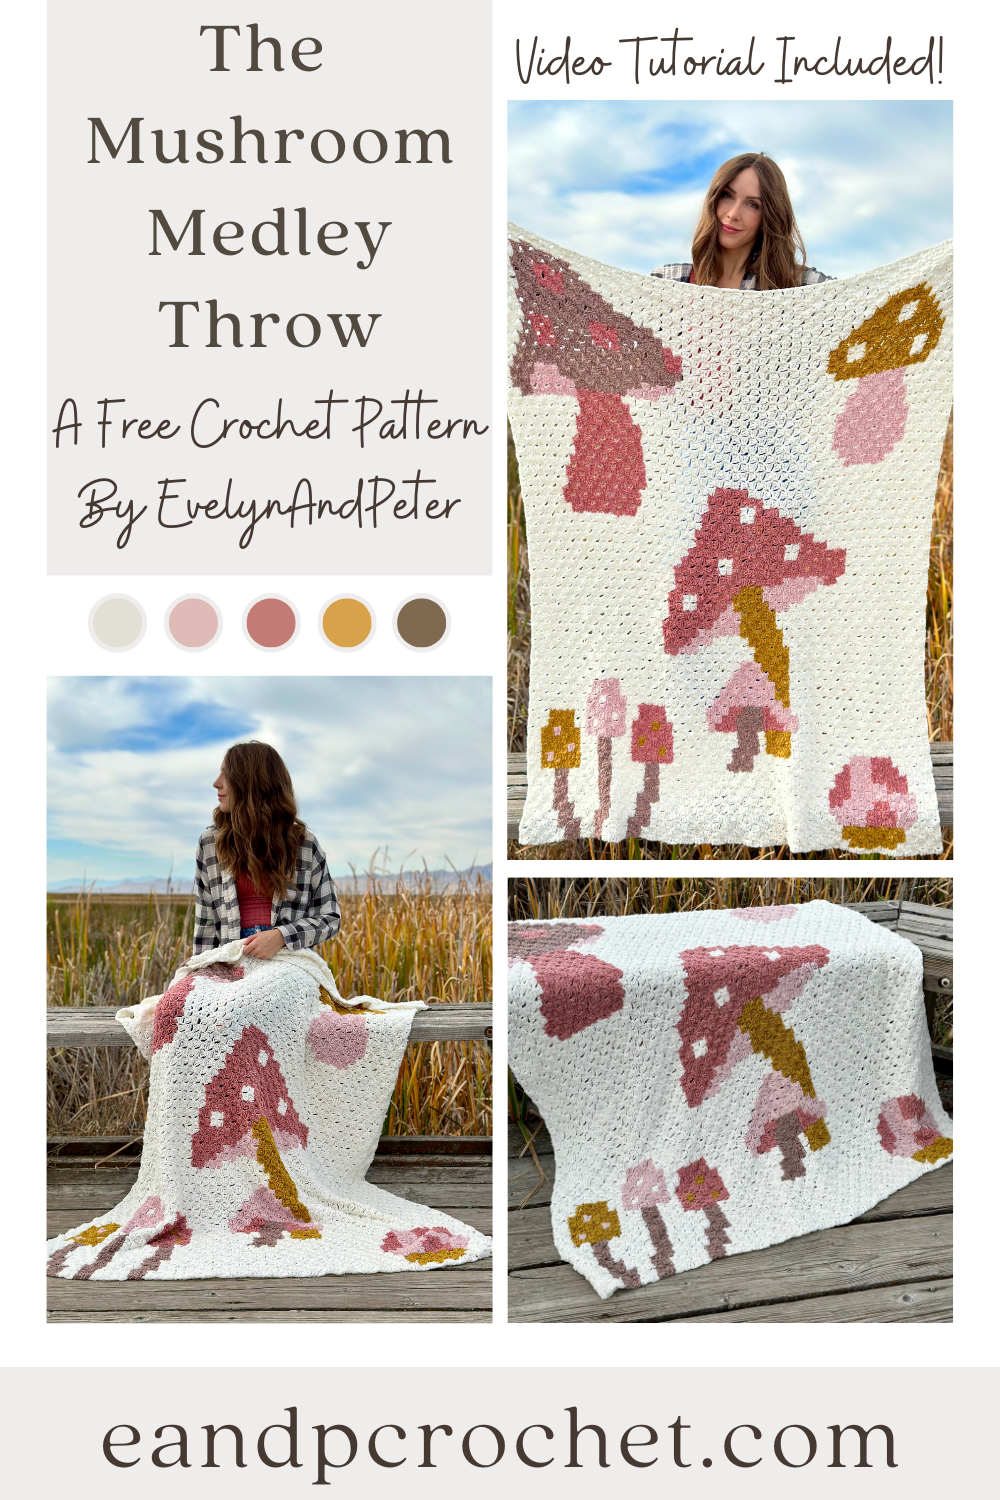
I know I’m not the only mushroom fan around here. If you’ve been to literally any store in the past year I’m sure you’ve seen cute little mushrooms on mugs, wall decor, pillows… I could go on and on! Who doesn’t love a cute whimsical mushroom?! The Mushroom Medley Throw is perfect to add to your mushroom collection or give to a mushroom fan! (how many times can I say mushroom haha)
If you guys have been following me for a while you know that I am a C2C crochet fan. I like to make at least 2 c2c crochet blankets every year. The Mushroom Medley Throw is my third this year! I designed The Daisy Day, The Squeeze The Day and now The Mushroom Medley! Be sure to check out all my other c2c patterns if you’re a fan too!
If you are new to C2C I recommend practicing with a smaller swatch before beginning a blanket! Once you understand how to make the basic squares it really is easy! You just repeat squares to grow your blanket, and decrease when you reach the corners!
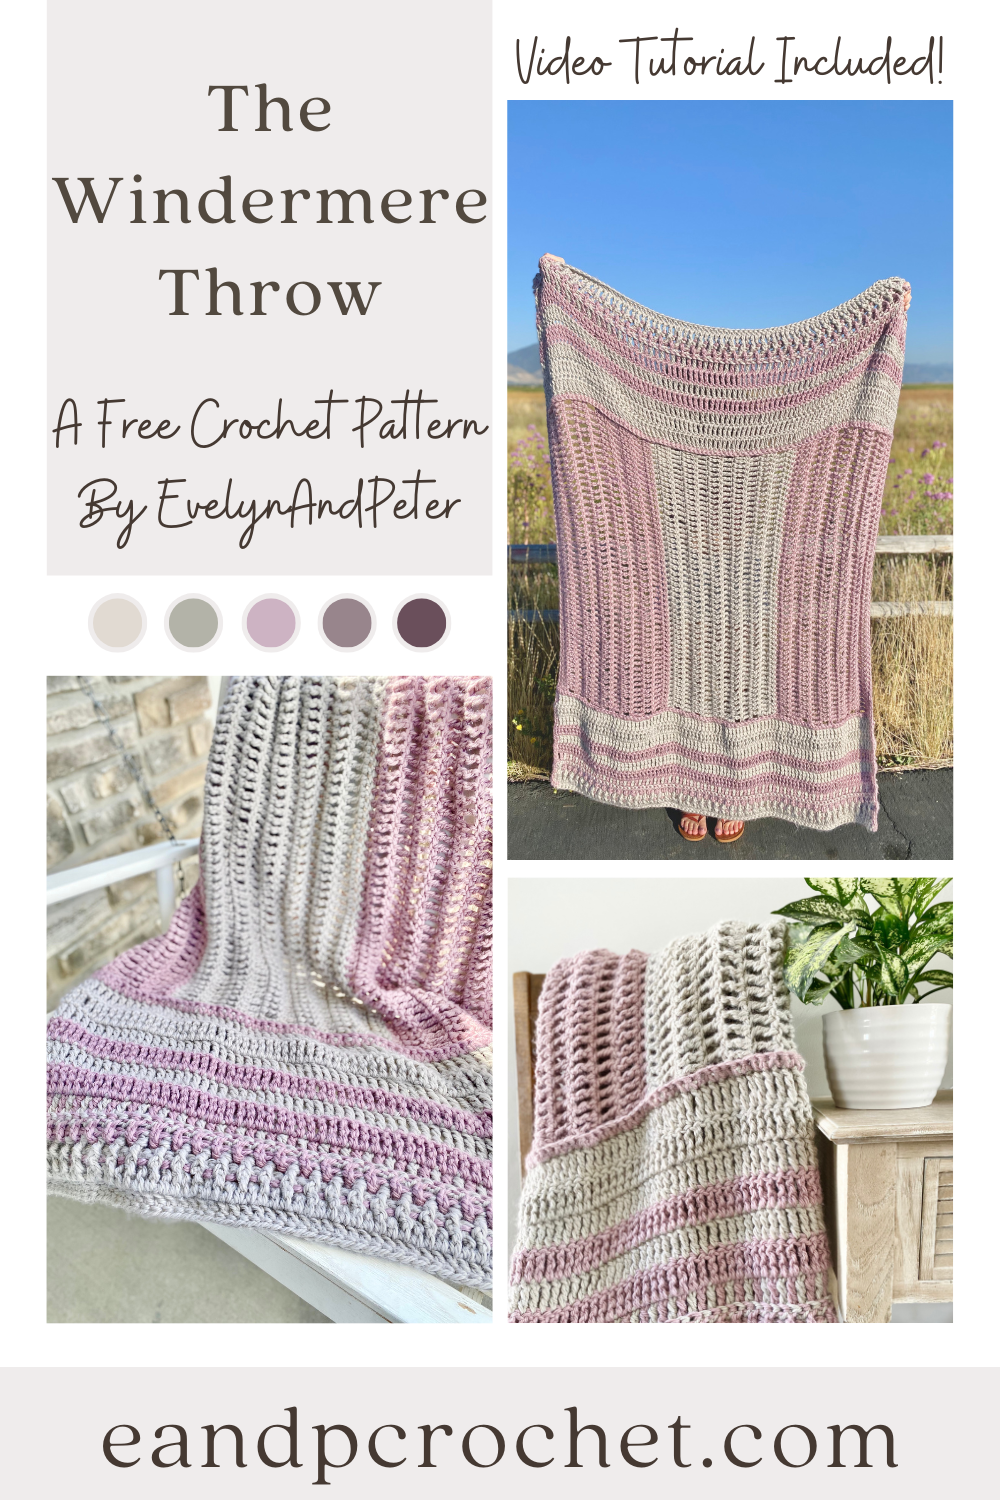
At least once a year I try and design a throw blanket that uses a Super Bulky yarn and works up quickly. There is just something so satisfying about crocheting a big comfy blanket in a week! The Windermere Throw crochet pattern is the perfect pattern for that!
I used Lion Brand Re-Spun Thick & Quick in the colors Pumice and Wisteria. You only need 3 skeins of each color to make this big blanket! This yarn is part of the sustainable stitching line at Lion Brand. Its 100% recycled polyester and is made from recycled plastic, keeping bottles and other waste out of our oceans and landfills! It’s super soft and easy to work with and you are doing good for our planet when you use it!
There are so many different cute color combos you can use in this pattern. I think a black and white, or a cream and blue would look so pretty! Be sure to check out the different colors of the Re-Spun yarn if you are purchasing the kit! If you grab the kit, you get a free digital copy of the printable pattern! Lion Brand frequently has sales so you can get the kit at a discounted price! Be sure you are following me on Instagram and subscribe to my email list where I tell you about these sales!
The construction of this blanket is slightly different than your usual row by row blanket. I know big projects can sometimes be mundane so I wanted to keep it interesting! You will be making 2 end panels and 1 main panel! This breaks the project up into easily attainable goals. Once you make all 3 panels, you join them together with a row of Sc stitches! It’s super easy! I also used mostly treble crochet stitches in this project so your throw will grow quickly! Don’t be scared of the color work. Its very minimal and easy to do.
If you like this crochet blanket pattern, be sure to check out some of my other ones too!

