search results for
stony shore cardigan
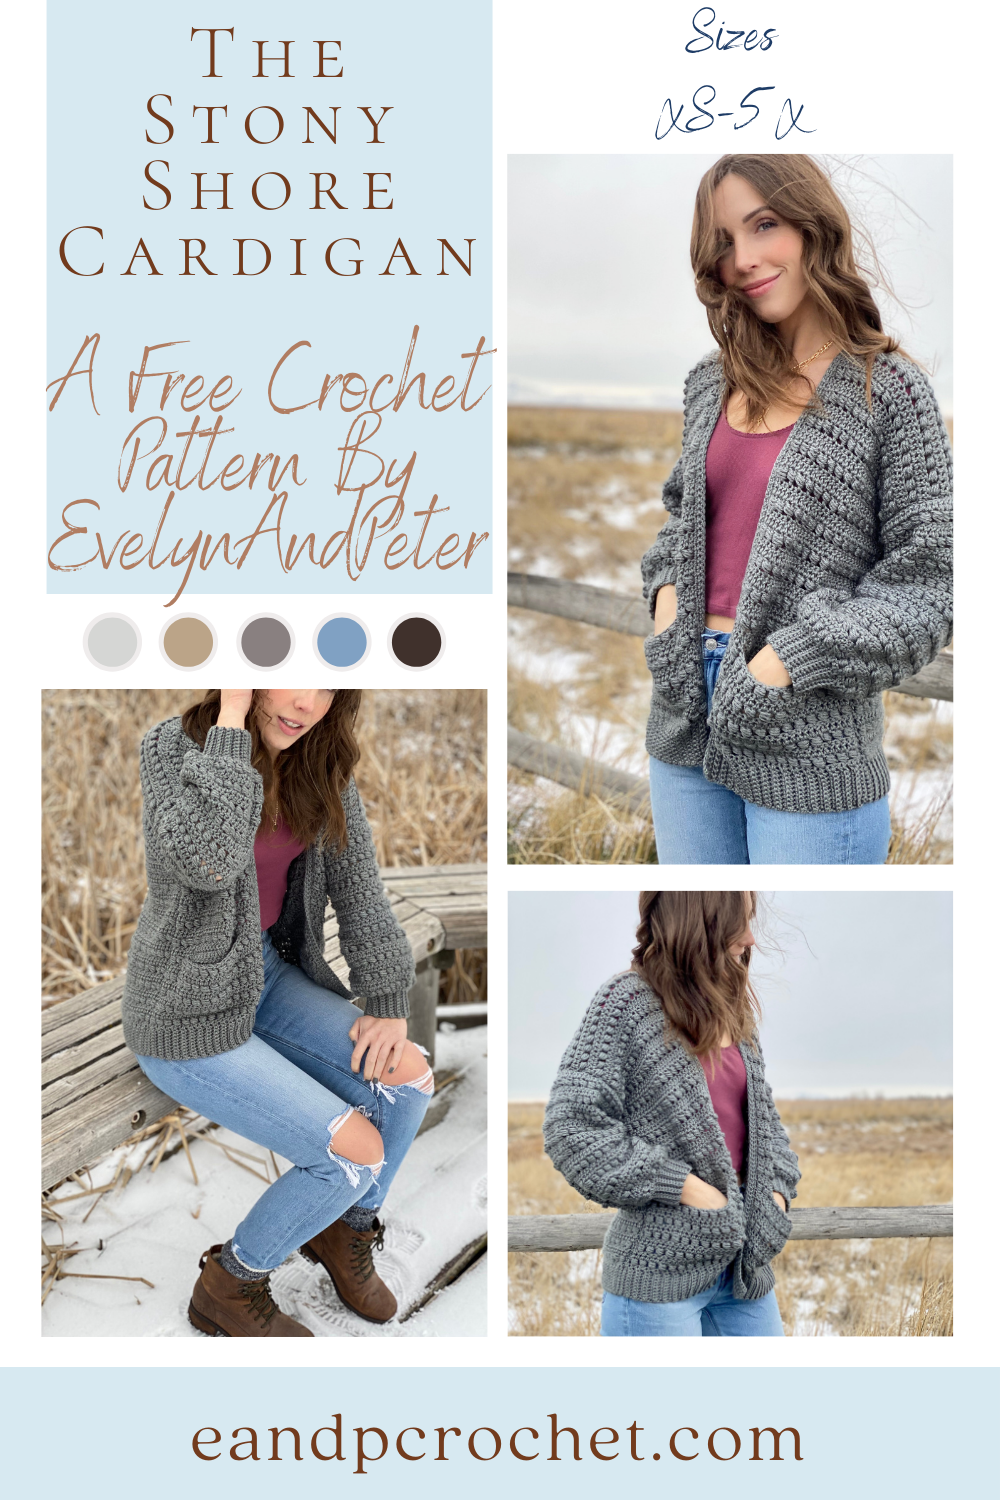
The Stony Shore Cardigan Crochet Pattern is here! I’ve been wanting to make something with this stitch for a long time and I’m glad I finally did it! I also knew immediately I would be doing a loose balloon style sleeve. I actually attempted it on my Sunset Bomber but it just didn’t go with the style. I’m sooooo happy that it worked out that way because they look AMAZING on this cardigan.
I’ve been posting sneak peeks of this sweater on TikTok and Instagram. The amount of crocheters that told me they couldn’t wait for this pattern was kind of insane. I can’t even begin to tell you all how much I appreciate the love and support on this design. It’s also a bit nerve wracking because I hope it lives up to the hype. I just want you all to love it as much as I do. Even my husband said this was his favorite sweater of mine and he is my toughest critic when it comes to crochet!! lol.
The Stony Shore Cardigan Crochet Pattern is worked in separate panels from the bottom up and is beginner friendly. Once you get the bead stitch nailed down it’s a breeze to make. You will alternate bead stitch rows and double crochet rows throughout. You can easily make your sweater longer or shorter by adding/taking away rows in multiples of 2 before tying off. Same with the sleeves!
If you are a complete beginner and need a little extra help then be sure to check out my full video tutorial!
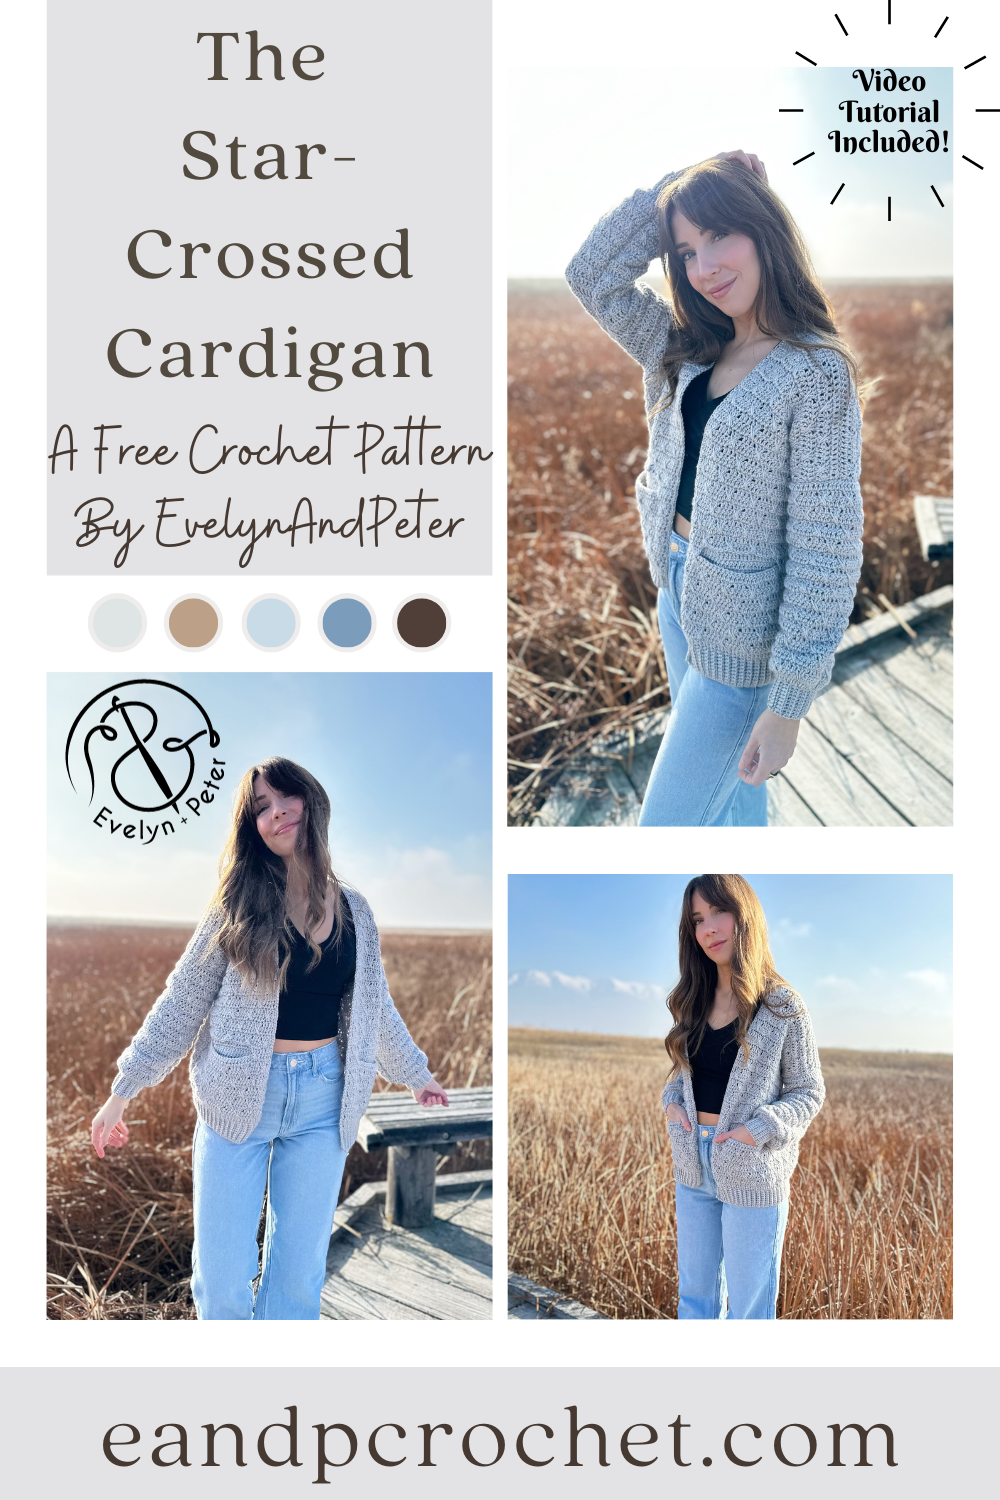
Let’s kick off the new year with a brand new crochet design, The Star-Crossed Cardigan Crochet Pattern! I wanted to start off strong with a cardigan design using Heartland yarn. You might remember my Stony Shore Cardigan and my Kiah Cardigan, both are very popular and well loved and both use Heartland yarn! I knew I needed something to add to the collection of my popular cardigans!
The Star-Crossed Cardigan crochet pattern is very beginner friendly and uses basic shapes. Once you nail the “double crosses spike” stitch you will work this cardigan up easy peasy! It’s basically a combination of all double crochet stitches with the ribbing using single crochet. You will work the panels from the bottom up and sew together.
Did you notice the Star-Crossed Cardigan crochet pattern has pockets?! The best part is that the pocket swatch is your gauge swatch. So feel free to jump ahead in the pattern and make a pocket swatch before starting. You will then use that swatch to measure 4×4″ within. Save it for later when you are required to seam to the inside of your cardigan!
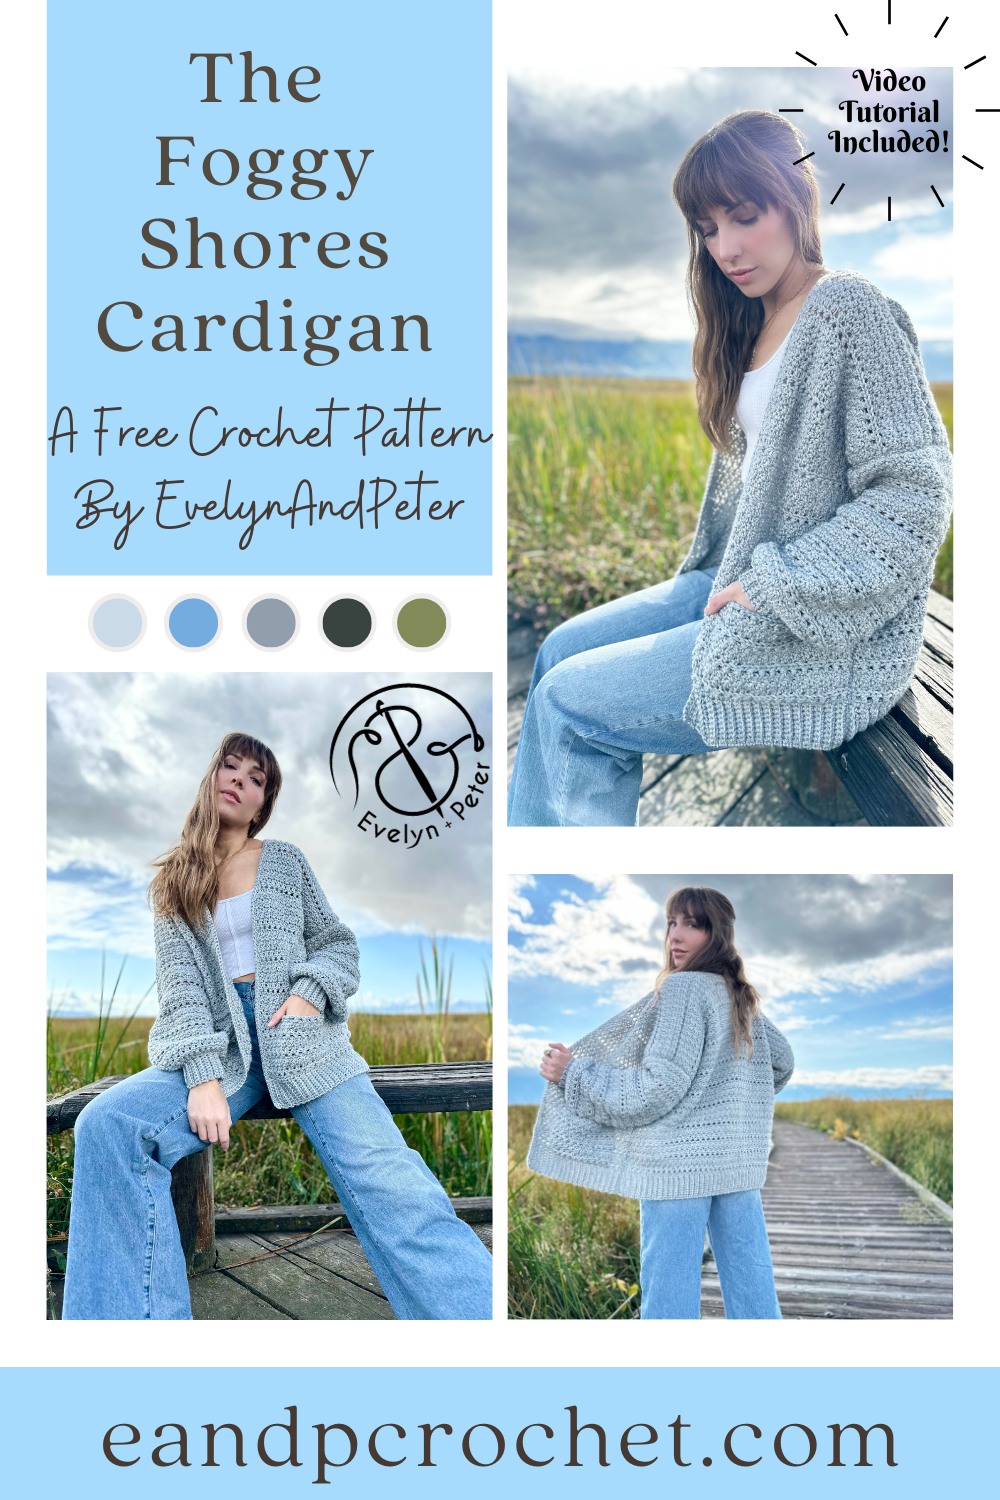
I had to sneak in one more crochet cardigan using Heartland yarn before the end of the year! The Foggy Shores Cardigan crochet pattern turned out exactly how I wanted. I love the style of my Stony Shore Cardigan and Kiah Cardigan and I think you guys do too! I wanted to keep the style similar but decided I needed something a bit more oversized and cozy! I think The Foggy Shores Cardigan is the perfect addition to my Heartland collection!
The Foggy Shores Cardigan is worked from the bottom up and is easily customizable. It has cozy pockets worked into the front panels. You can easily skip this part if you want if you prefer no pockets! Instead of working the chain length, just continue across the row with your regular stitch repeat. If you prefer your cardigan longer or shorter just add or remove rows to both the back and front panels until its the length you desire. If you don’t want your cardigan as oversized you can follow a size smaller than you normally would!
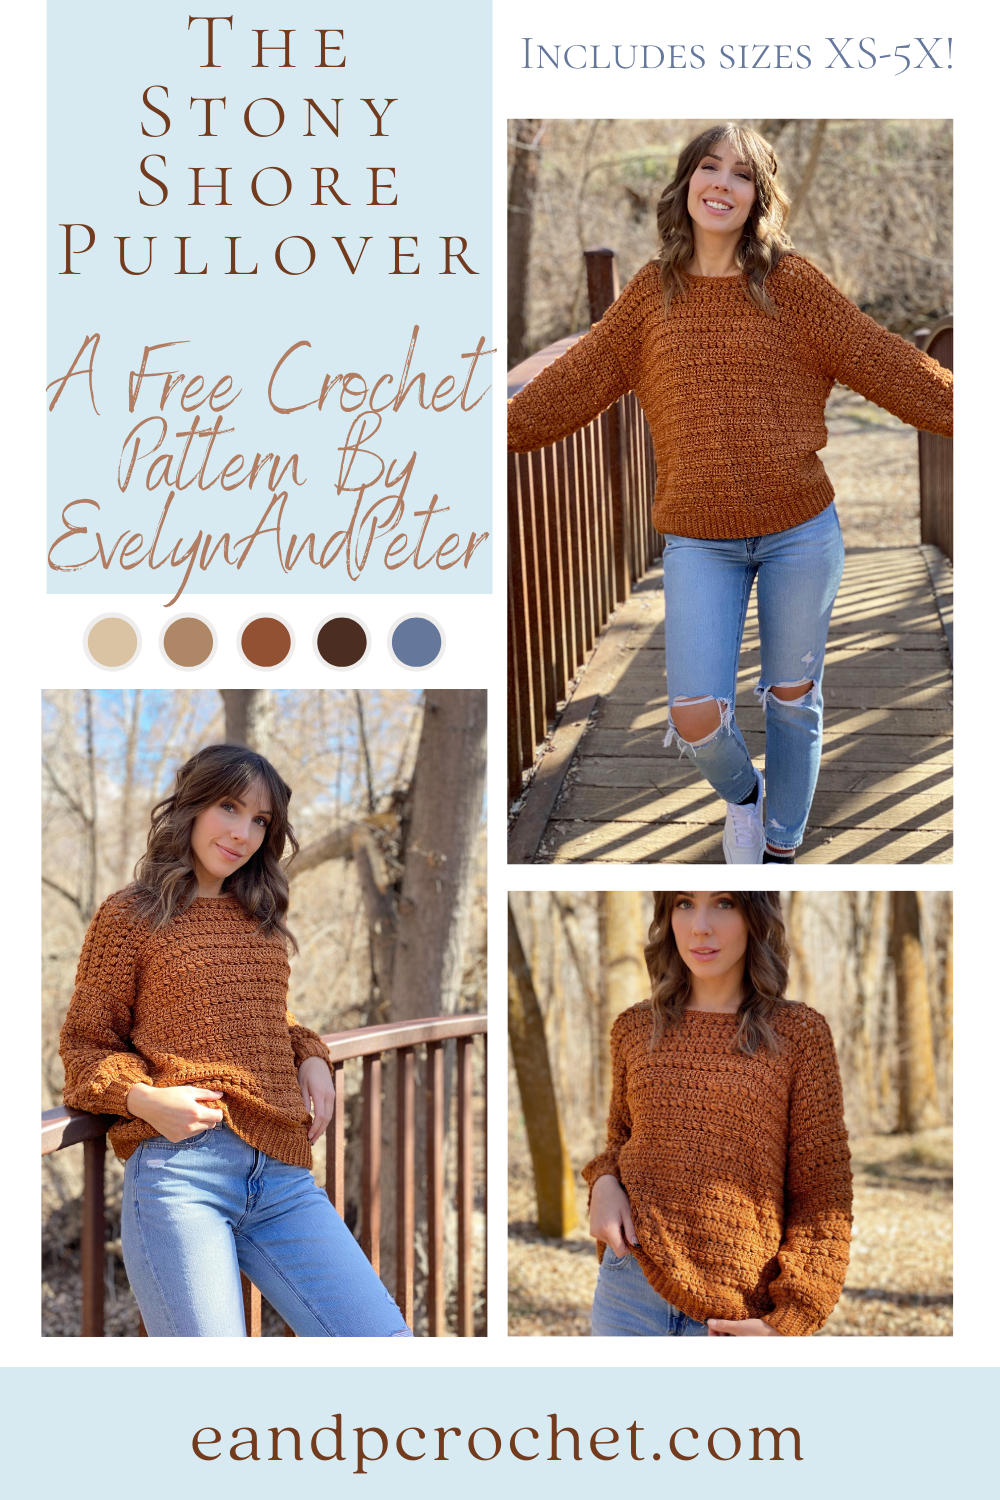
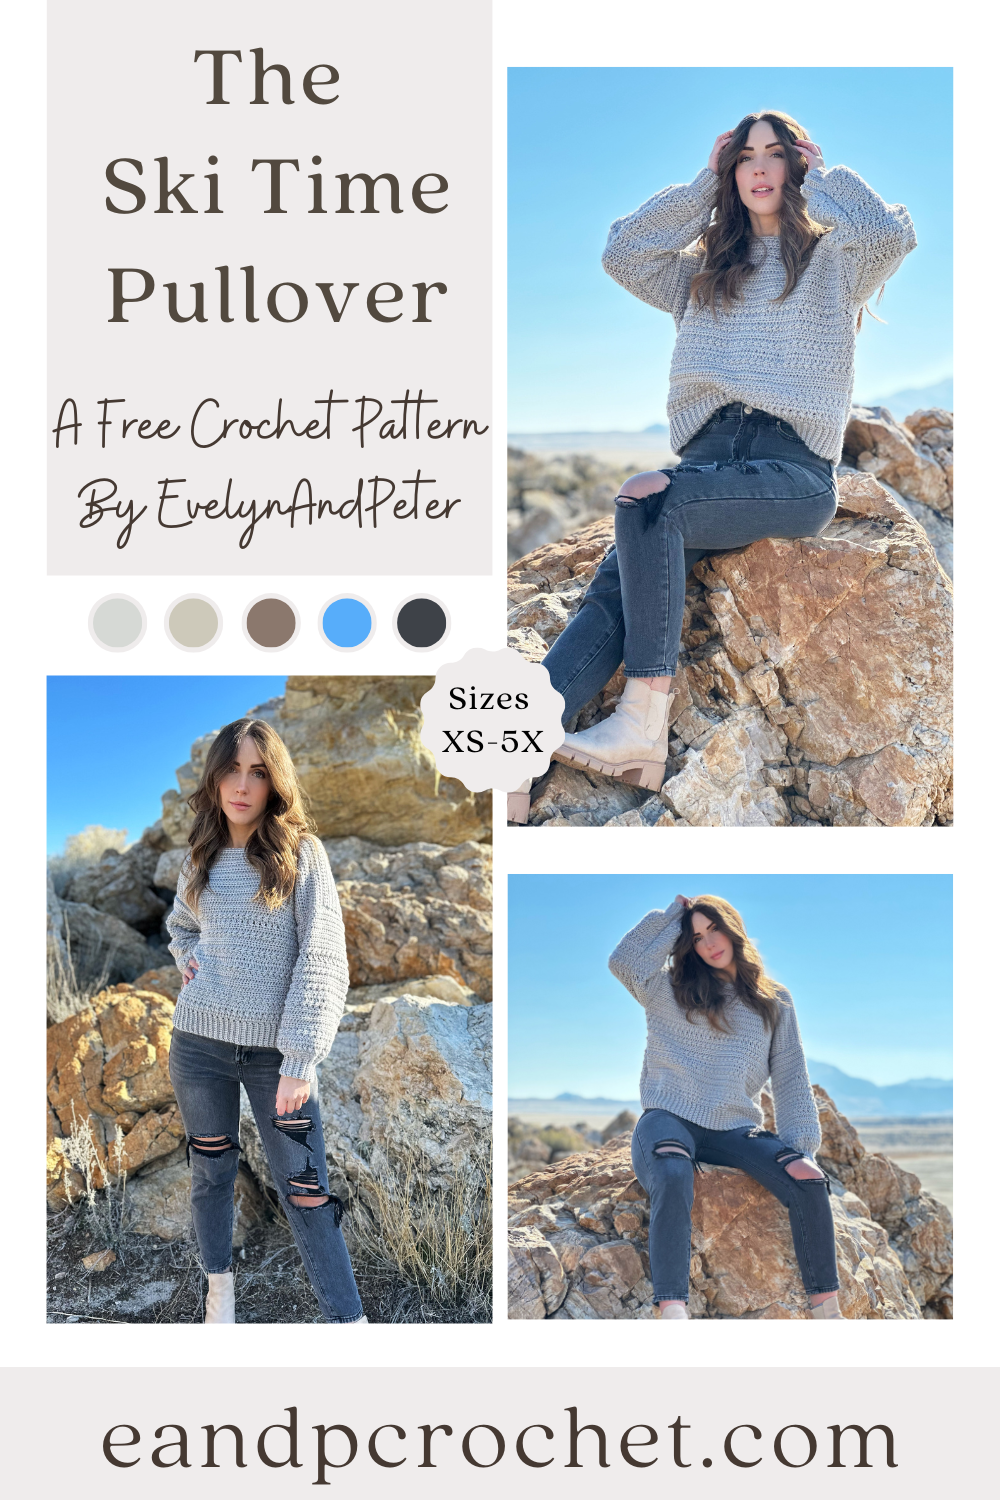
Didn’t I tell you guys that there would be a matching pullover to the beloved Stony Shore Cardigan?! Well here it is… The Stony Shore Pullover! Haha, I had to keep the name the same obviously since they are sister designs. If you enjoyed the Cardigan design then you will definitely love the pullover!
The Stony Shore Pullover crochet pattern is constructed very similar to the cardigan. It’s actually a bit quicker to do because you don’t have to worry about pockets and the trim is a lot smaller! This is an oversized pullover! You do NOT need to size up to get this slouchy look like mine! I am wearing a size small in the photos. Be sure to check the size chart below and pick yours size via your bust size. If you want a less slouch fit, size down.
I used Lionbrand Jeans for the pullover instead of Heartland like I did in the cardigan. However, either one works great for this! So if you prefer Heartland you can still swap it out. Although, I’m in love with Jeans yarn and highly recommend it!
Description: The Stony Shore Pullover is the sister design to the Stony Shore Cardigan! It has a cozy oversized fit with cute balloon style sleeves. The stitch gives a beautiful and fun texture. Beginner friendly and fun to make!