If you’re looking for your next cozy project, the Moonblush Throw is it. This bulky, textured blanket is made with super soft yarn for the ultimate plush feel, and it works up into a warm, inviting piece that’s perfect for everyday use.
I based my Moonblush Throw crochet pattern off of my Moonblush Pullover! I loved all the stitches and textures that I combined in the pullover so much that I knew I needed to make a blanket version. You’ll find a bunch of different variations of Hdc throughout to give it the ultimate cozy and textured look. You’ll notice that a lot of the stitches repeat through the blanket so it’s easy peasy to remember how to do it and your blanket will work up in no time!
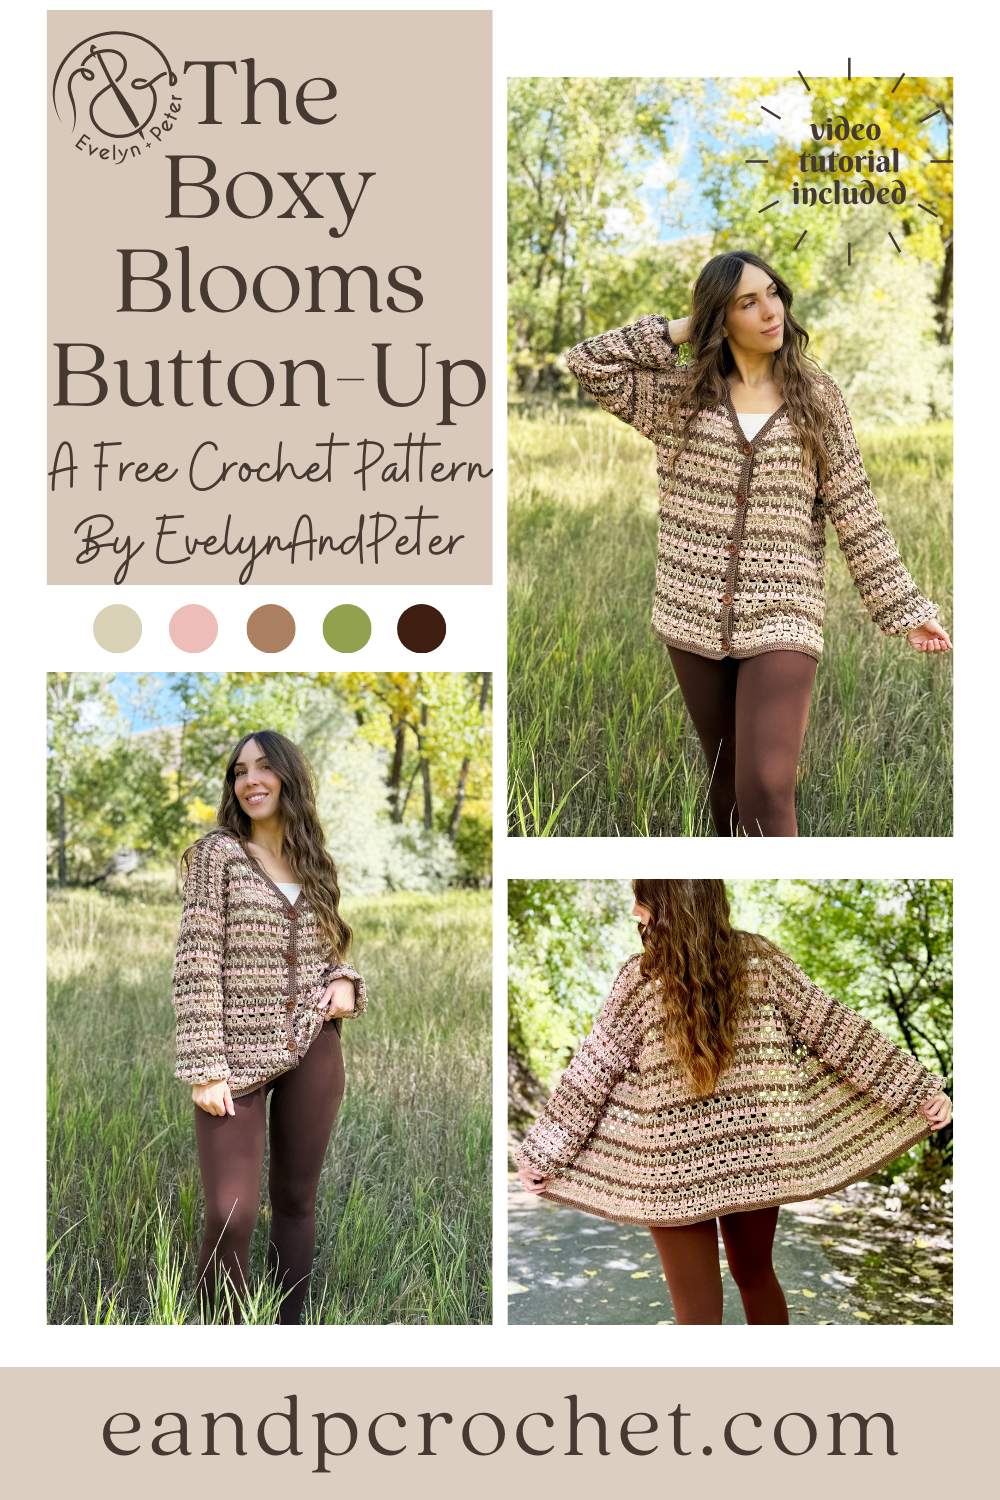
I’ve been keeping a secret. I was able to get a preview of the brand new Cottino yarn from Lion Brand and Two Of wands last year. I got to try it out and design a brand new cardigan- The Boxy Blooms Button-Up crochet pattern!
If you’ve been following along with me for a while then you most likely can recognize that name! I’m so excited to add another design to The Boxy Blooms Collection. 🙂 This one is worked up in 3 different colors! Plus the best part, no cutting and joining yarn! All you have to do is float the yarn up the side to change colors! So simple and way less work than cutting yarn. I show you how in my full video tutorial so be sure to check it out!
Another addition to the Boxy Blooms collection is here- The Boxy Blooms Blanket! I knew as soon as I worked that last stitch of my Boxy Blooms Cardigan that I would be adding more designs to this collection. The pullover quickly followed and now the blanket is out in the world!
It features the same beautiful stitches throughout. I did however, do something just different compared to the cardigan and pullover. I decided to use 2 different color yarns and switch them out every 2 rows! It turned into a colorful and stunning blanket with NO ends to weave in from the color changes! You simply leave the yarn and pick it up every 2 rows, creating little floats as you go. When you work your border, you just crochet directly over them.

Every once in a while you make a crochet design that just works up perfectly how you envisioned it. That was definitely the case for The Echoes Cardigan crochet pattern. I was a little nervous to make a whole sweater with Mandala because of all the different color changes. Buuuut I am absolutely obsessed with how it turned out.
I made no adjustments to the yarn colors as I worked it up. No cutting the yarn and only joining when It was time to bring in a new skein. I just let it work up naturally! I think that’s part of the fun with this design. Each cardigan will be slightly unique in their own way, as far as colors go. Once my panels were all worked up I did decide which one would look best where. Because the left and right front panels are the same, as well as the sleeves, you can place them on either side. For example, I put my front panel with lots of red in it, away from the sleeve that has lots of red in it to help “balance” the look. Feel free to play around with what looks best!
Cardigans and pullovers are definitely my favorite thing to design but bags are not far behind! You can never have too many cute bags right? The Sunny Cinch Satchel just might be your next favorite!
I love a good cotton yarn for crochet bags and purses. Pima Cotton has always been one of my favorites so I decided to use it for my bag but wanted to hold the yarn double stranded for extra sturdiness! Let me tell ya, I am obsessed with how it turned out! The yarn is soft and so nice to work with! Plus, this bag works up even faster with the double thickness!
If you plan on buying yarn I recommend checking out my lion brand kit! It comes with a free copy of the ad-free printable pattern and you can customize your yarn color. Subscribe to my newsletter to find out about 30% off sales!
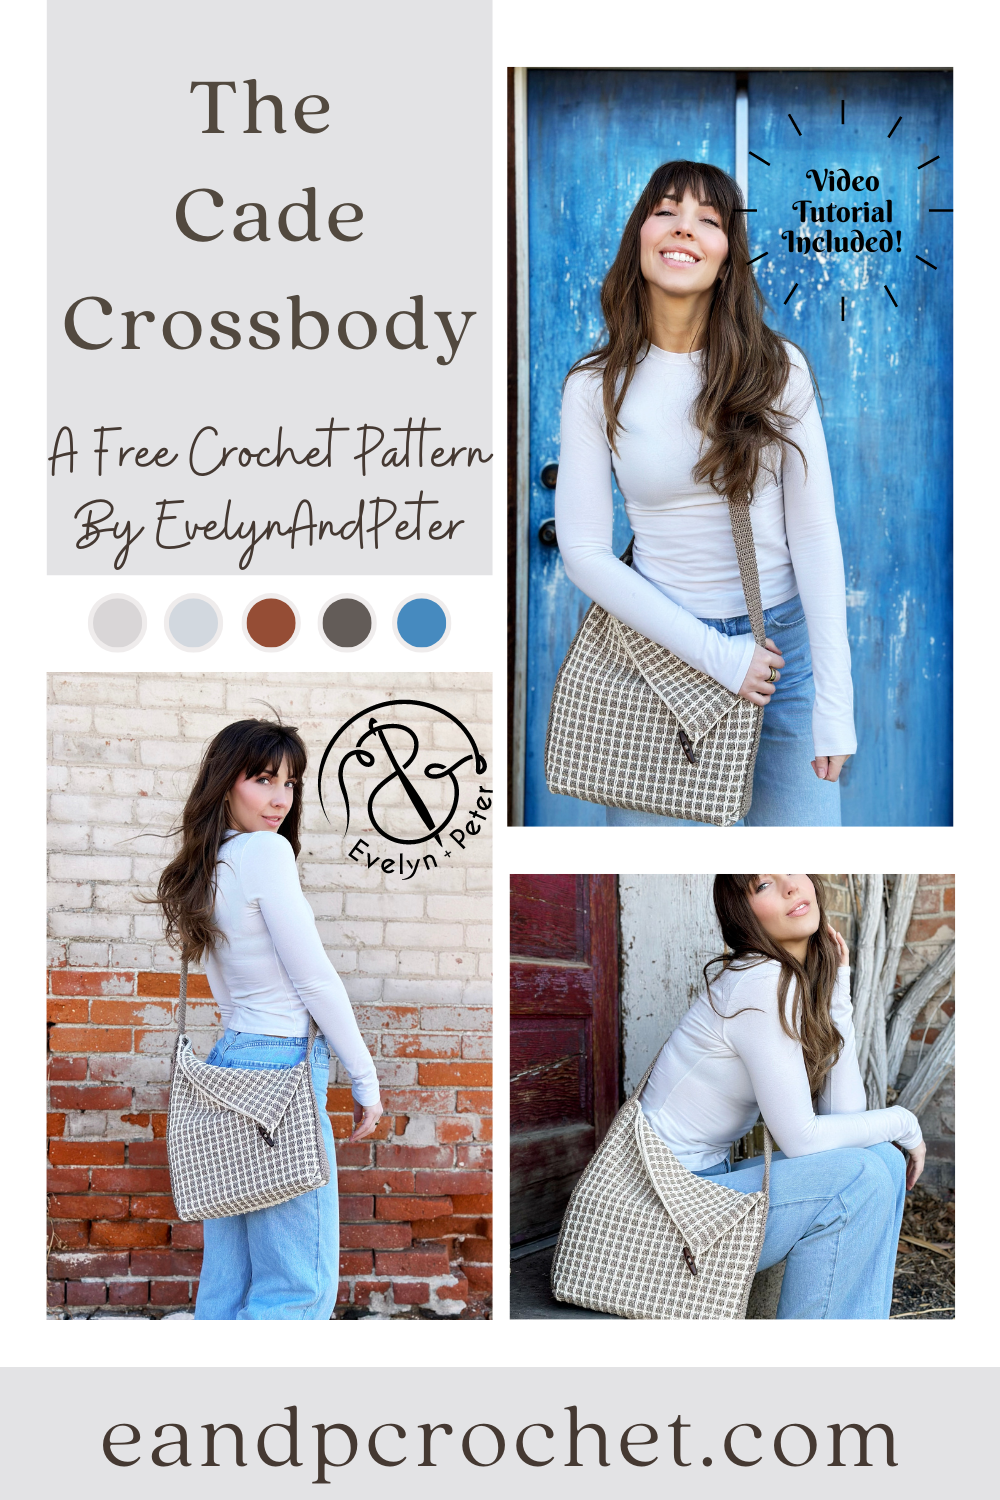
I had so much designing The Cade Crossbody. Why? Because it’s part of a collab with my yarn bestie Meghan from Meghanmakesdo! I made the crochet version and she made the knit version! It’s always nice to have options so maybe if you are seeing this but you are a knitter, than be sure to check out her blog!
The Cade Crossbody crochet pattern is actually pretty simple. It’s 2 rectangles sewn together and a long strap added last! You’ll add the strap on with a unique twist to give it the slanted fold over look. To give your bag some shape, you will be tacking/sewing the corners up into a triangle point when you add the strap. Once side is sewn further up than the other. That’s it!
When Meghan showed me the knit stitch she was going to use for her bag, I knew I would have to do some swatching and figure out how to get my crochet version looking similar! I tried a bunch of different stitch combinations. Finally I settled with a combo of Sc, Sl St and surface stitches to give the look you see here! There will be some ends on your rectangle panels. But don’t worry!! Most of them you will crochet right over, so don’t let the ends scare you! Just check out the notes section or watch the video tutorial!
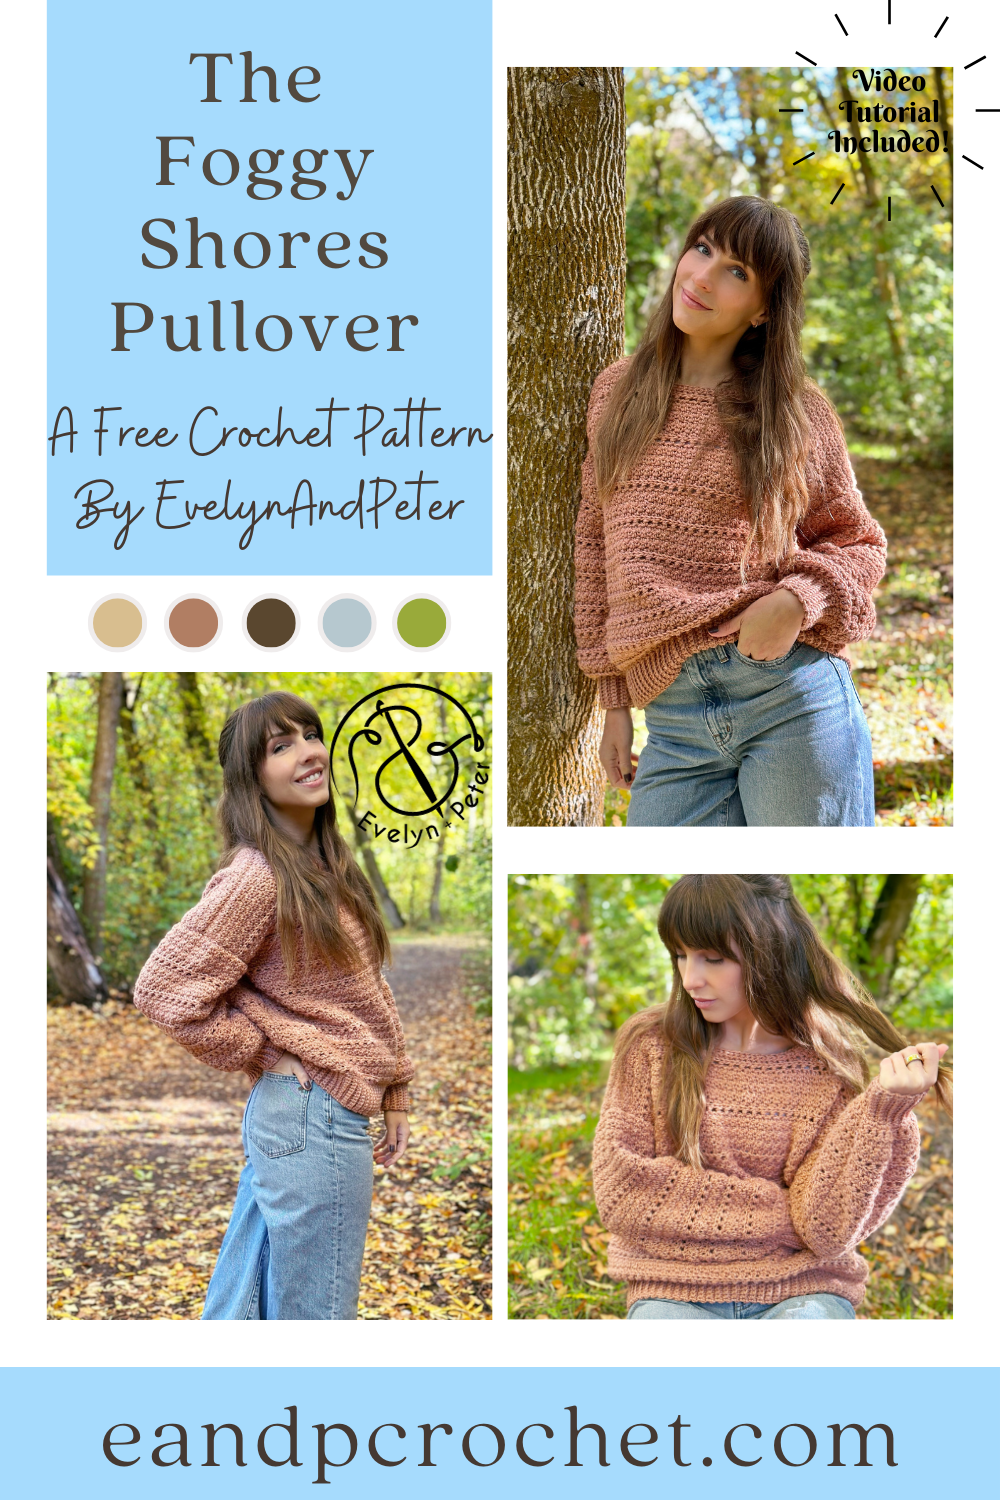
A new version of the Foggy Shores Pullover is now available! This updated pattern uses a currently available yarn and includes a fresh video tutorial. You can find the new version here. This post remains up for reference and includes the original version made with the discontinued yarn.
You know I wasn’t going to leave you hanging! The Foggy Shores Pullover crochet pattern is here! One of my biggest requests I get when I make a popular cardigan design is to make a pullover version or vice versa. So when I released The Foggy Shores Cardigan a couple weeks ago I already had the pullover ready and waiting!
I did use a different yarn for the pullover version, Lion Brands Basic Stitch Anti-Microbial(DISCONTINUED)! It has some really cute colors and was very easy to work with! This is an Anti-Allergen yarn which I thought was pretty cool. It has long-lasting freshness for your projects while preventing odor, bacteria and allergens. You can grab this yarn as part of the kit with Lion Brand!(new version with Heartland yarn) The kit comes with all the yarn you need to make your Foggy Shores Pullover plus a FREE copy of the printable PDF pattern! You can also swap out your yarn colors.
The Foggy Shores Pullover crochet pattern is worked in separate panels from the bottom up. You can easily adjust the length of your pullover by adding or removing rows to the front and back panel. If you made the cardigan than you should already have the easy row repeat memorized! You’ll be using a mix of lemon peel stitch and hdc stitches!
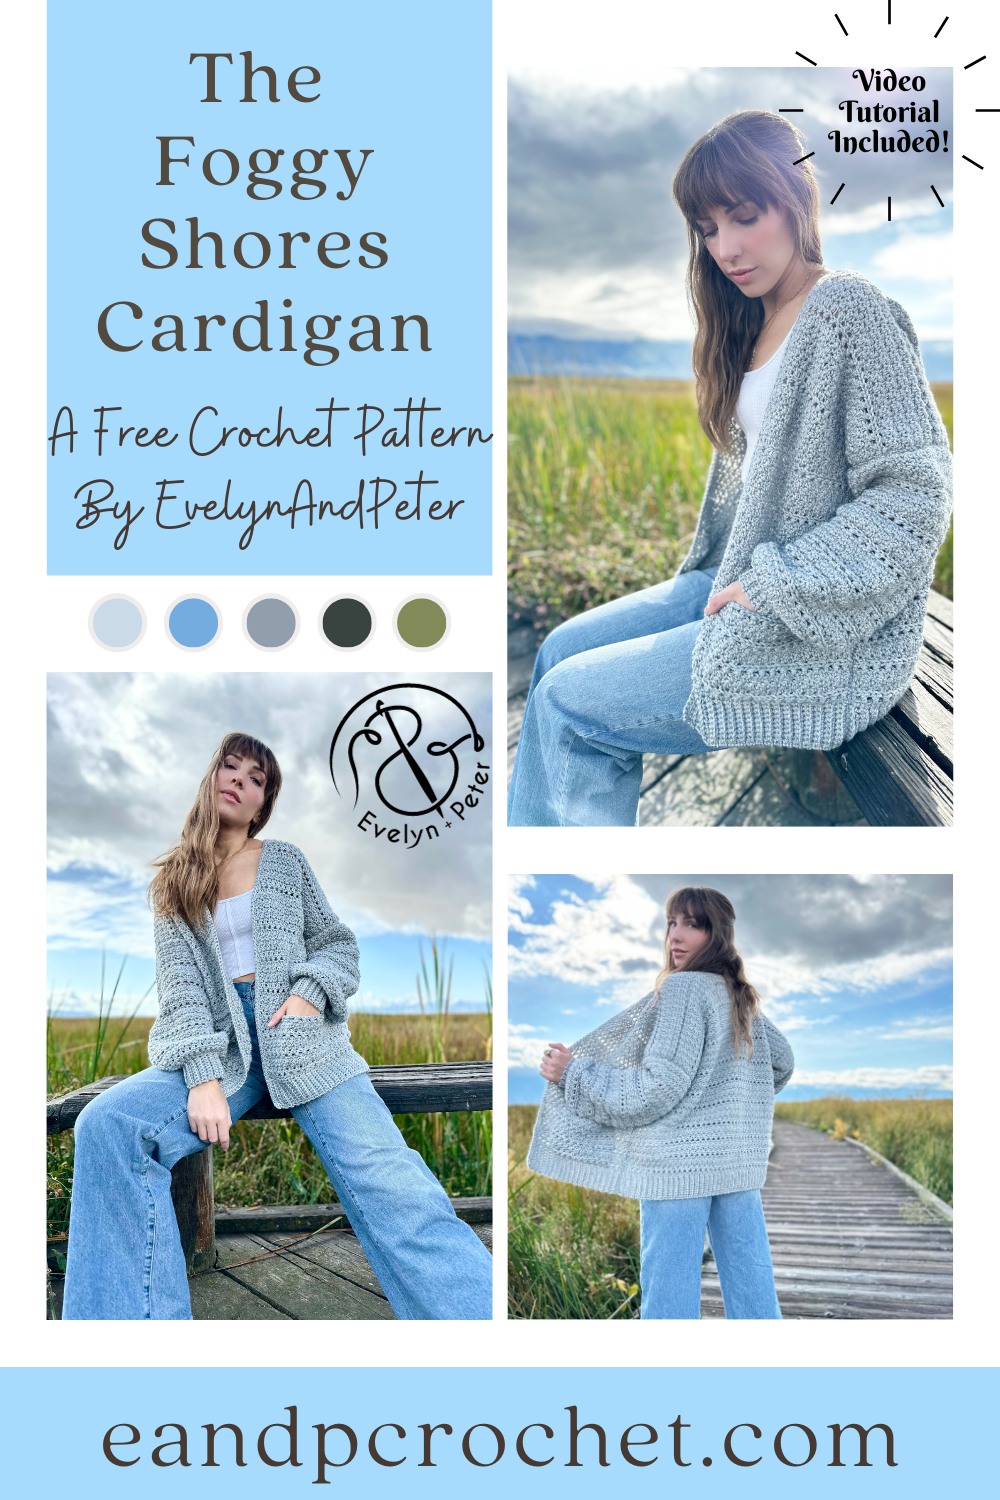
I had to sneak in one more crochet cardigan using Heartland yarn before the end of the year! The Foggy Shores Cardigan crochet pattern turned out exactly how I wanted. I love the style of my Stony Shore Cardigan and Kiah Cardigan and I think you guys do too! I wanted to keep the style similar but decided I needed something a bit more oversized and cozy! I think The Foggy Shores Cardigan is the perfect addition to my Heartland collection!
The Foggy Shores Cardigan is worked from the bottom up and is easily customizable. It has cozy pockets worked into the front panels. You can easily skip this part if you want if you prefer no pockets! Instead of working the chain length, just continue across the row with your regular stitch repeat. If you prefer your cardigan longer or shorter just add or remove rows to both the back and front panels until its the length you desire. If you don’t want your cardigan as oversized you can follow a size smaller than you normally would!
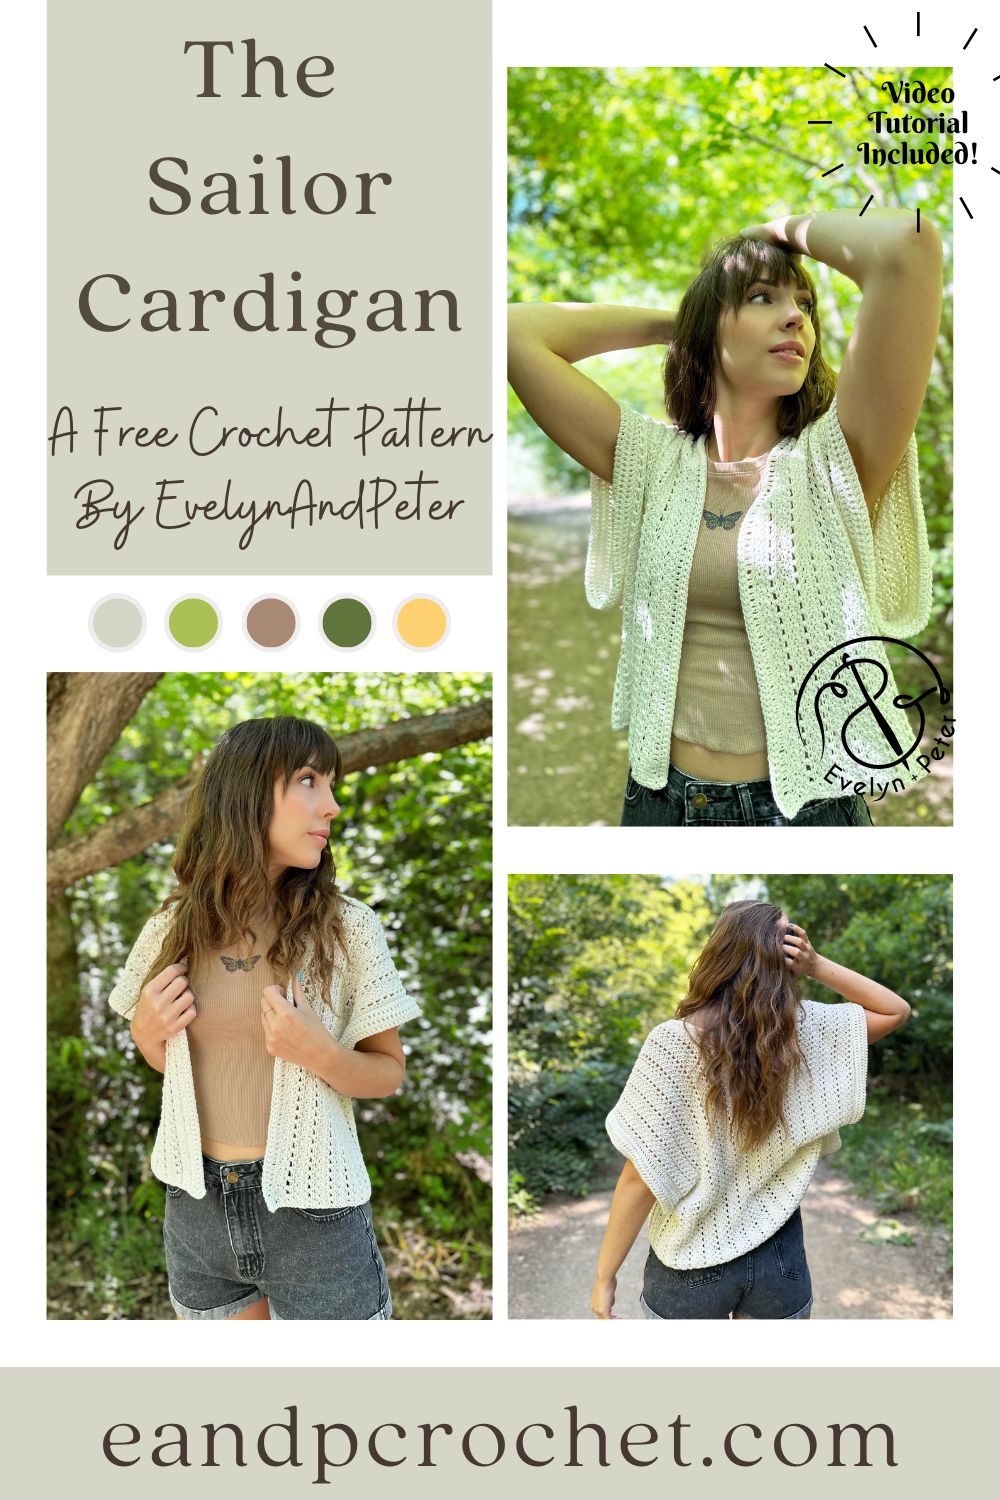
You already know I had to make ONE more summer design before the chilly weather arrives. The great thing about The Sailor Cardigan is that it’s perfect for layering! Toss it on while in the office or better yet, while relaxing out on a boat in the ocean with the cool breeze blowing in your hair…one can dream right?!
My favorite thing about The Sailor Cardigan is that it is made from side to side! It only requires one tiny section of seaming on each side of the cardigan. The vertical rows give it a really pretty striped look. The sleeves are super oversized, they remind me of a sail! See what I did there? haha!
If you are a beginner and need a little extra help or you just prefer a visual, be sure to check out my video tutorial on YouTube! I’ll walk you through step by step on how to crochet your Sailor Cardigan.
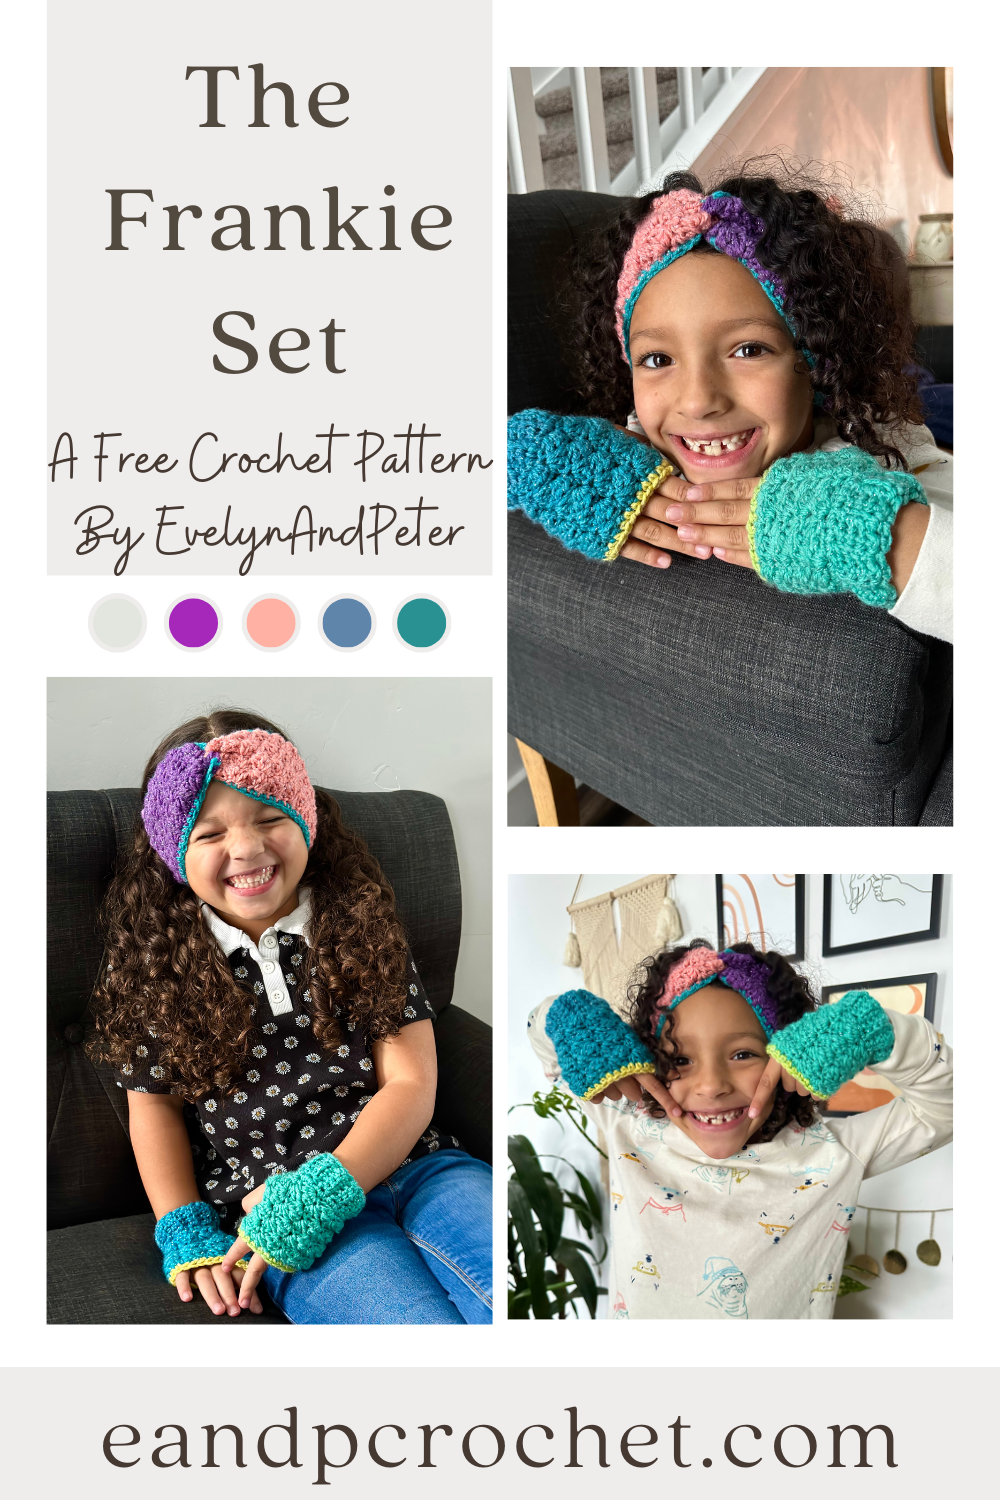
The girls have been begging for me to crochet them something with lots of bright, rainbow colors. Of course i’m going to oblige! I already knew a matching headband and fingerless mitt set would be super cute but I still had to hunt down the perfect yarn!
I decided to go to JOANN and check out the yarn because I knew it was currently the Yarnormous sale! Unless you are brand new to the yarn life, than you already know the Yarnormous sale that happens every year is THE best time to stock up on yarn!
I found a really pretty Mandala Sparkle yarn by Lion Brand and knew it would be perfect for this project! The color I picked was Serpents but they had a ton of different color combos to chose from. I absolutely had to get this color because it reminded me of Lisa Frank! Don’t you agree? I had so many Lisa Frank folders, stickers and pencils back in the day with fun crazy colors like this! I had to go with the name Frankie for this design! Haha
The best part about this project is using up the different colors in the cakes however you want. You can cut and join to arrange colors to your liking! I ended up with a purple and pink headband with matching green and blue mitts! I added some trim on to both the mitts and headband to give it even more color.
Make sure you head to YouTube for the full video tutorials! I have one available for the headband and one available for the fingerless mitts if you need some extra help!
You might recognize this stitch as the same one I used in The Kiah Cardigan and The Winter Moonlight Set! If you want adult size mittens, beanie and cardigan then be sure to check them out!