search results for
cardigans

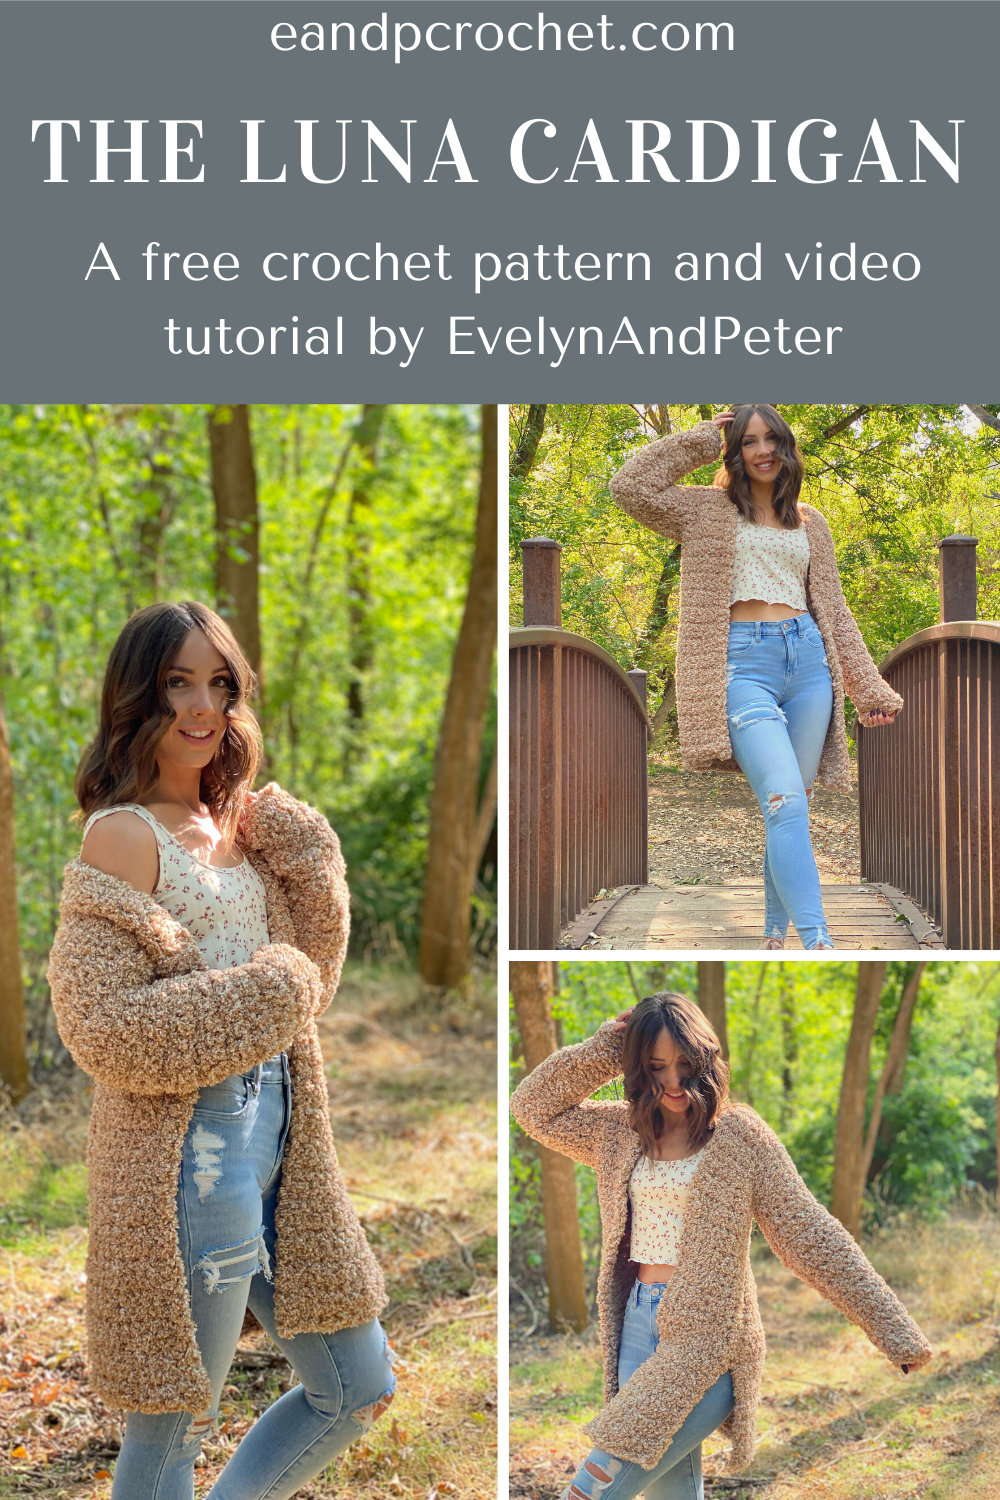
I was sooooo excited to see that shrug and bolero style sweaters were starting to become popular again! They are one of my favorite styles so I knew I had to design one, which is exactly what I did! I’m so excited to share The Tilda Shrug crochet pattern with you all!
I stepped out of my comfort zone a bit with this one in terms of shaping. You’ll find some short rows around the opening of the shrug as well as increase shaping within the rows of the sleeves! The Tilda Shrug is worked in 2 separate mirrored panels. You will then do a small seam up the back as well as under the arms.
I used wool ease recycled yarn for this project and loved it! This was my first time using it and it worked up so well. The Tilda Shrug crochet pattern is a kit so if you need yarn I recommend checking it out! If you are intimidated with making the Tilda Shrug crochet pattern be sure to check out the video tutorial! Thank you guys so much for subscribing!
If you love this design be sure to check out some of my other cardigans and sweaters free here on my blog!
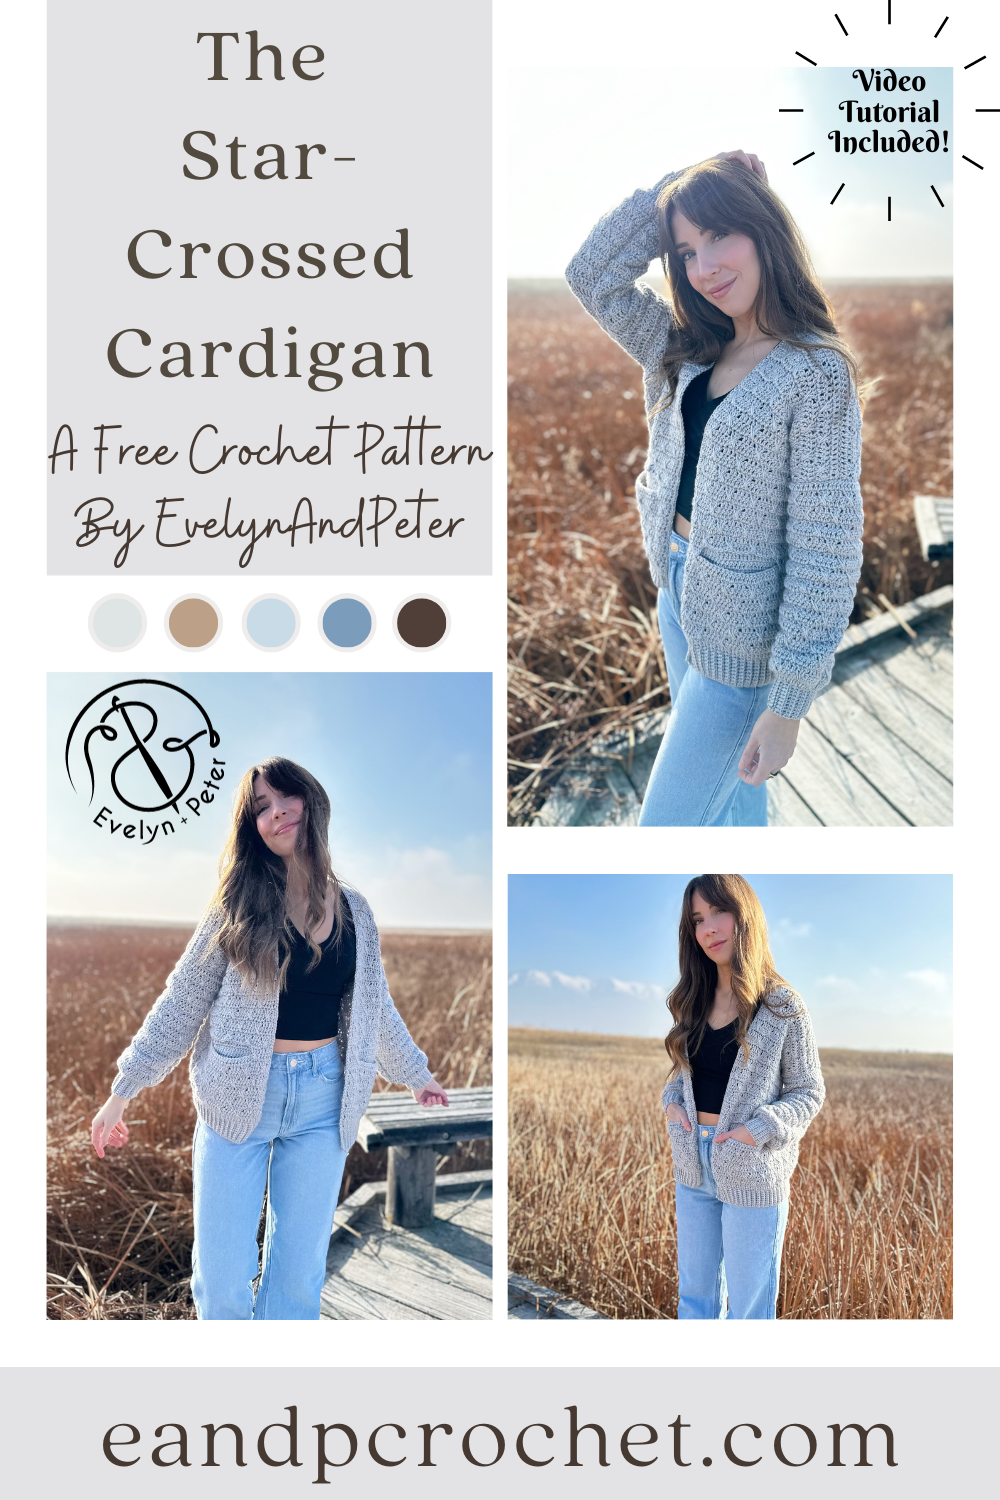
Let’s kick off the new year with a brand new crochet design, The Star-Crossed Cardigan Crochet Pattern! I wanted to start off strong with a cardigan design using Heartland yarn. You might remember my Stony Shore Cardigan and my Kiah Cardigan, both are very popular and well loved and both use Heartland yarn! I knew I needed something to add to the collection of my popular cardigans!
The Star-Crossed Cardigan crochet pattern is very beginner friendly and uses basic shapes. Once you nail the “double crosses spike” stitch you will work this cardigan up easy peasy! It’s basically a combination of all double crochet stitches with the ribbing using single crochet. You will work the panels from the bottom up and sew together.
Did you notice the Star-Crossed Cardigan crochet pattern has pockets?! The best part is that the pocket swatch is your gauge swatch. So feel free to jump ahead in the pattern and make a pocket swatch before starting. You will then use that swatch to measure 4×4″ within. Save it for later when you are required to seam to the inside of your cardigan!
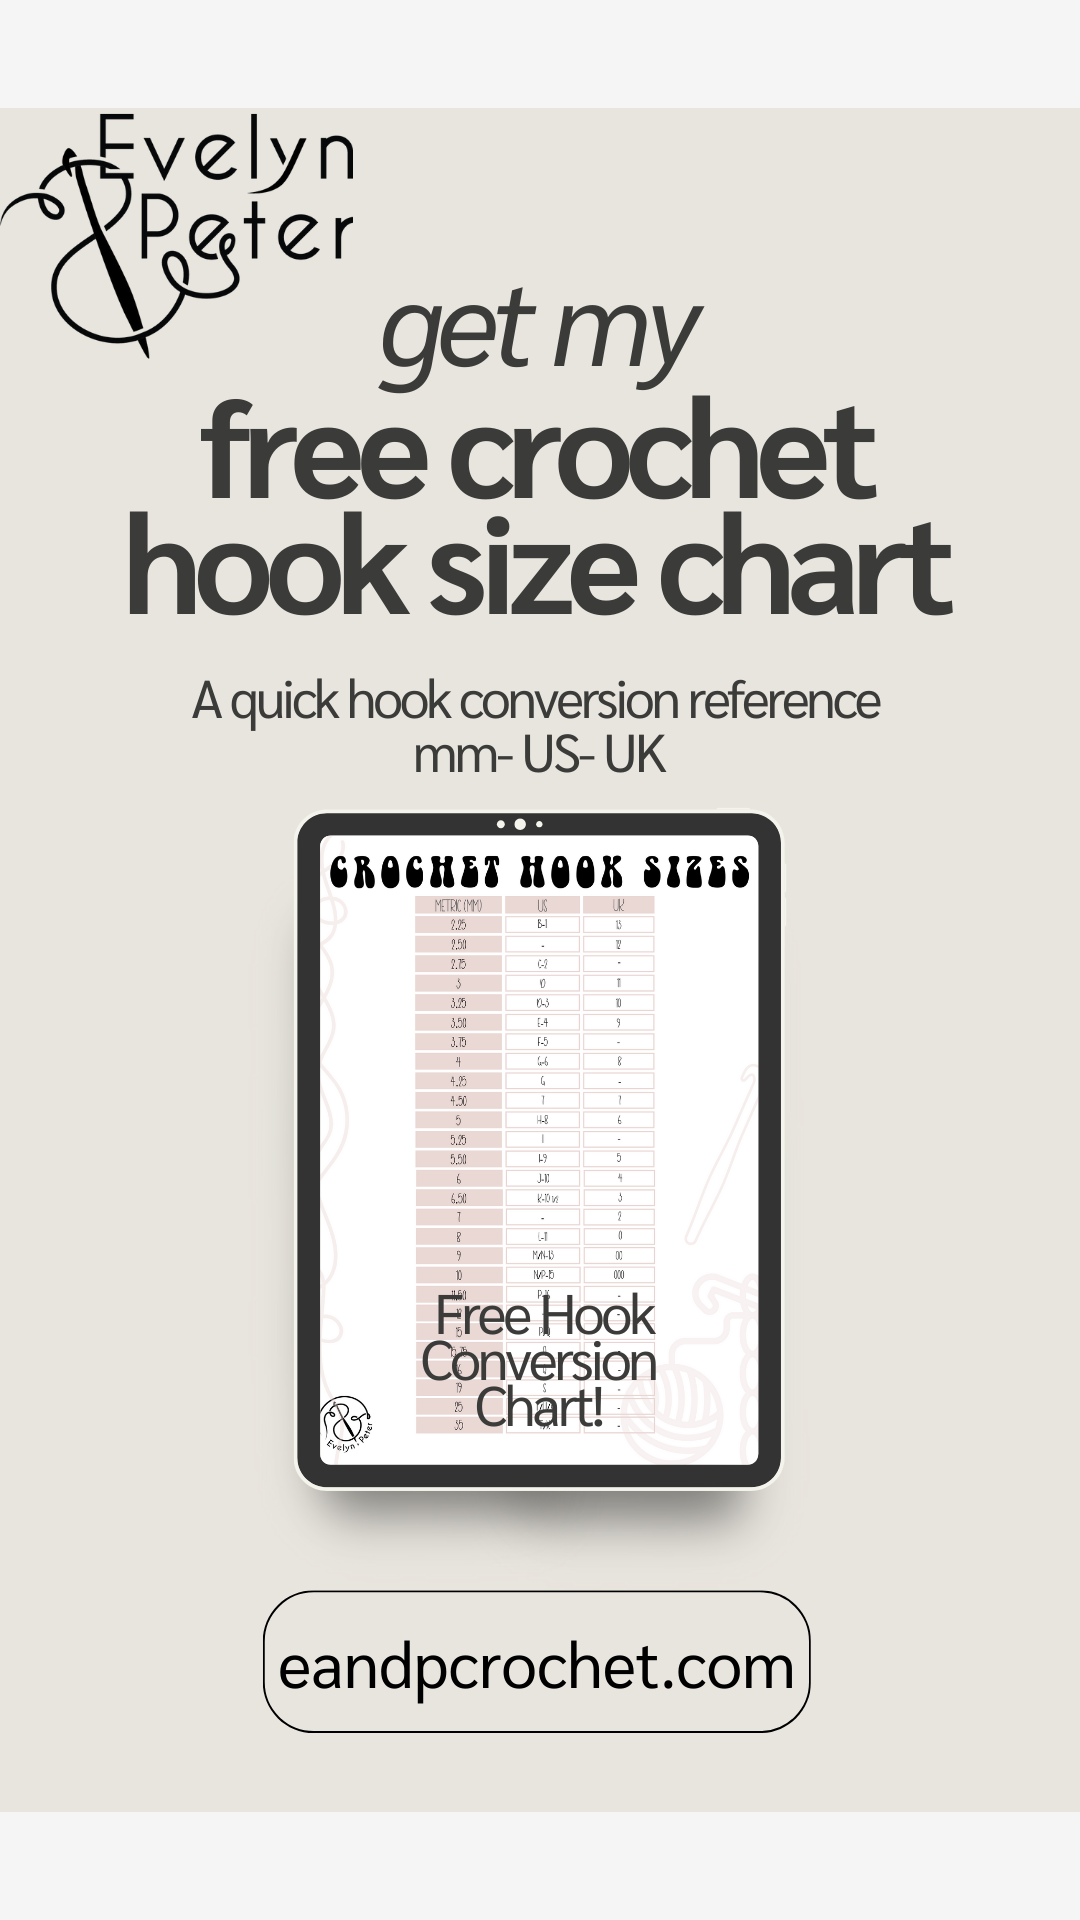
When I first started to learn how to crochet, I was constantly looking up hook sizes! I wasn’t sure what letter or number went with what mm size (i’ll admit, I still sometimes have to check haha) and it got so confusing! I made a quick reference freebie guide for you all!
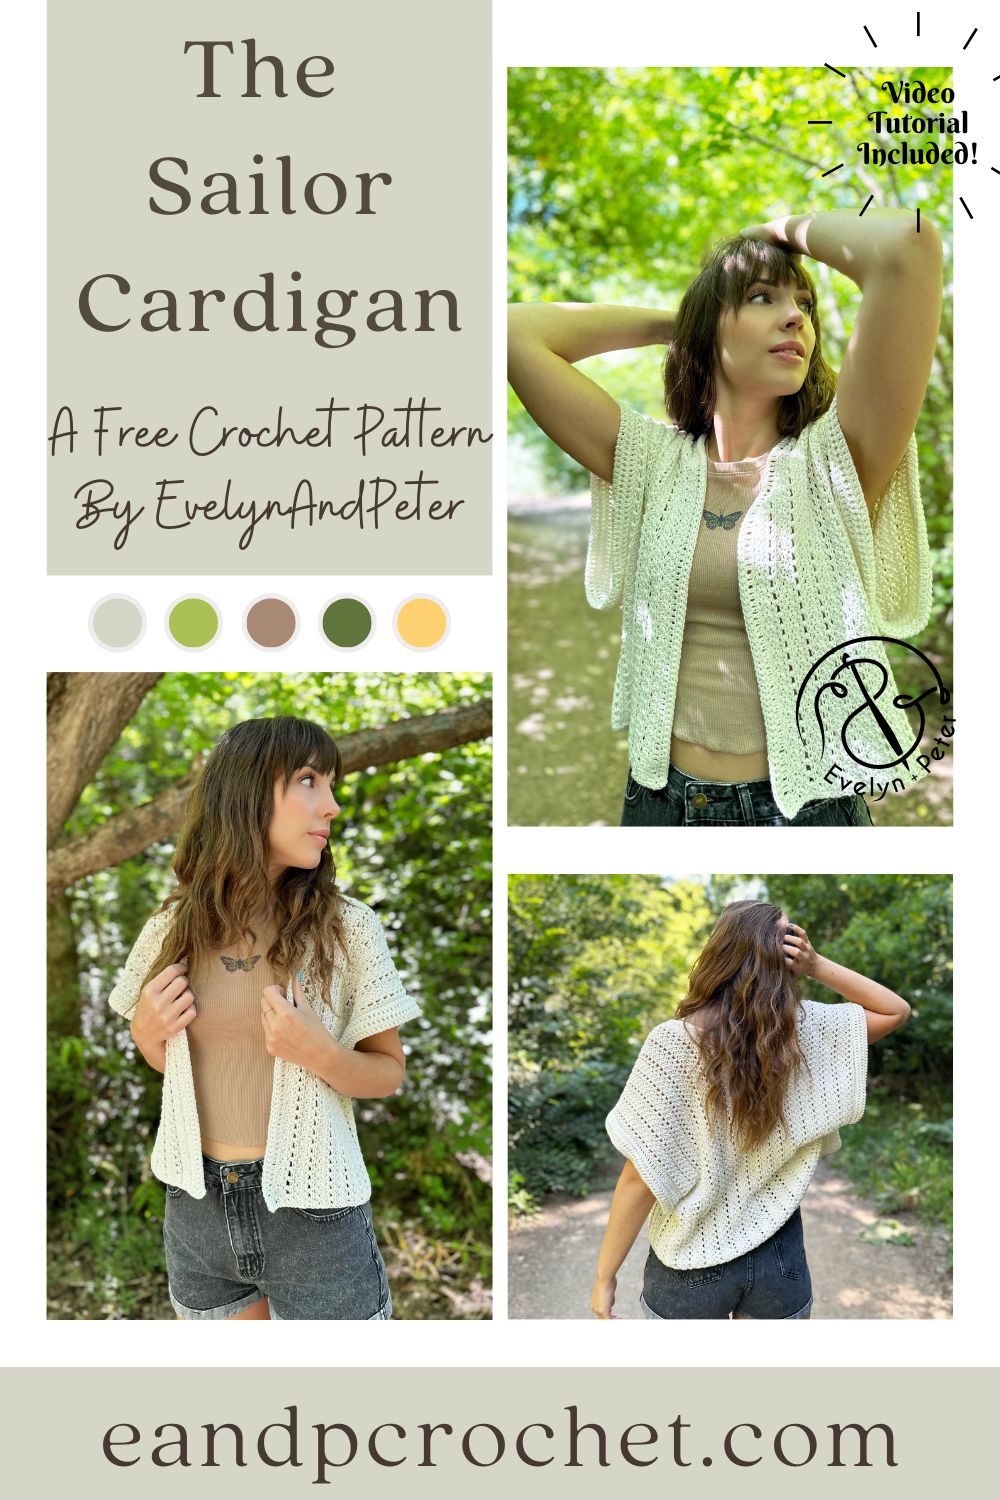
You already know I had to make ONE more summer design before the chilly weather arrives. The great thing about The Sailor Cardigan is that it’s perfect for layering! Toss it on while in the office or better yet, while relaxing out on a boat in the ocean with the cool breeze blowing in your hair…one can dream right?!
My favorite thing about The Sailor Cardigan is that it is made from side to side! It only requires one tiny section of seaming on each side of the cardigan. The vertical rows give it a really pretty striped look. The sleeves are super oversized, they remind me of a sail! See what I did there? haha!
If you are a beginner and need a little extra help or you just prefer a visual, be sure to check out my video tutorial on YouTube! I’ll walk you through step by step on how to crochet your Sailor Cardigan.
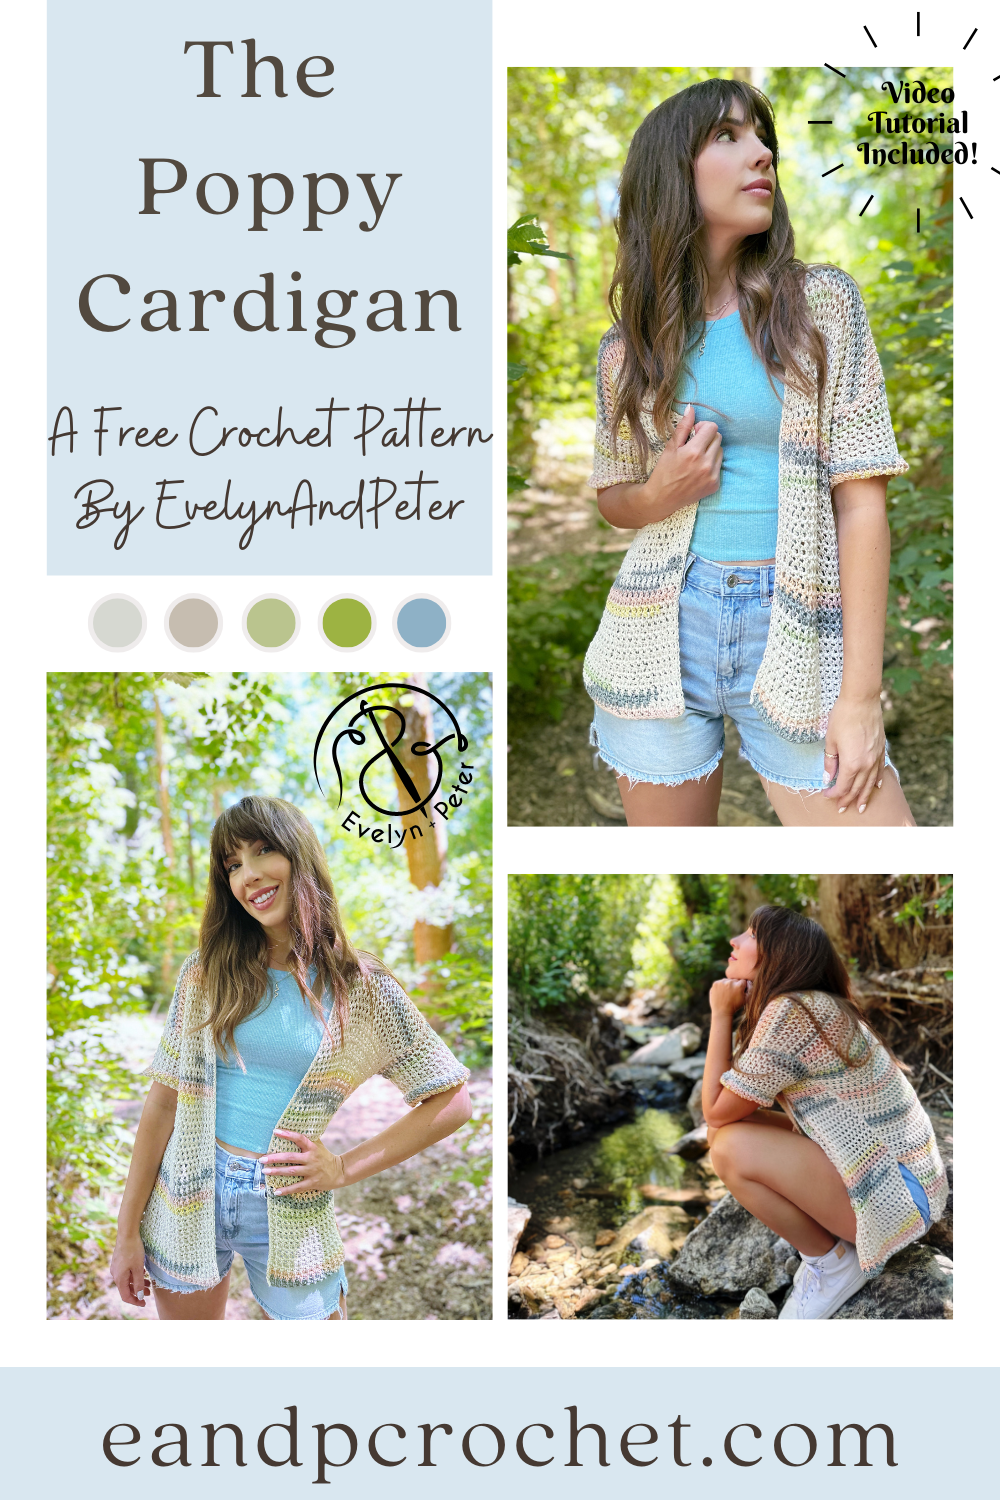
I couldn’t make a Poppy Pullover without making a Poppy Cardigan crochet pattern! The Poppy Pullover was a fan favorite and the Poppy Cardigan has the same design details so I hope you like this one too!
I used the same type of yarn for The Poppy Cardigan- 24/7 Cotton DK, except this time, I used the “prints” version instead of a solid color! I think the prints are so pretty and give it a little bit more pop of color and detail. I wasn’t sure how the yarn was going to work up with the distribution of color but I am loving the result! If you are more of a solid color kind of crocheter you can totally substitute out the yarn, they have lots of options! I used the Seaglass color for mine.
The Poppy Cardigan is worked up the same way as the pullover, from the bottom up. Again, we are using a larger hook than what you normally would use for a DK yarn to give it that loose, mesh look. When you are crocheting, make sure you don’t tug down too tightly on your stitches! If you are prone to a tight tension just make sure to pay attention to that. This is also a really stretchy stitch so when you wear the cardigan it will stretch and has great drape! Once all your panels are made you will give a light block ( I like to steam block mine) and sew together!
If you want to use the same yarn as me make sure you get the Lion Brand kit! It comes with a free copy of my printable pattern and you can choose your yarn color! They also frequently have very good sales! My Poppy Pullover is available on my blog here as well as a Lion Brand kit!
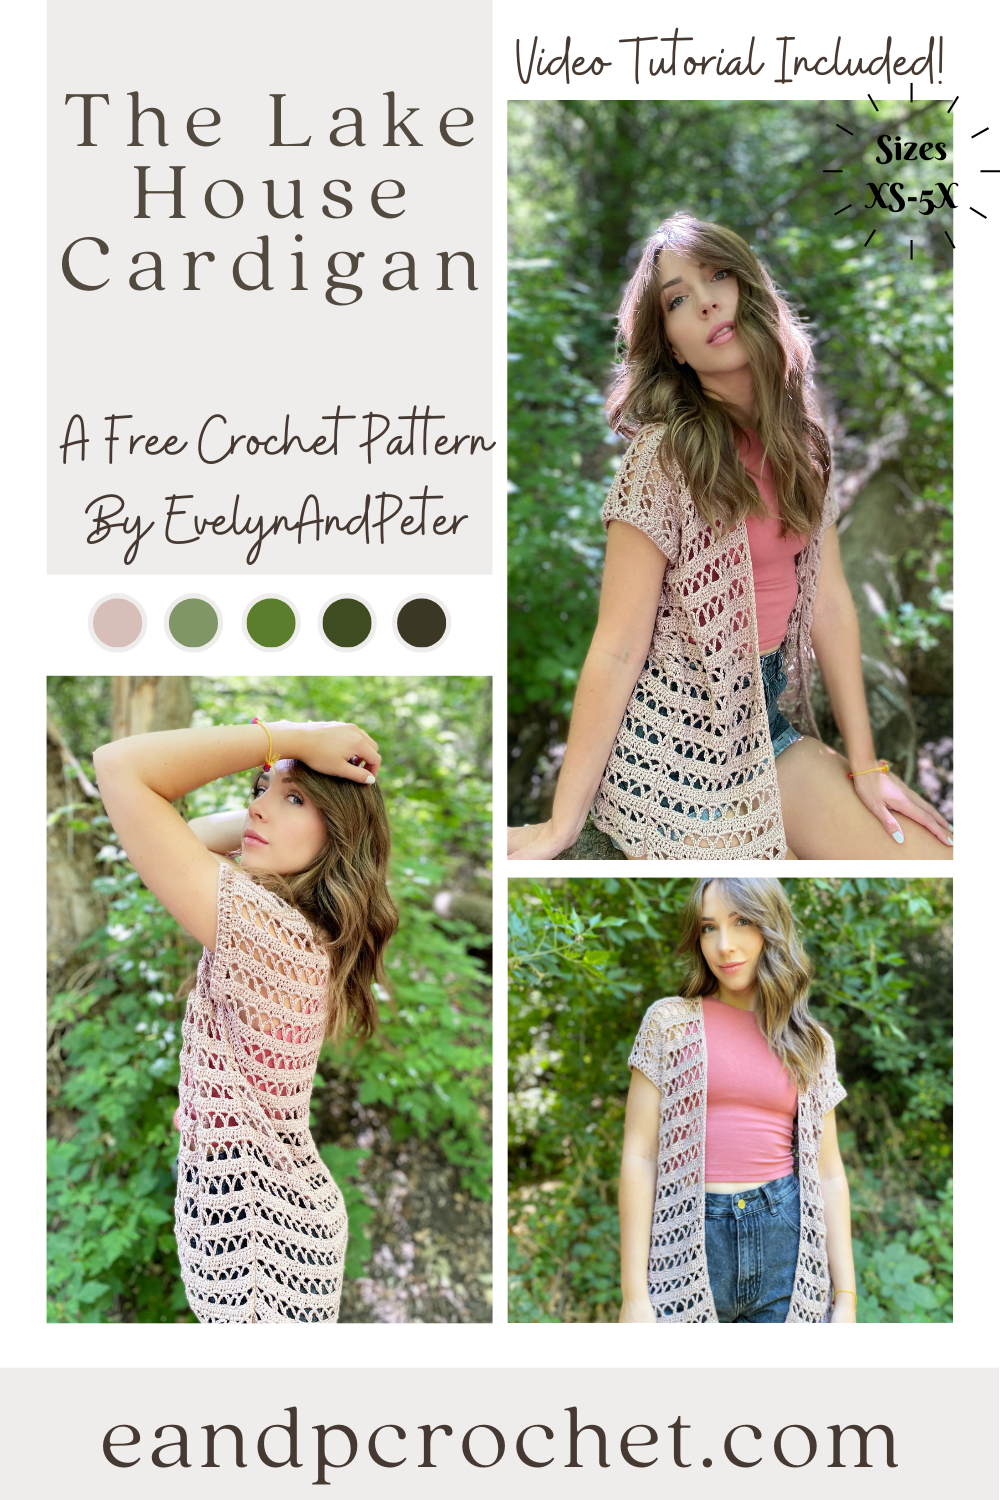
Total lake house vibes with my new cardigan crochet pattern! When I heard that name suggestion it was definitely a no brainer. The Lake House Cardigan is the perfect layering piece in the summer. Or really anytime of the year! It has a long flowy fit with an open lace stitch repeat. Plus, the Truboo yarn makes it extra silky. I can totally picture myself wandering around a summer house on the lake, sipping a glass of wine and crocheting by the water. Can’t you?
The construction of The Lake House Cardigan is very simple. 3 long rectangles, worked as long or as short as you want them! It’s super easy to adjust the length of this cardigan to your liking. After that, we just seam the shoulders together, then seam the sides together leaving a hole for our arms! Then the sleeves and the trim are added last.
Of course if you are a beginner or need a little extra help, I have a full video tutorial available for you! I go over step by step how to make your cardigan. I’m making a size small in the video so be sure to follow along with the written pattern, especially if your making a different size!
If you are using Truboo yarn like me, then you’ll notice it does stretch a bit with the weight of the cardigan as you go. The gauge listed below is a blocked gauge. So when you make your gauge swatch you’ll want to be just slightly under gauge. When you block your swatch it stretches to meet the correct gauge listed. I pinned mine and did a steam block. If you want to make your gauge unblocked it will be closer to 19 Dc by 11 rows for 4×4″
I hope you guys enjoy working up this cardigan! It was so fun to make and I love the finished piece! I have lots of other cardigan patterns available so be sure to check them out!
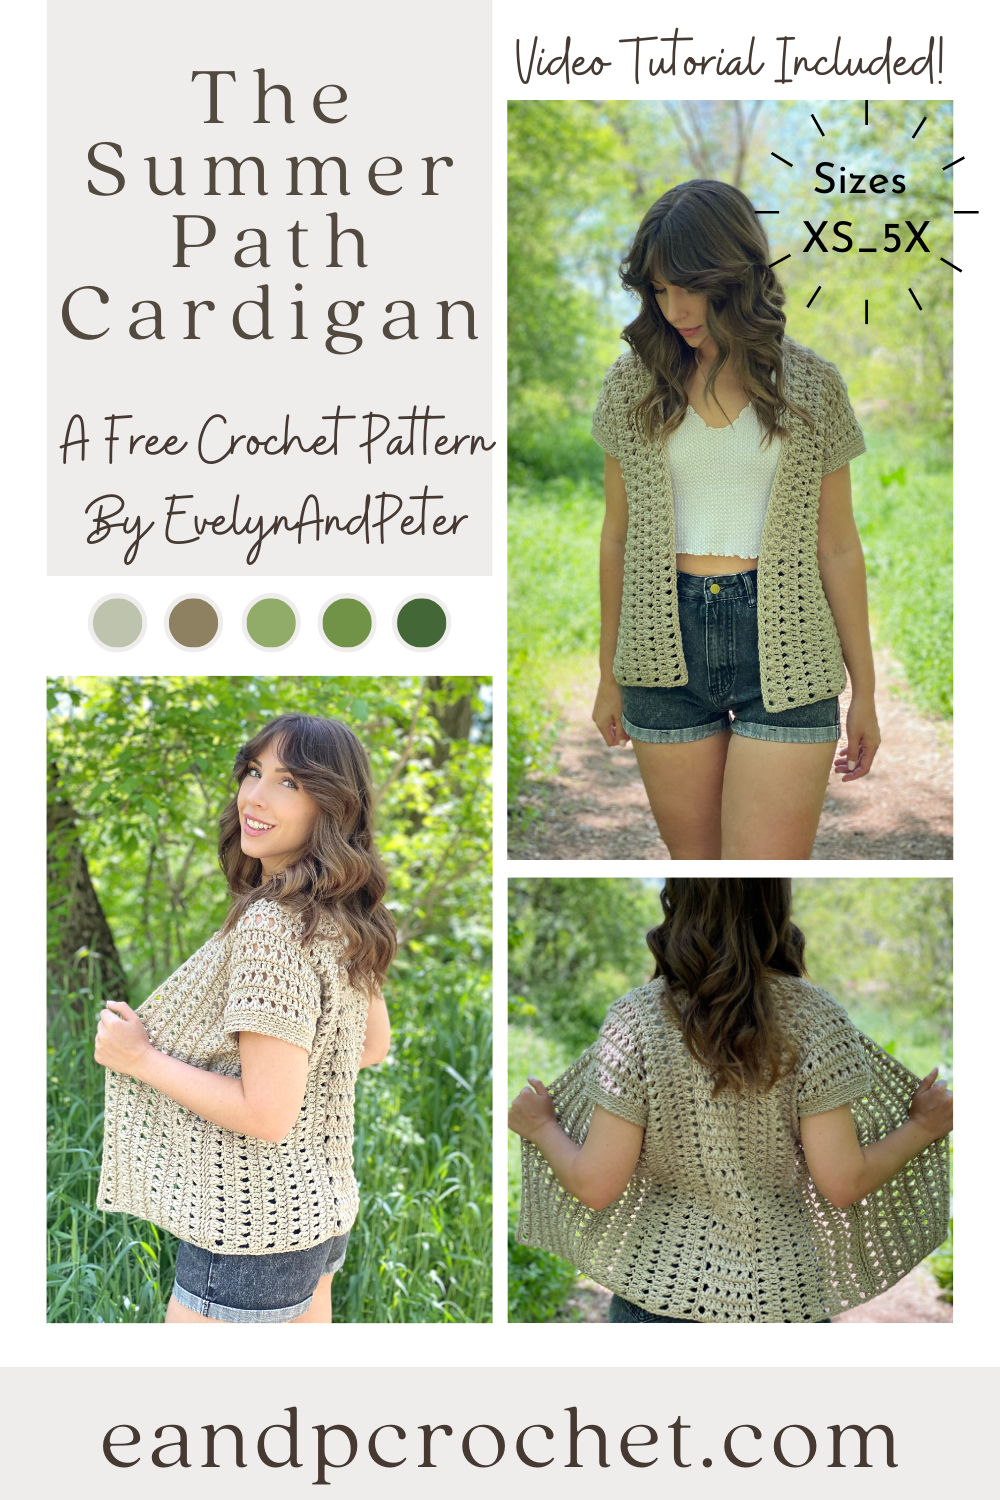
Is there anything better than exploring the woods on a warm summer day? It’s quiet and peaceful, nowhere to be and no responsibilities. You can hear the birds chirping and the creek trickling. That’s what I picture when I wear The Summer Path cardigan at least. 🙂
This cardigan is worked in 3 separate panels. The 2 main panels are worked side to side and the last one is worked bottom up. The one that is worked from the bottom up is the back detail of the cardigan that will be sewn in between the 2 main panels half way up. I’ve made a couple other things are worked side to side. Check them out here and here!
I absolutely love the Triad Stitch that I used in this design! It works up quickly and gives it an open stitch look, perfect for summer! Make sure you pay close attention to where you are sticking your hook for the Triad! I have a video tutorial available for those that need a little extra help. Be sure to check it out!
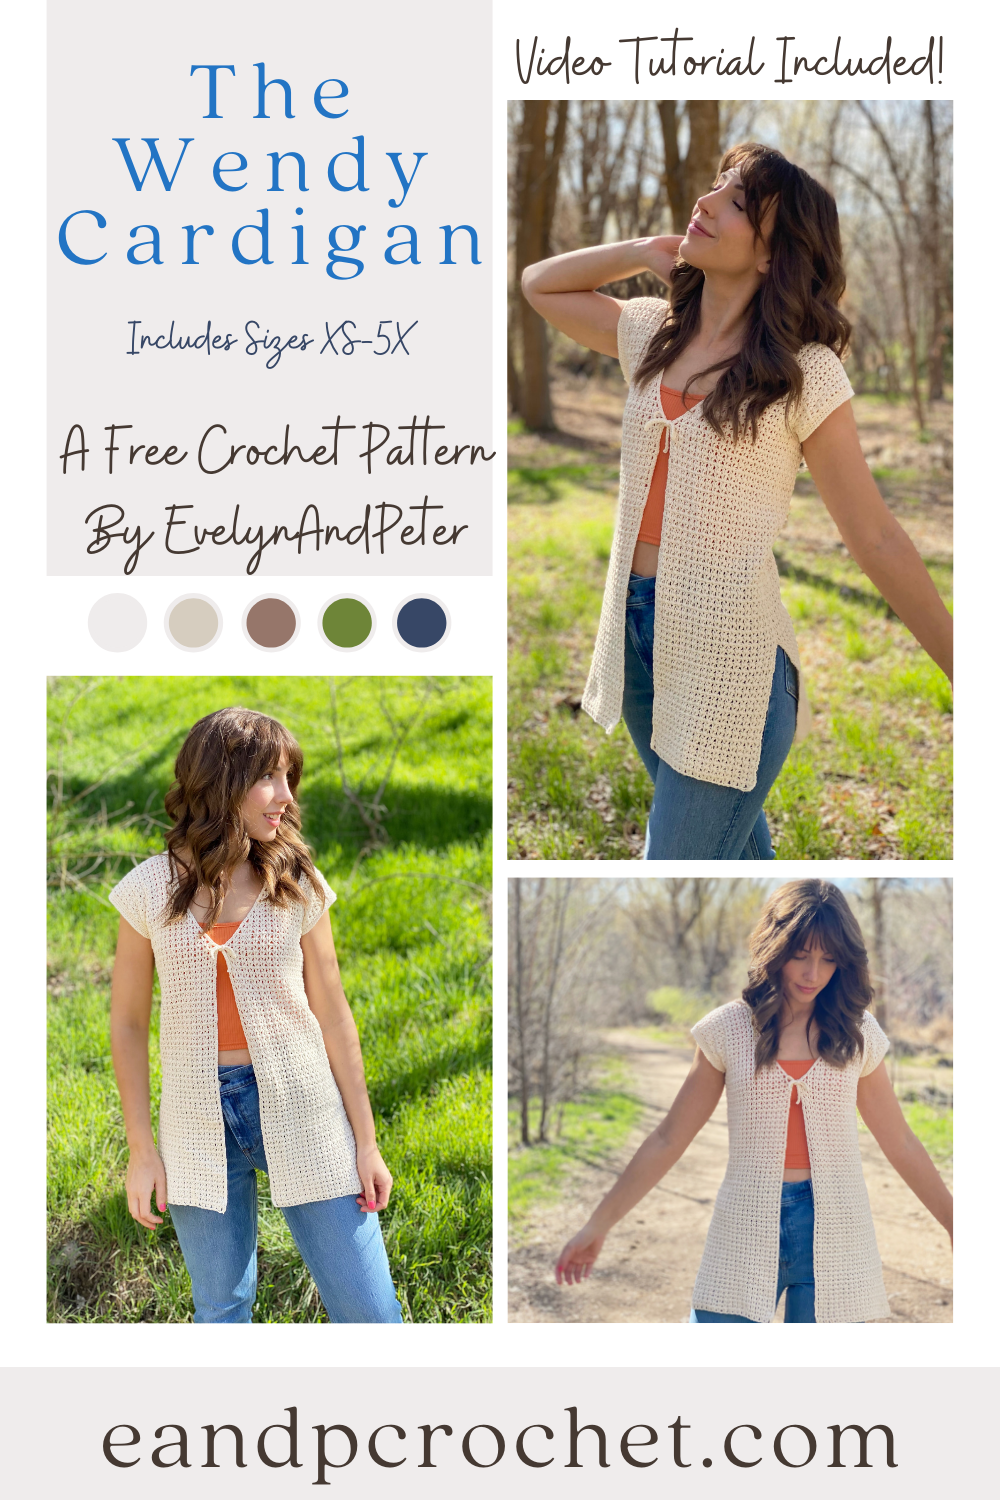
I love the soft romantic vibes that The Wendy Cardigan gives. Somebody suggested the name Wendy for it on my name contest because it reminded them of Peter Pan and I totally see it. 🙂 It’s light weight and made of soft cotton which makes it perfect for warm weather. I’m excited to pair mine over sundresses this summer!
The Wendy Cardigan is worked from the bottom up in 3 separate panels. You can easily adjust the length of your cardigan by adding or taking away rows before you begin to decrease on the front panels. Make sure you adjust the same amount of rows on the back panel as well. I think this cardigan would look SO cute cropped. If you make a cropped version I would love to see it!
The stitch used in this cardigan is very similar to the classic V stitch but it does not have the Ch 1 in between the 2 Dc stitches. This is a great pattern to make and not have to use much brain power on the stitches! It’s just Dc stitches across the row, working them in between the 2 Dc from the previous row!
If you are a beginner and need a little bit of extra help, then be sure to check out my full video tutorial! I’ll walk you through step by step on The Wendy Cardigan crochet pattern!
If you like this pattern be sure to check out some of my other cardigans too!
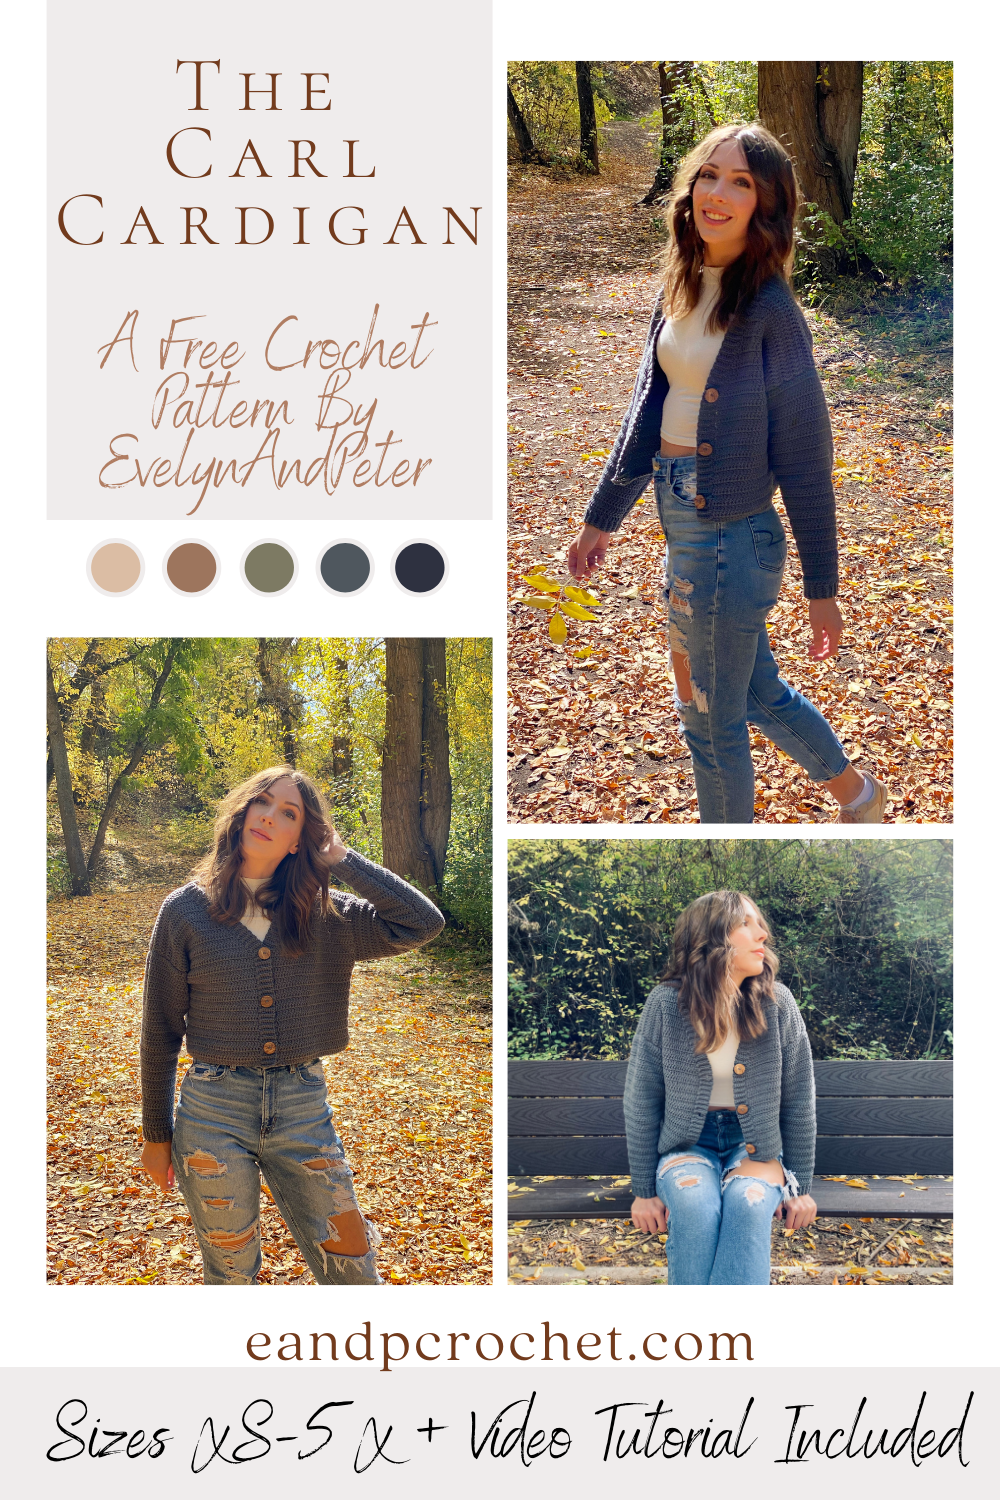
I love the look of oversized V-neck button up cardigans. There’s just something about them that I find so appealing! They give me such comforting “grandpa” vibes haha. I knew I had to make one but put my own trendy spin on it. The Carl Cardigan is my cropped and a bit more girly version of this!
The Carl Cardigan is worked in separate panels from the bottom up. When you break it down into each piece tackling this sweater is a breeze. I used the same stitch throughout and have very beginner friendly shaping. I used Feels Like Butta which is one of my favorite soft yarns. It’s very smooth to work with and frogs back easily if you make a mistake!
I know some of us prefer to have our cardigans longer instead of cropped. Good news, it is super easy to make this longer! Just add as many rows as you would like to the back panel (in multiples of 2). Then, when you make the front panels, add the same amount of rows before you start decreasing! Remember, you will need extra yarn!
You might recognize the ribbing technique around this cardigan. I did the cuffs from The Pemberly Pullover the same way! You will be working the trim of the cardigan directly off the sides of the front panel. It might look a little intimidating at first, but when it comes down to it, you are just slip stitching to the panels as you go! If you are new to this technique be sure to check out my video tutorial where I show you exactly how to do it.